Lab-quality cubensis spores, gourmet mushroom liquid culture syringes (12cc), growing supplies, and other related products, US Army veteran owned since 2005
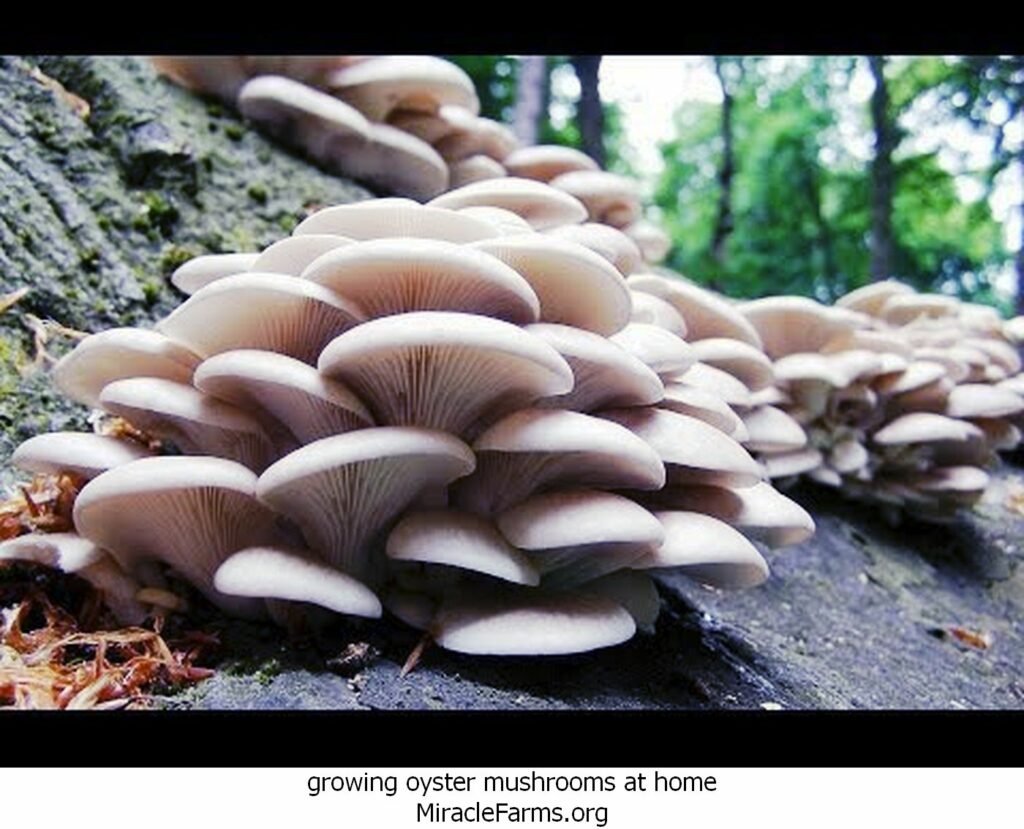
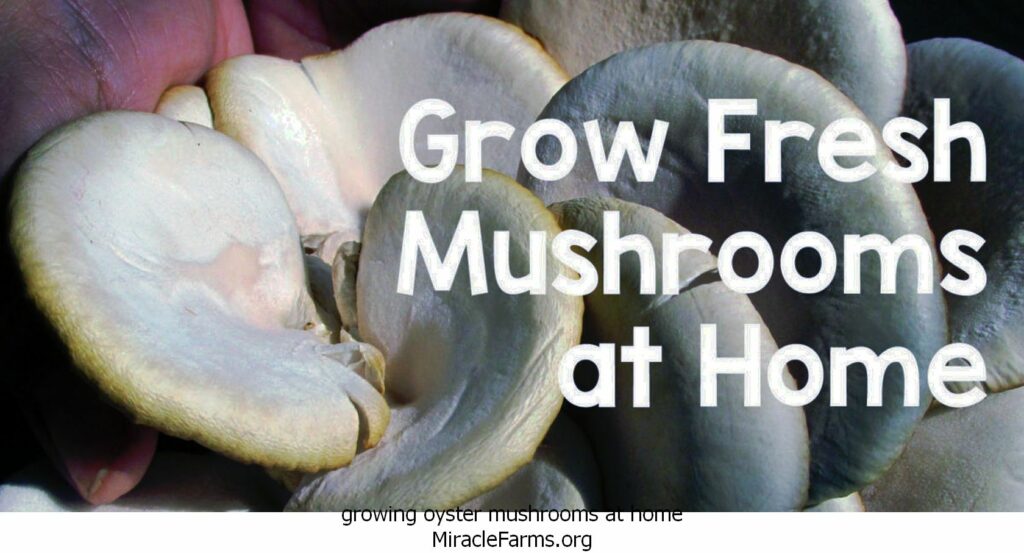
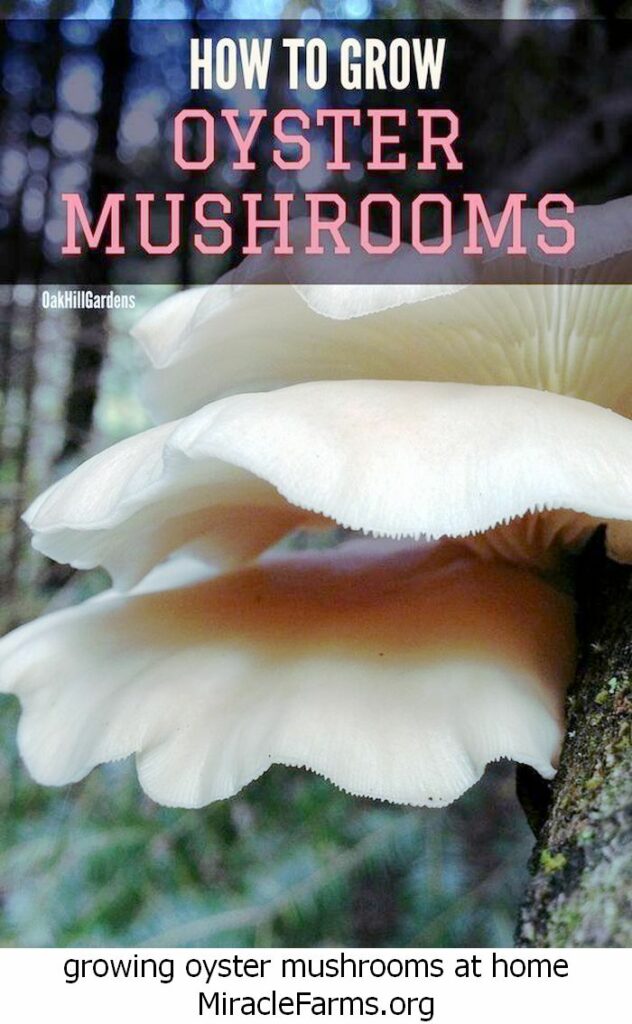
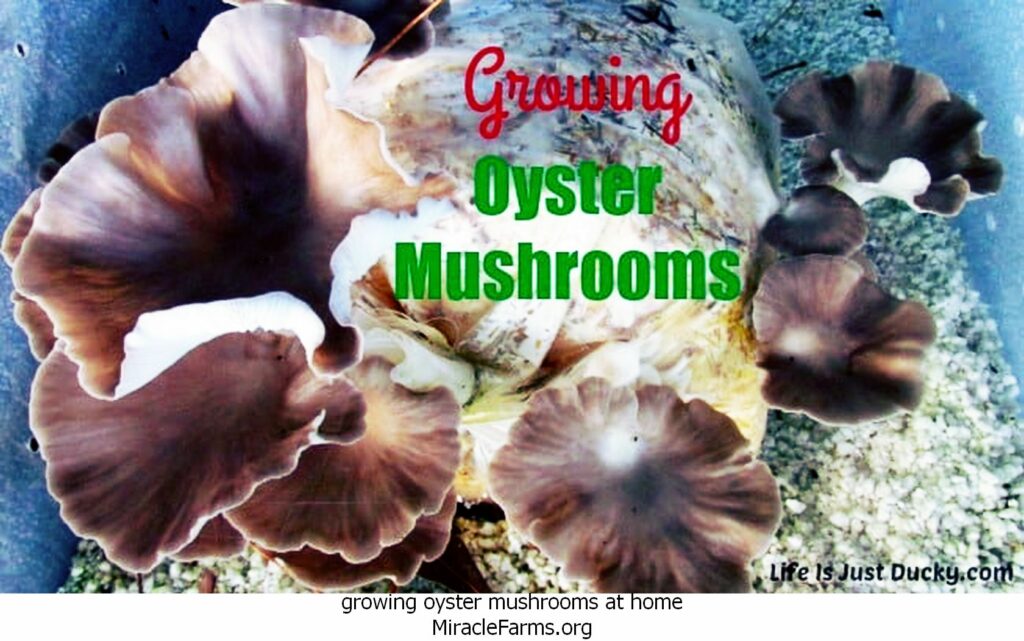
Growing oyster mushrooms at home
Posted on
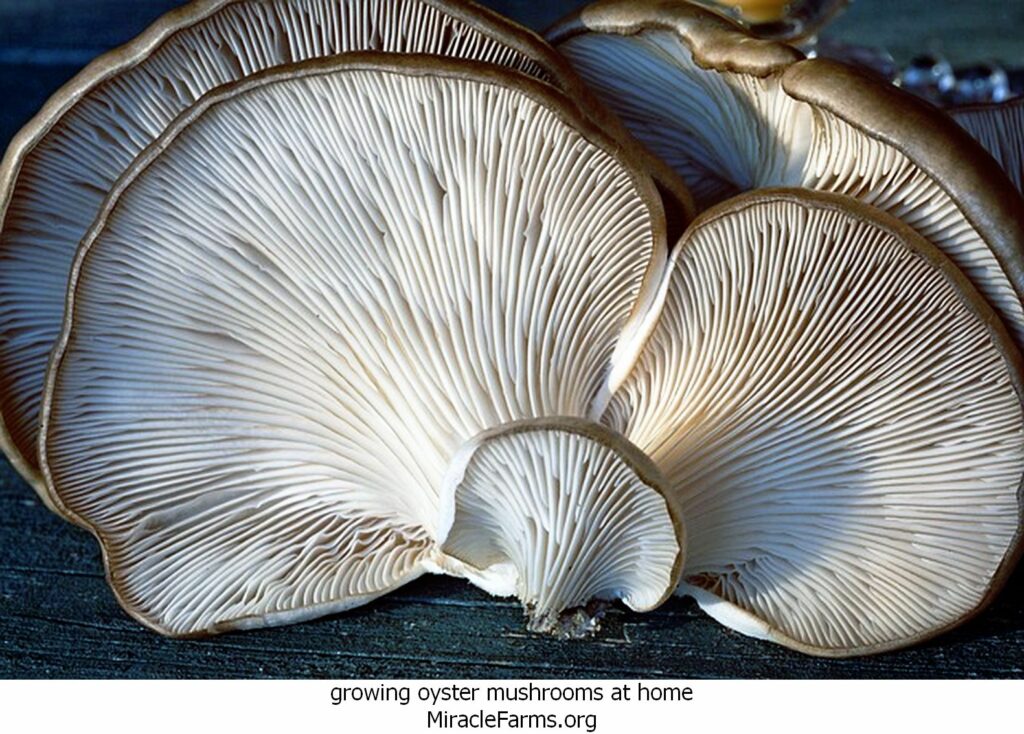
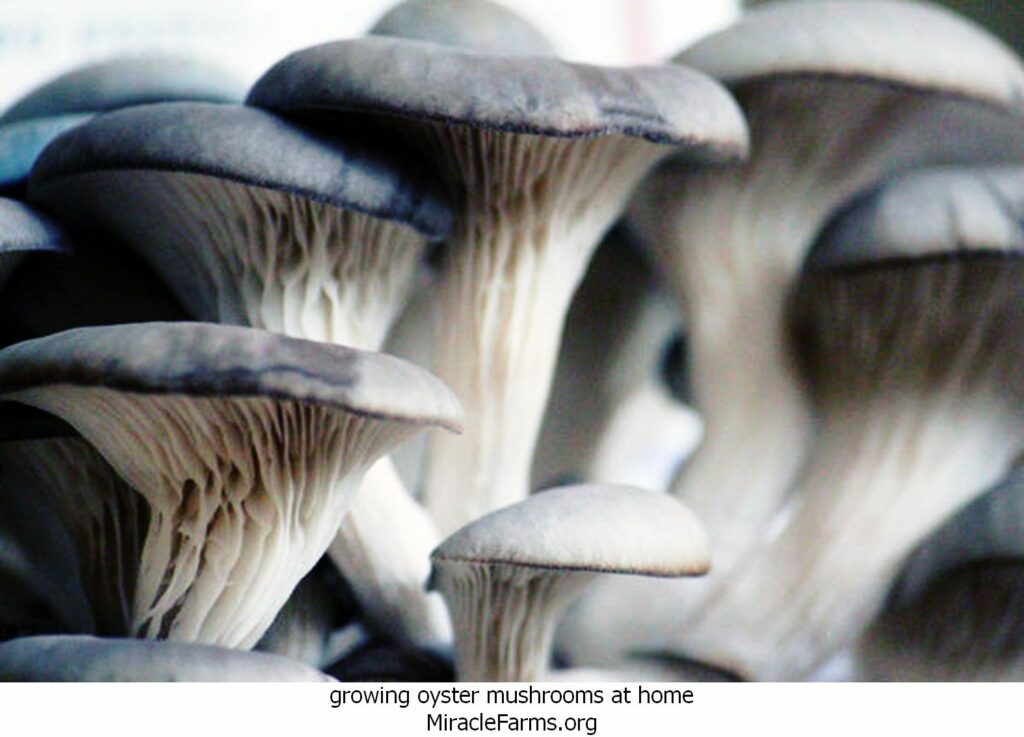
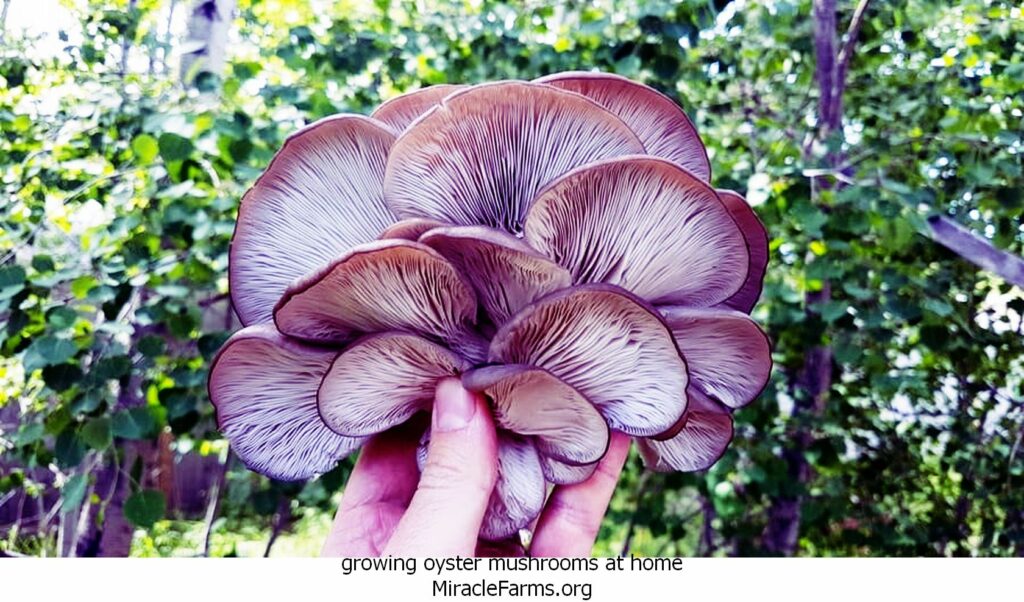
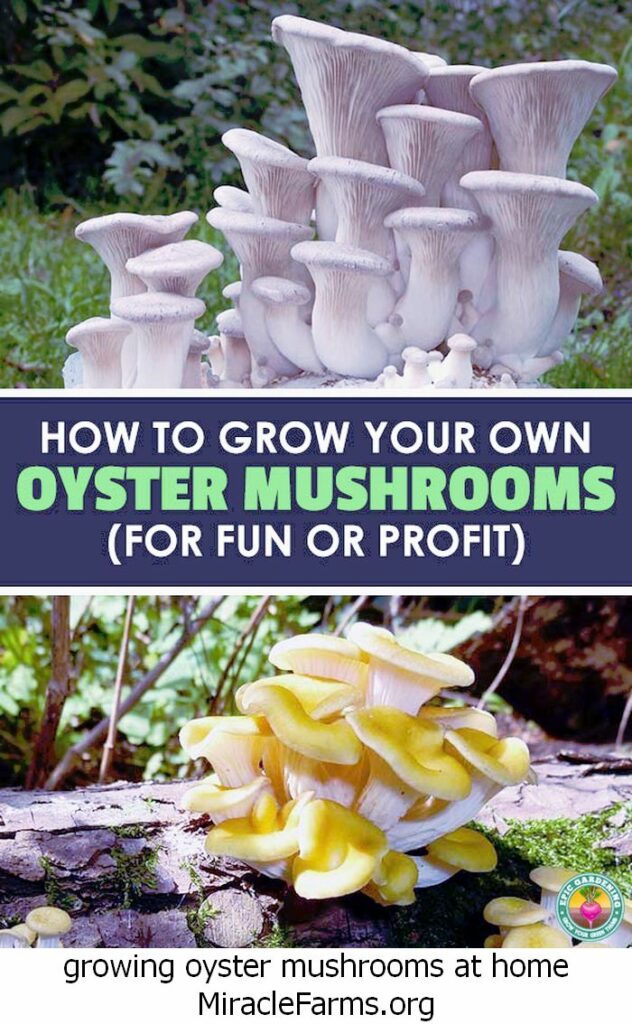
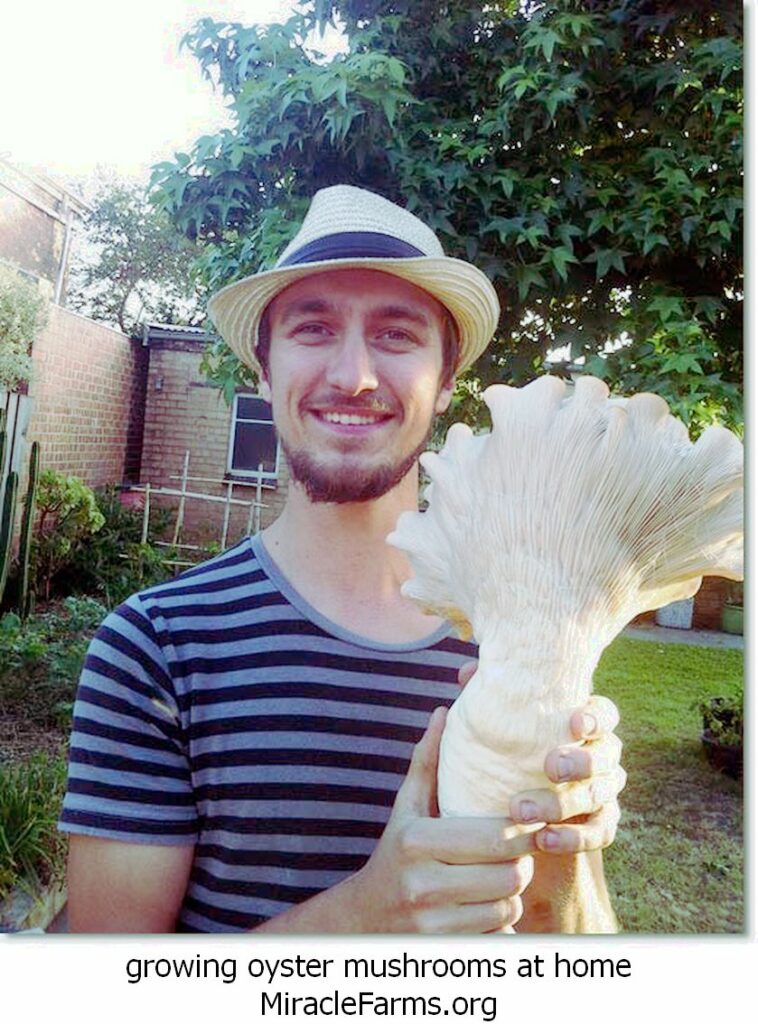
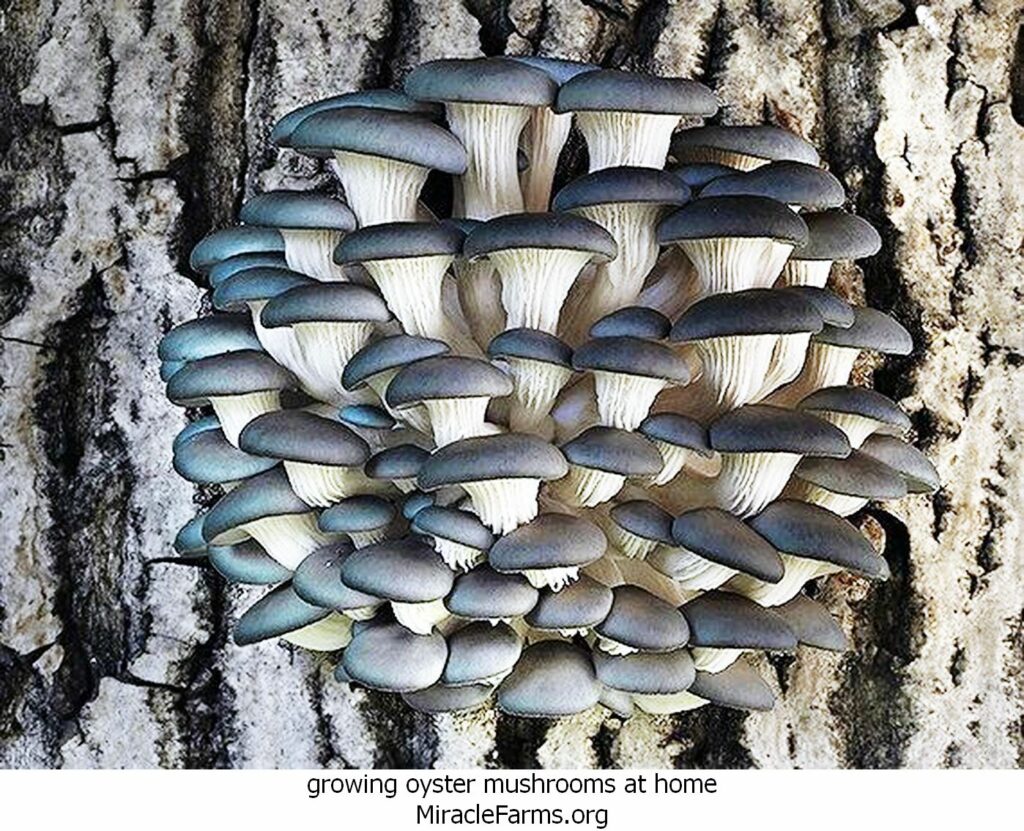
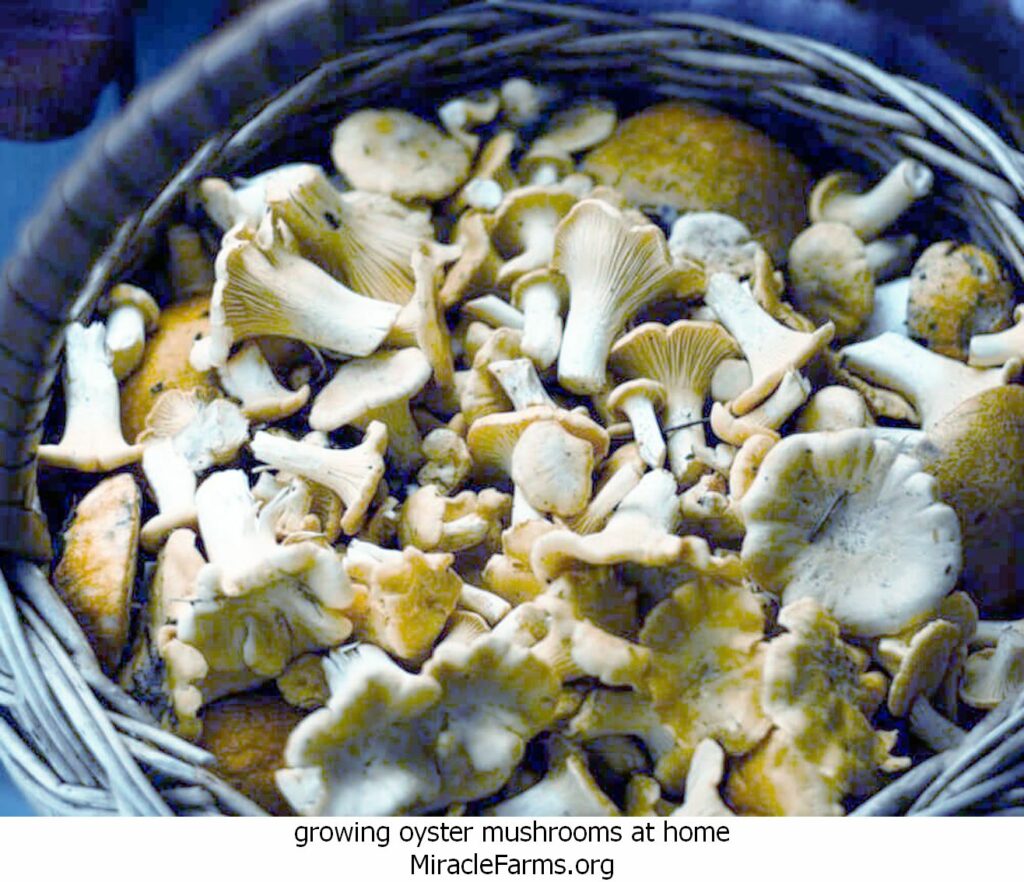
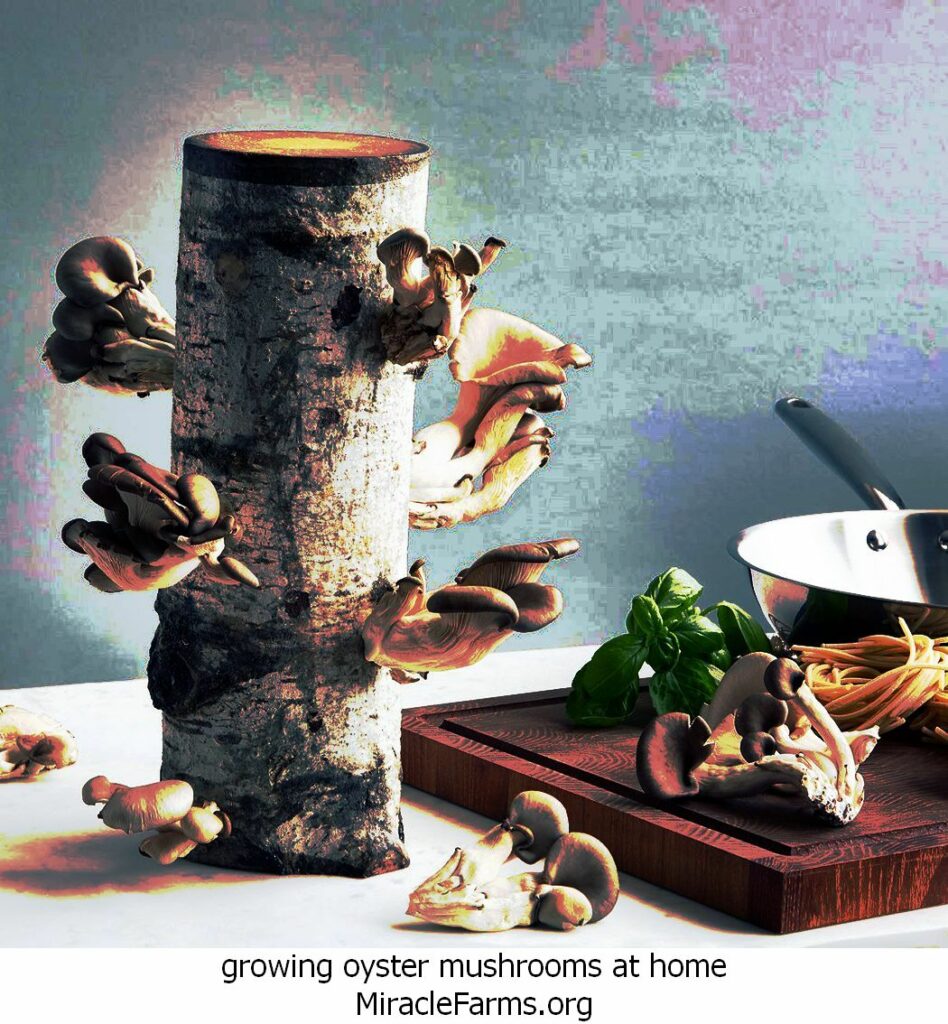
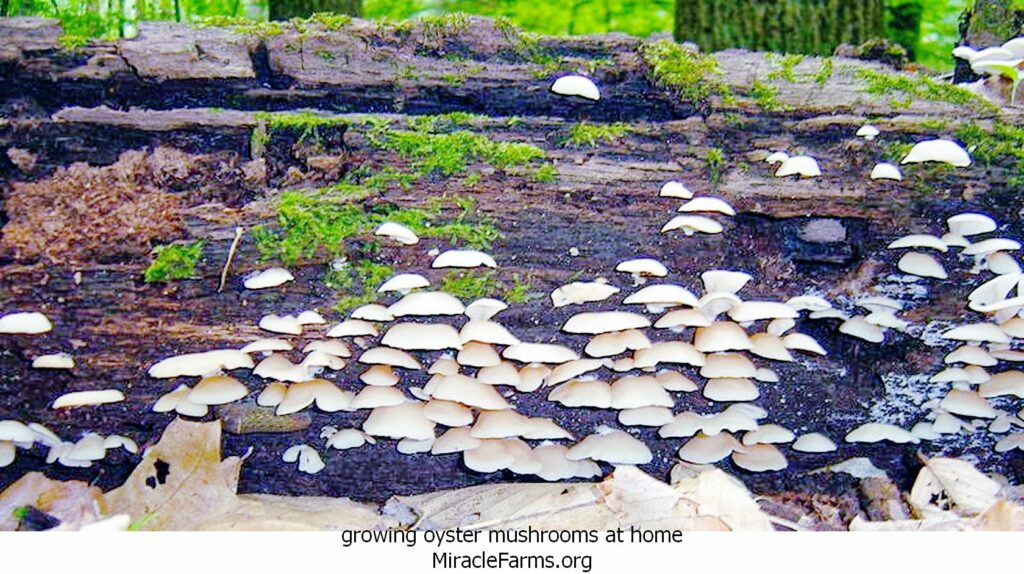
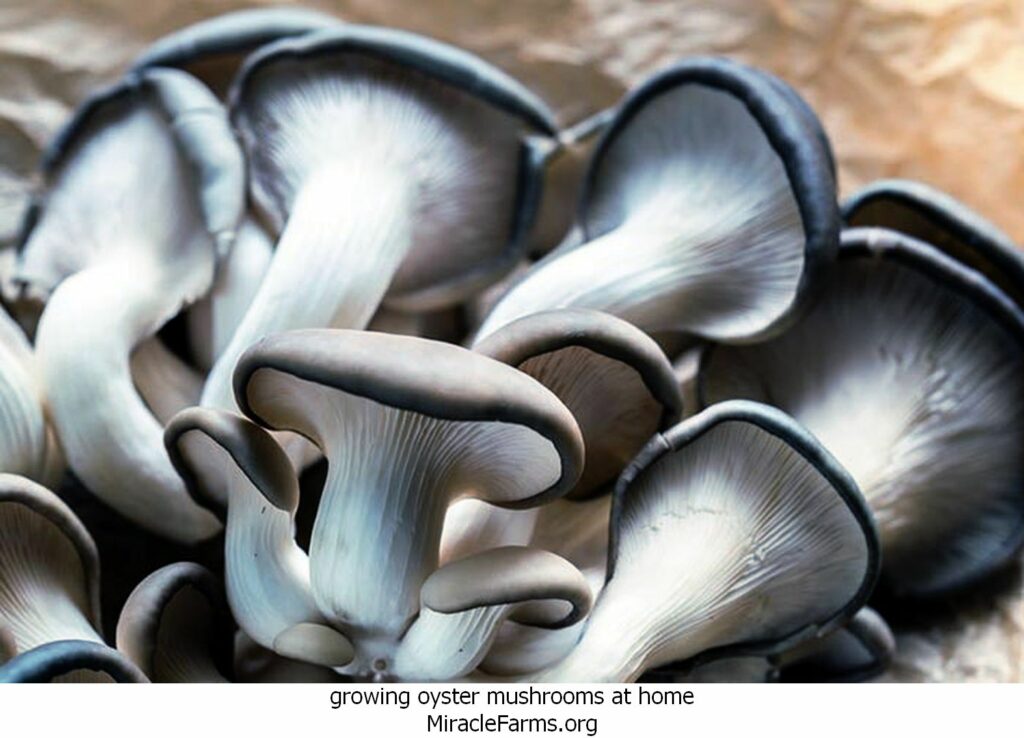
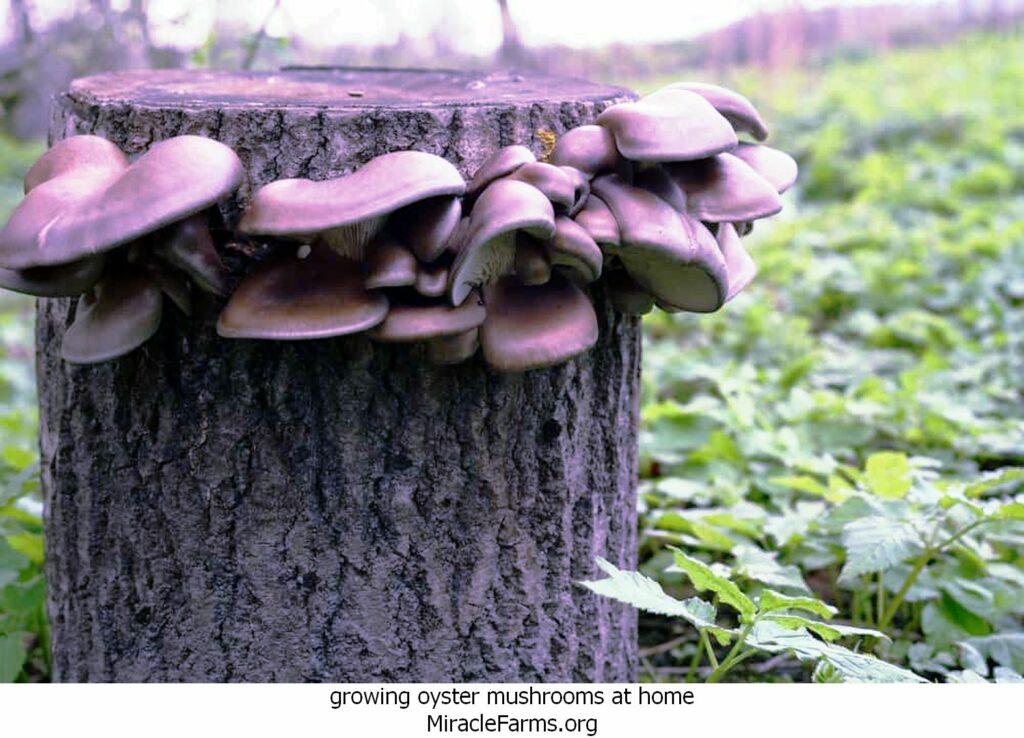
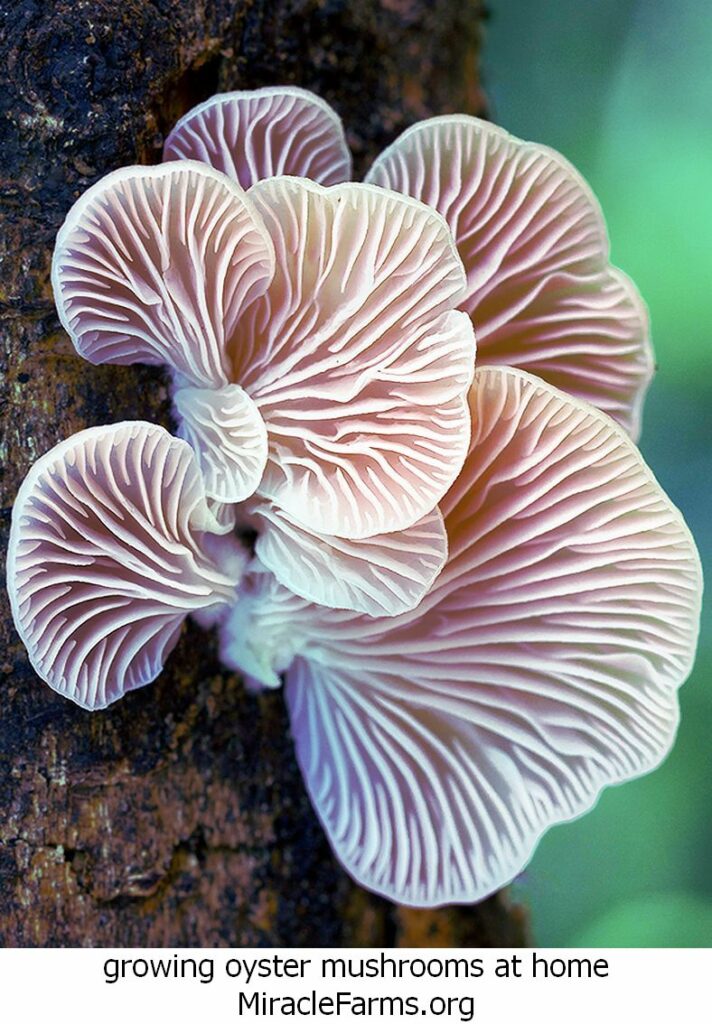
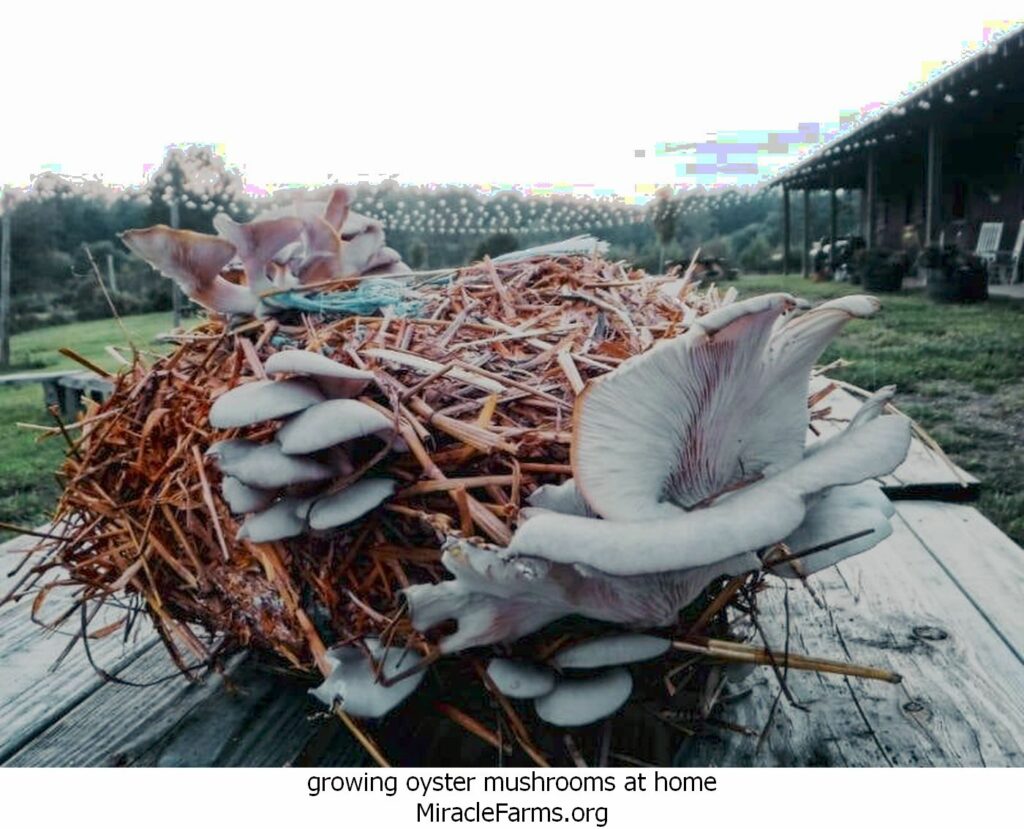
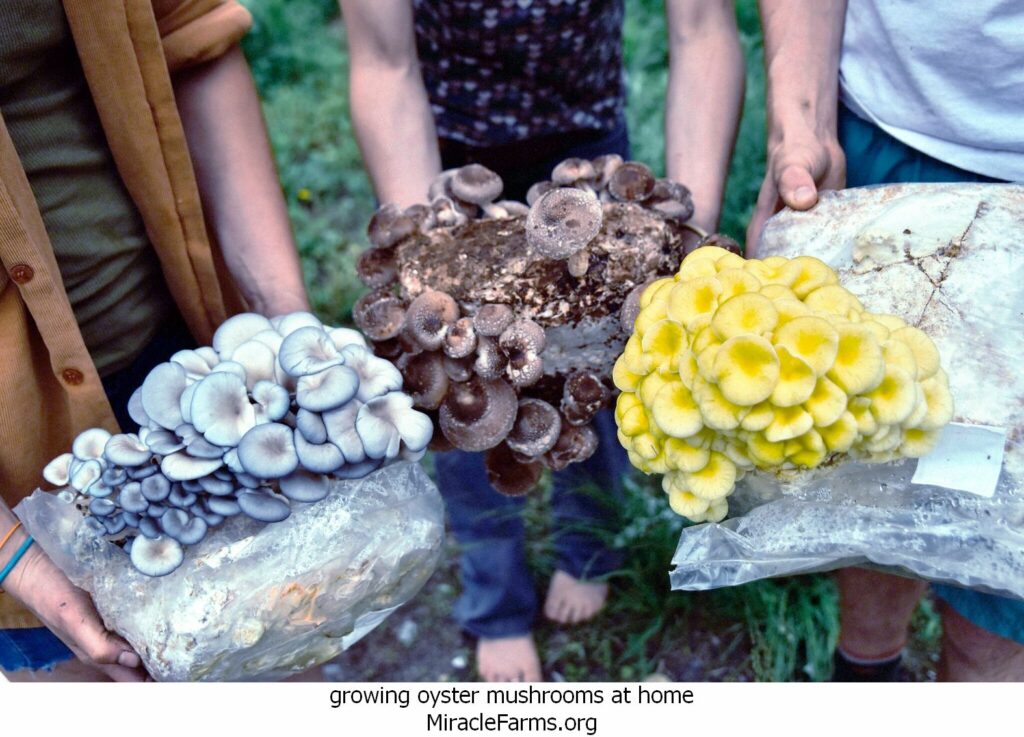
Growing oyster mushrooms (genus Pleurotus) is a popular endeavor due to their delicious taste, rapid growth, and relative ease of cultivation. Here’s a detailed guide on how to grow oyster mushrooms:
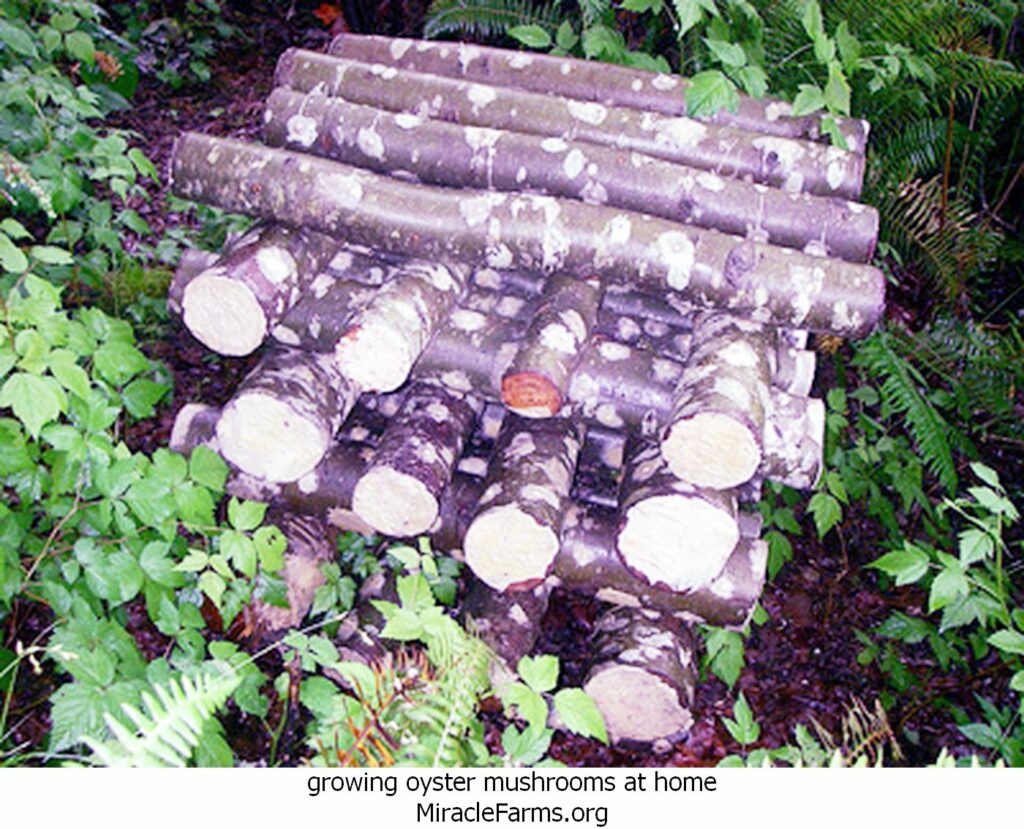
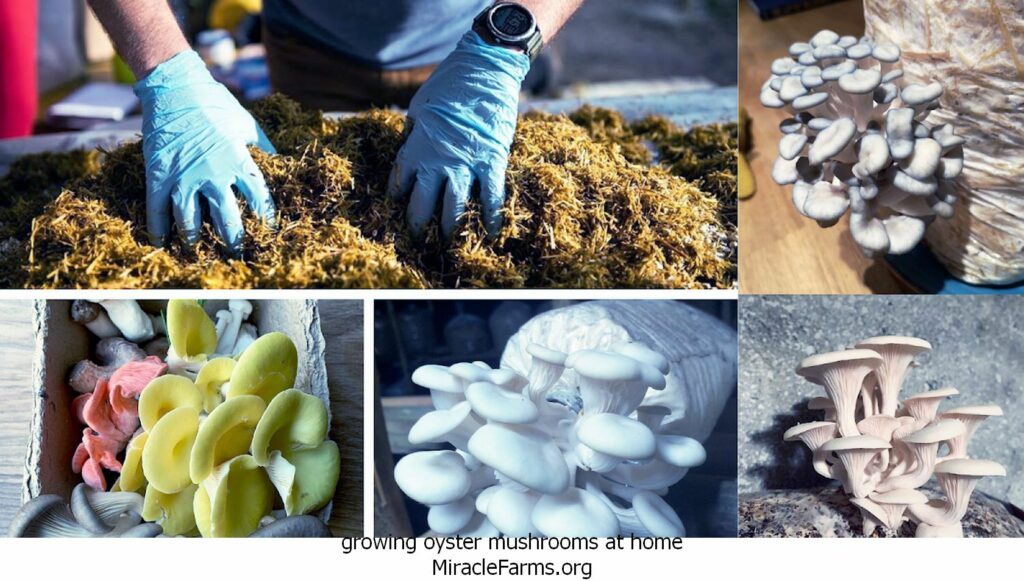
1. Selecting a Substrate:
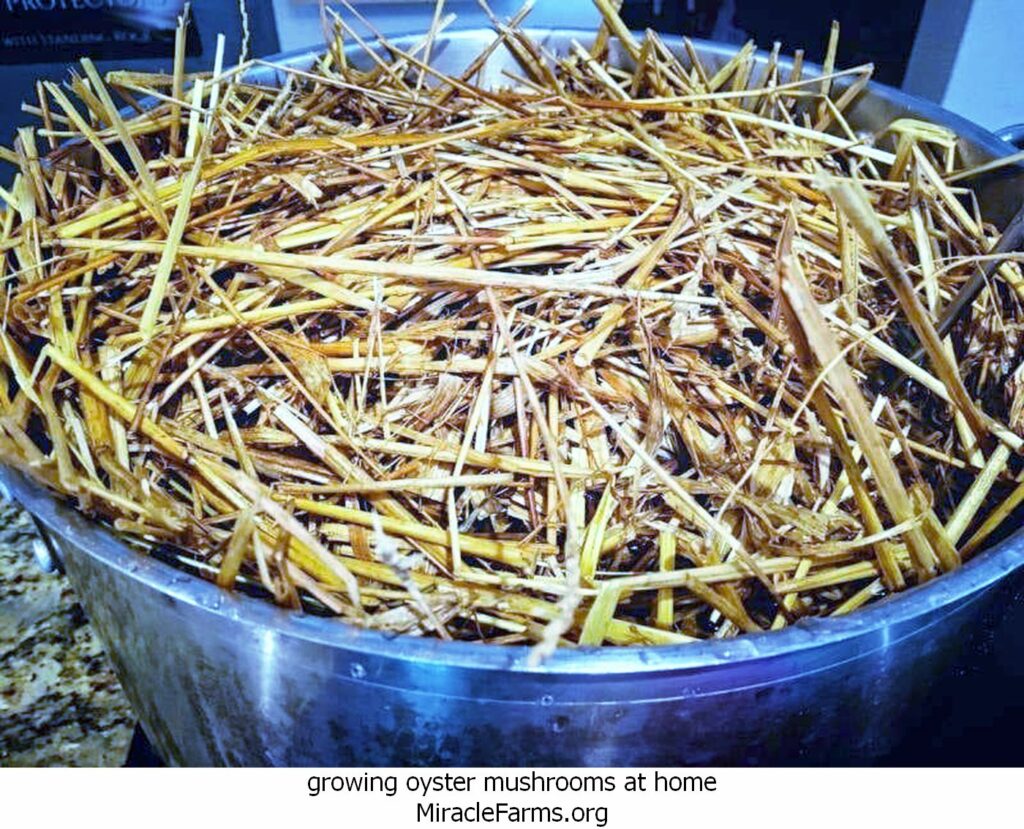
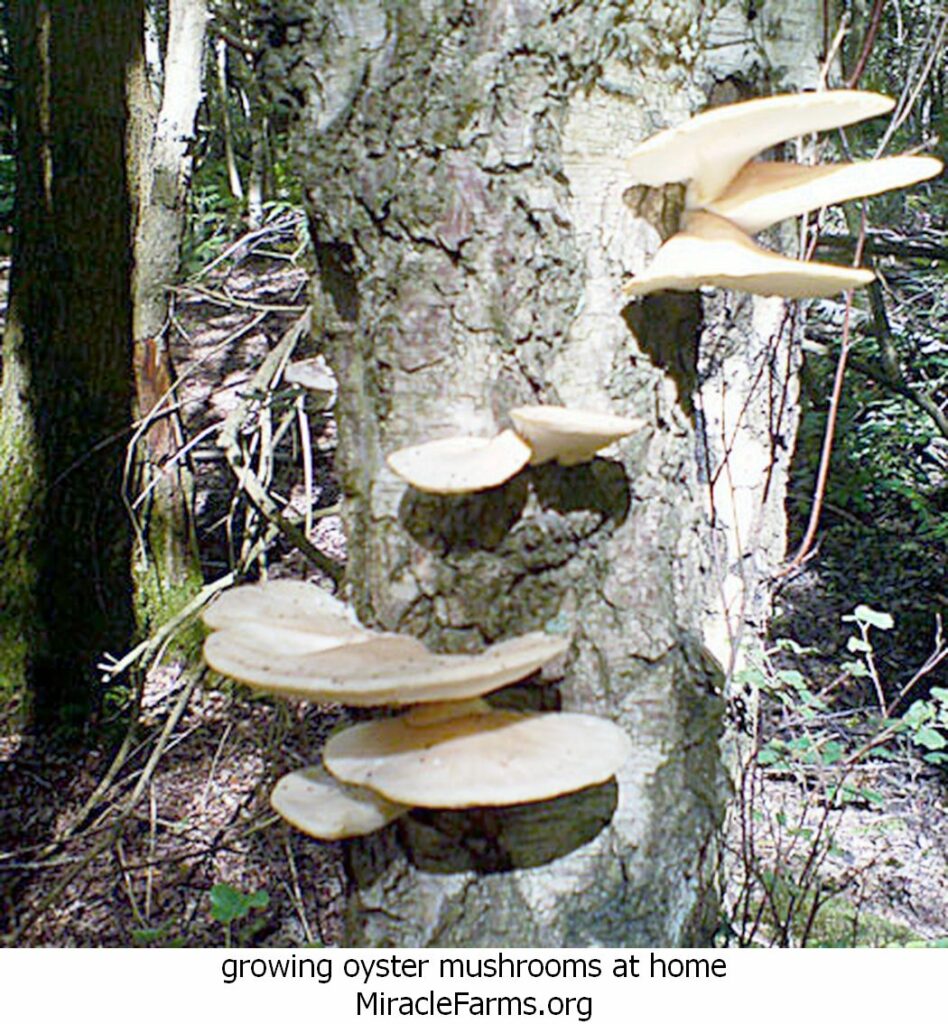
Oyster mushrooms can grow on a variety of substrates, but the most common are:
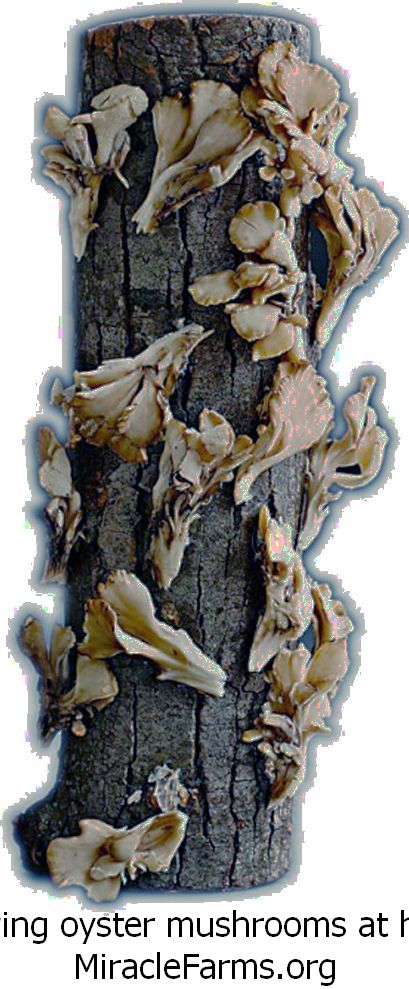
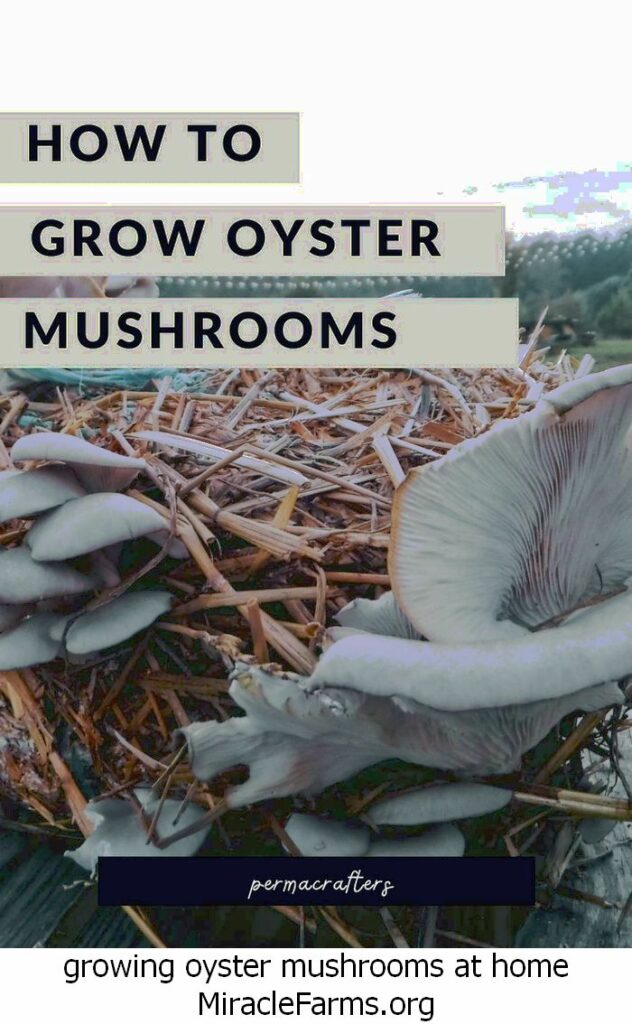
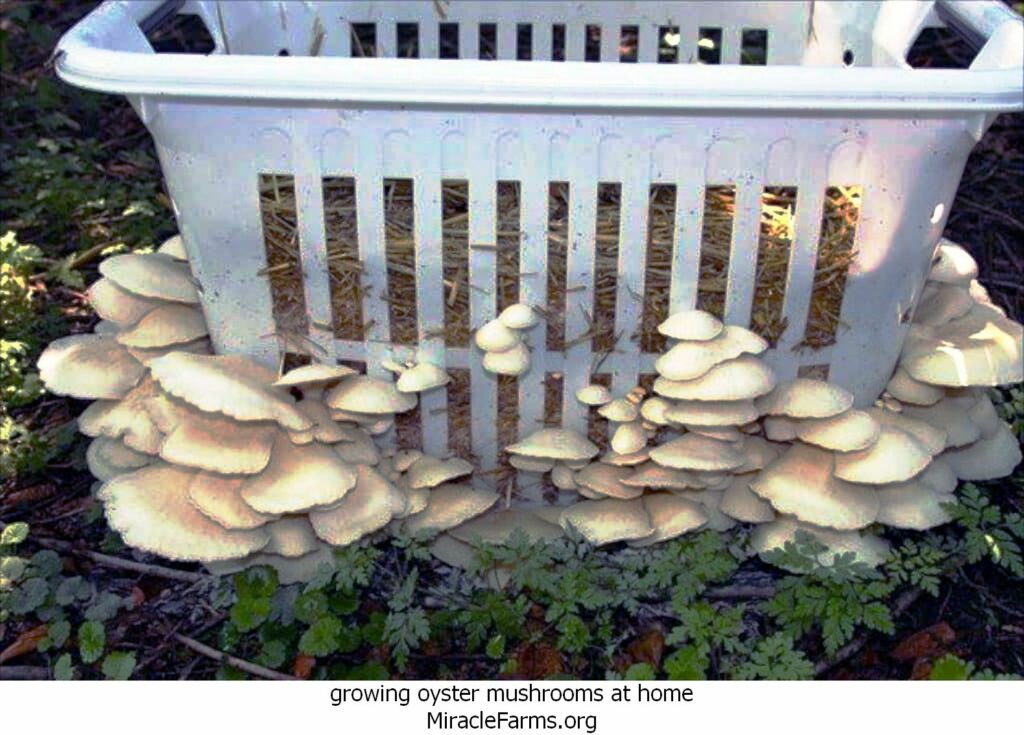
Straw (wheat, rice, or barley)
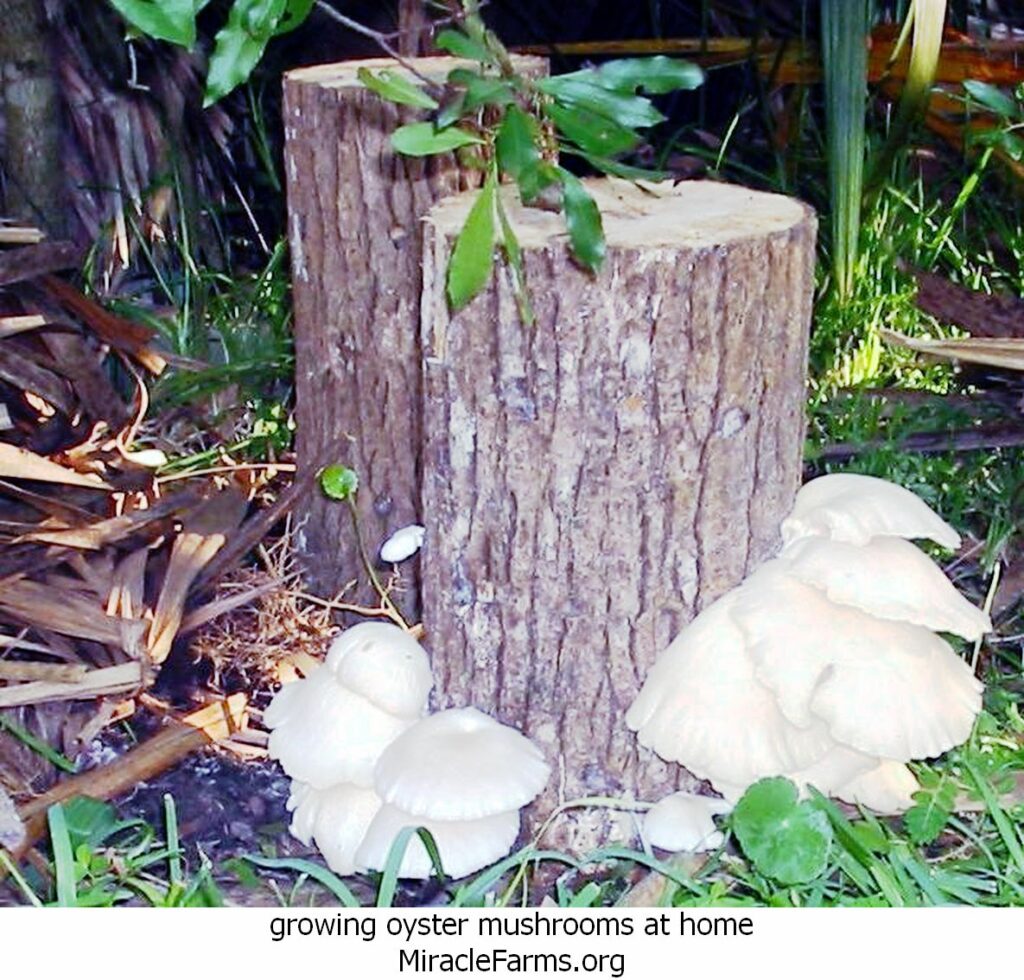
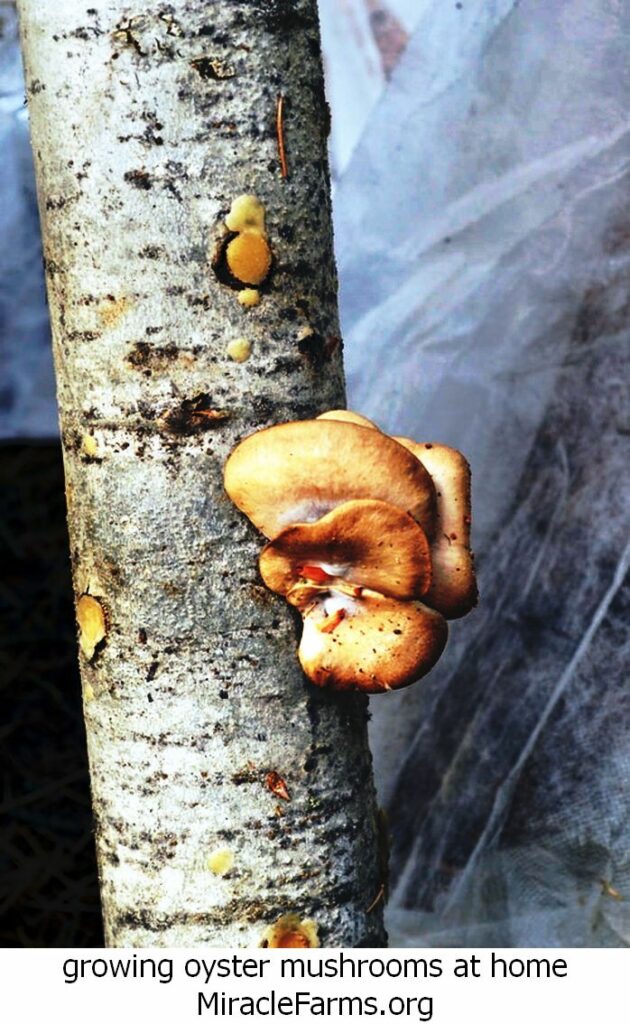
Hardwood sawdust or wood chips
Coffee grounds
Cardboard
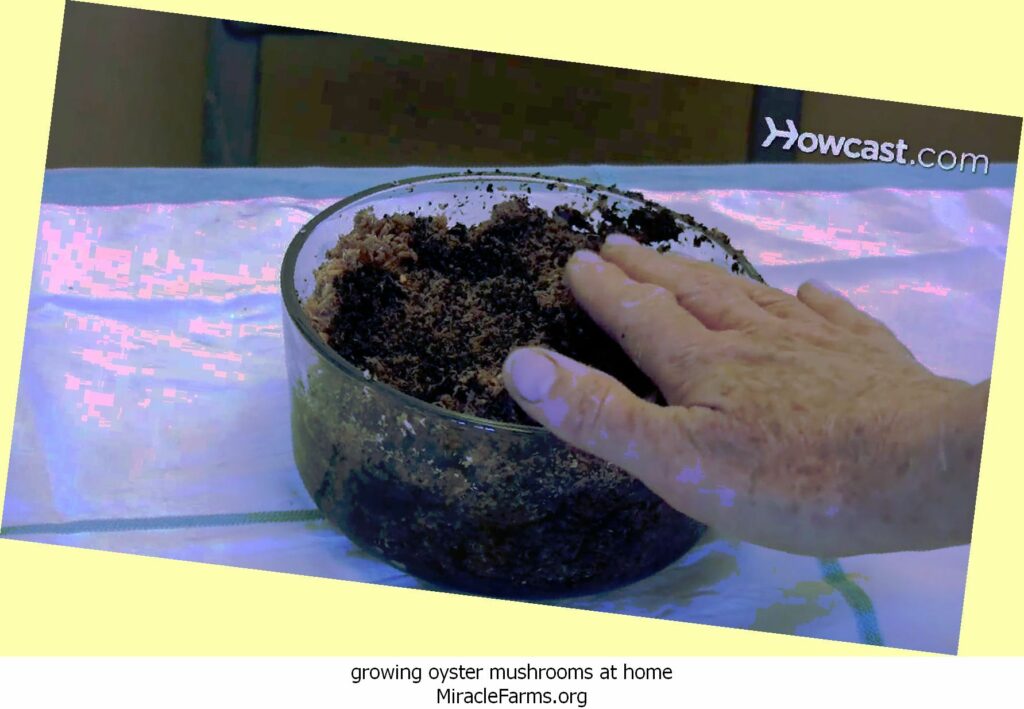
2. Preparing the Substrate:
Straw: Chop or cut it into short pieces, then pasteurize by soaking in hot water (around 75°C or 165°F) for 1-2 hours. Drain and cool before use.
Sawdust: Often mixed with wheat bran or another nitrogen source. It should be sterilized using a pressure cooker or autoclave.
Coffee Grounds: Can be used fresh after brewing. They should be pasteurized if they’ve been sitting for a while.
Cardboard: Soak in water and then layer with mushroom spawn.
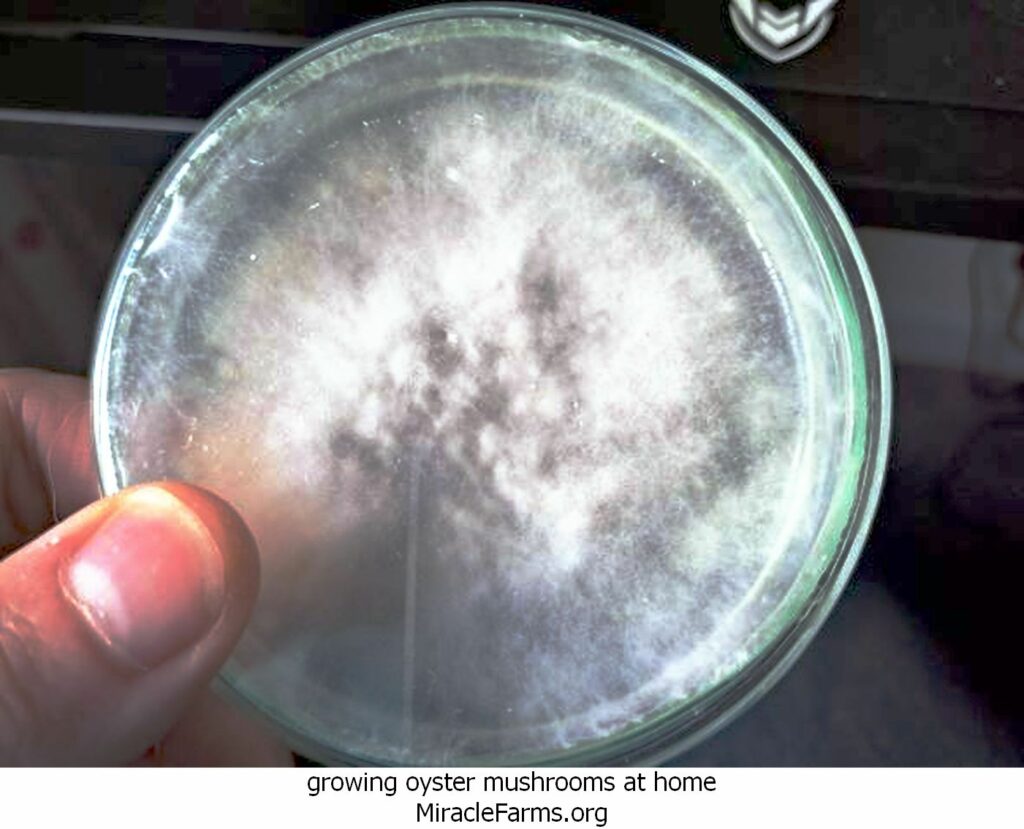
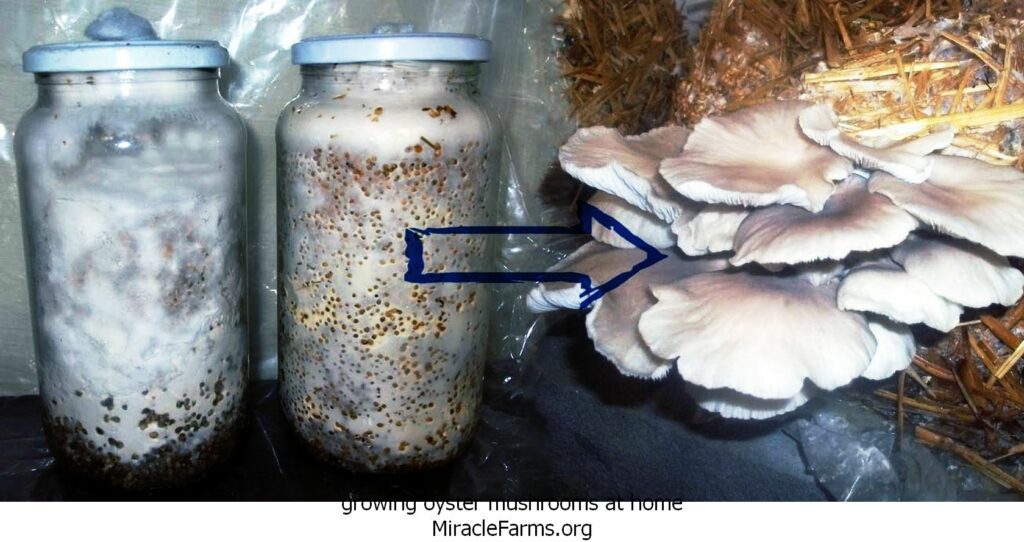
3. Inoculation:
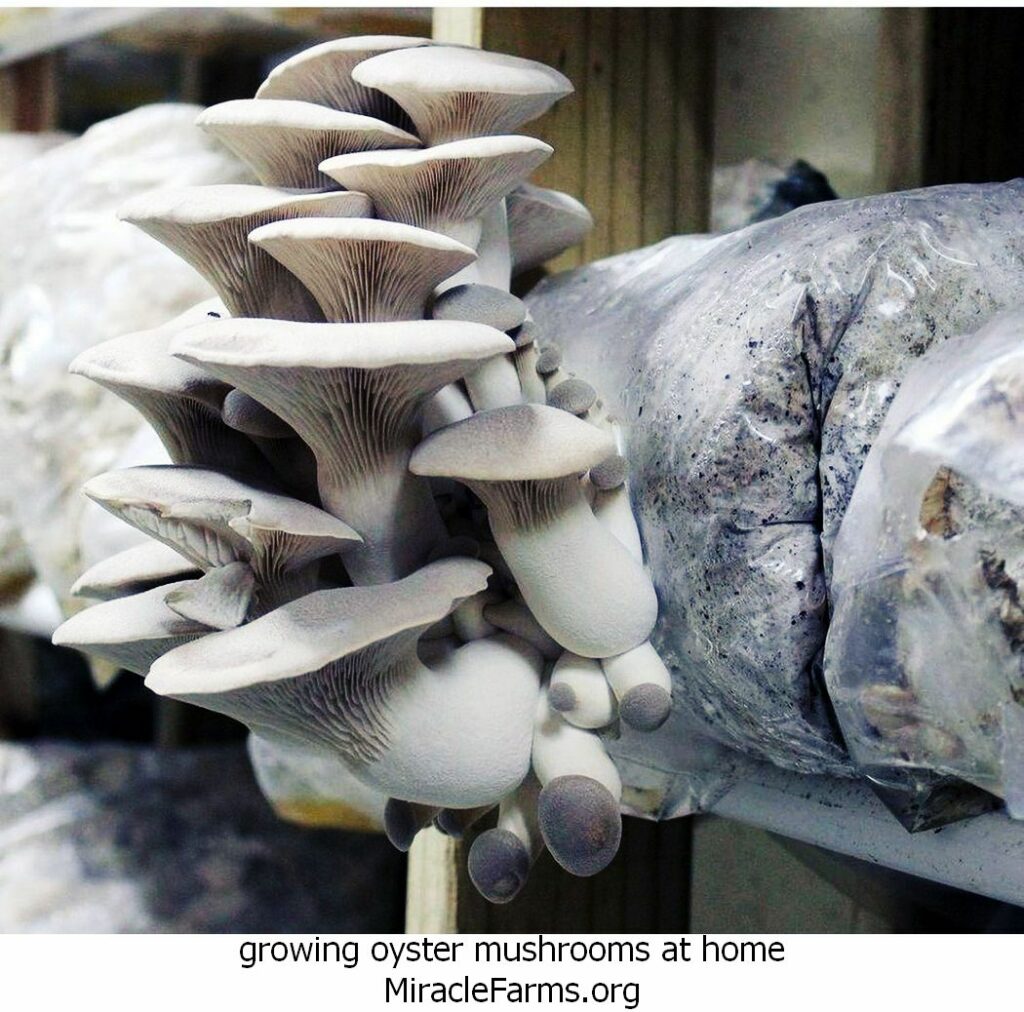
Purchase oyster mushroom spawn (either grain spawn or sawdust spawn) from a reputable supplier.
In a clean environment, mix the spawn with your prepared substrate. This process is called “inoculation.”
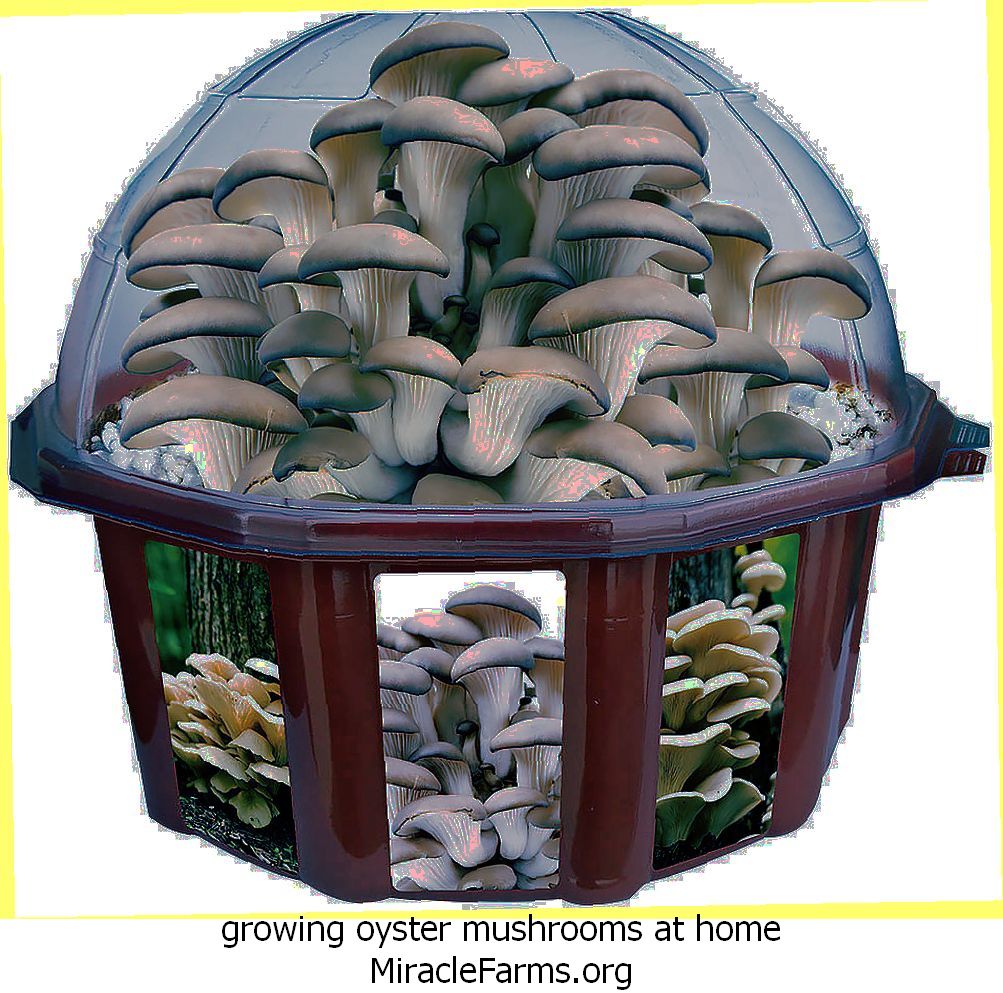
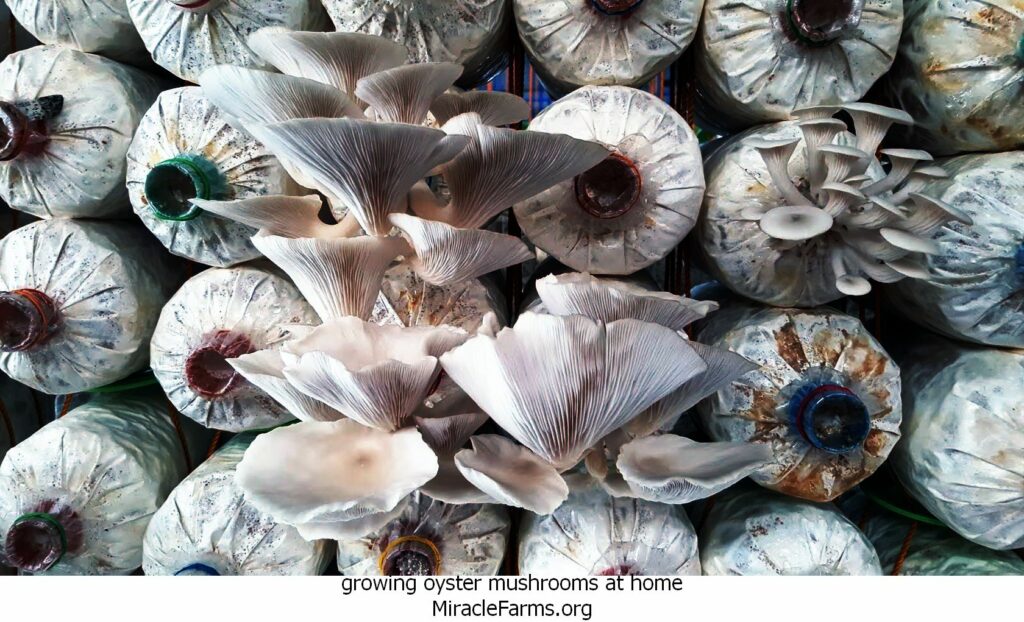
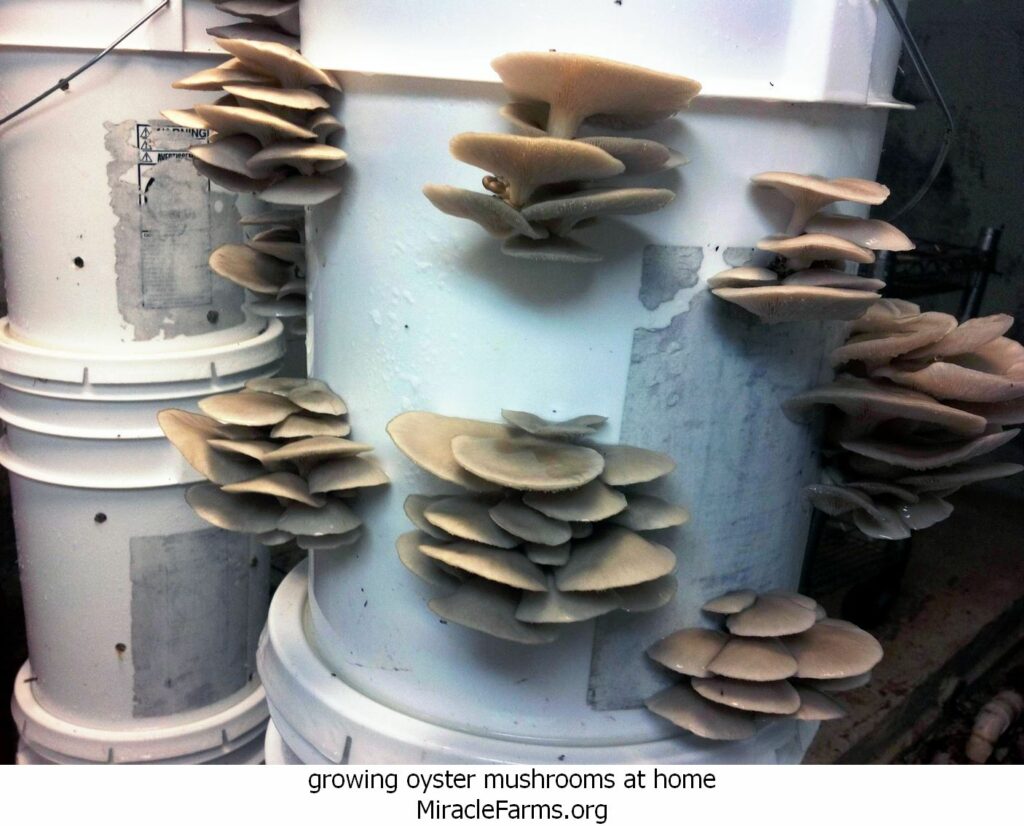
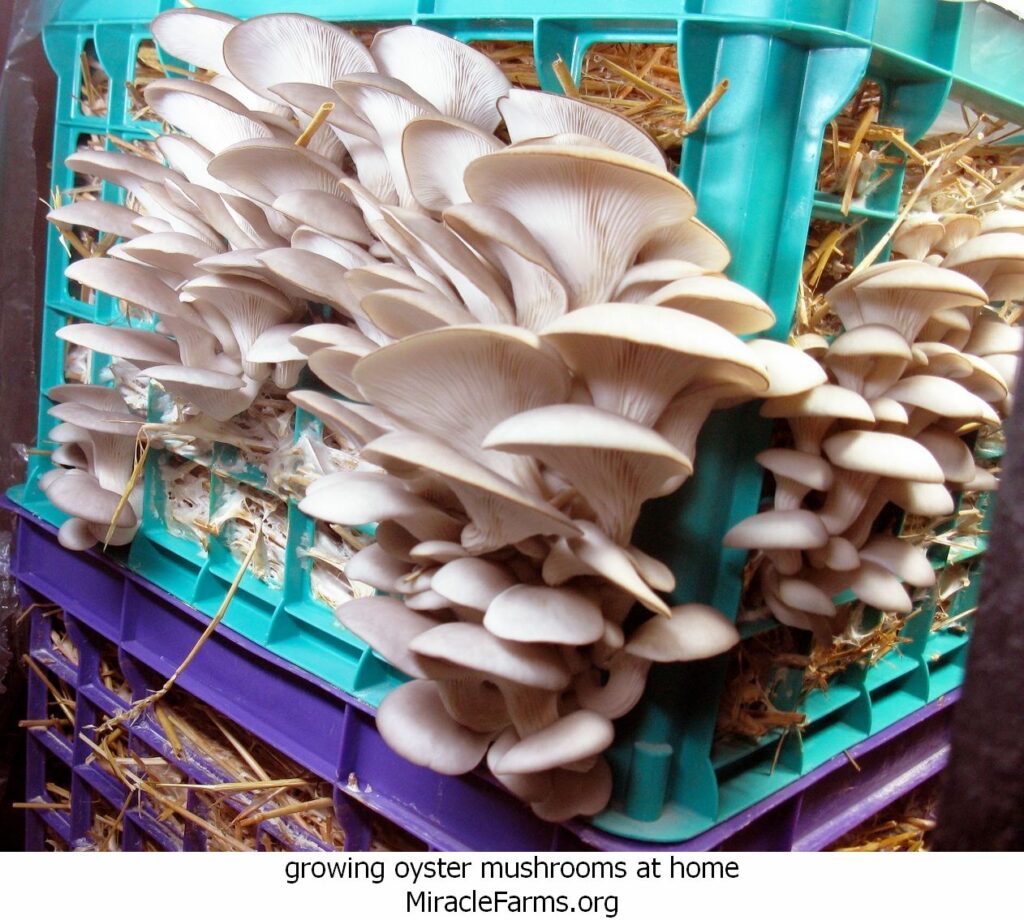
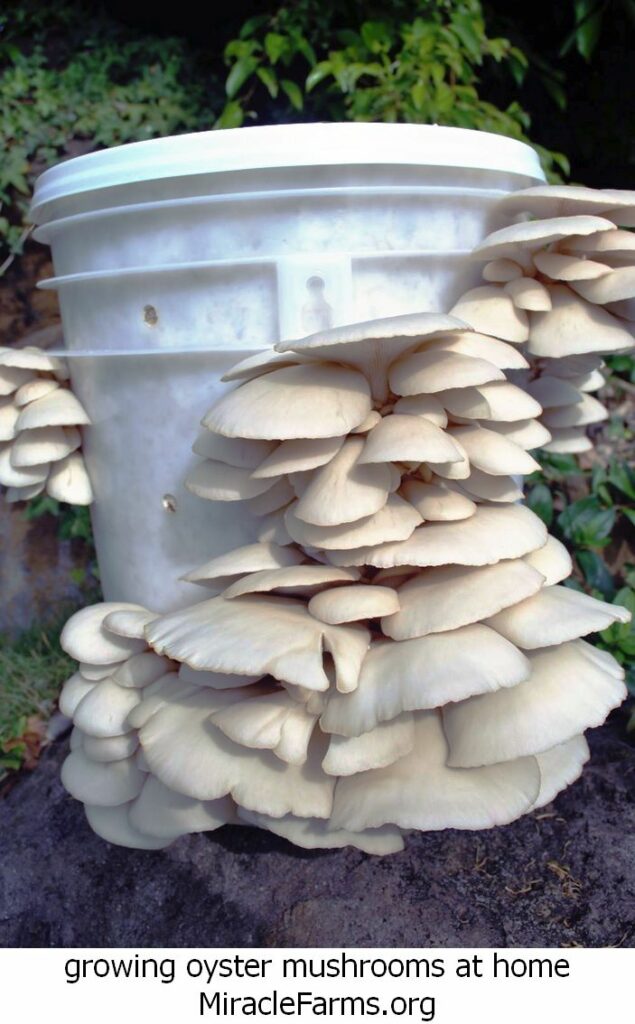
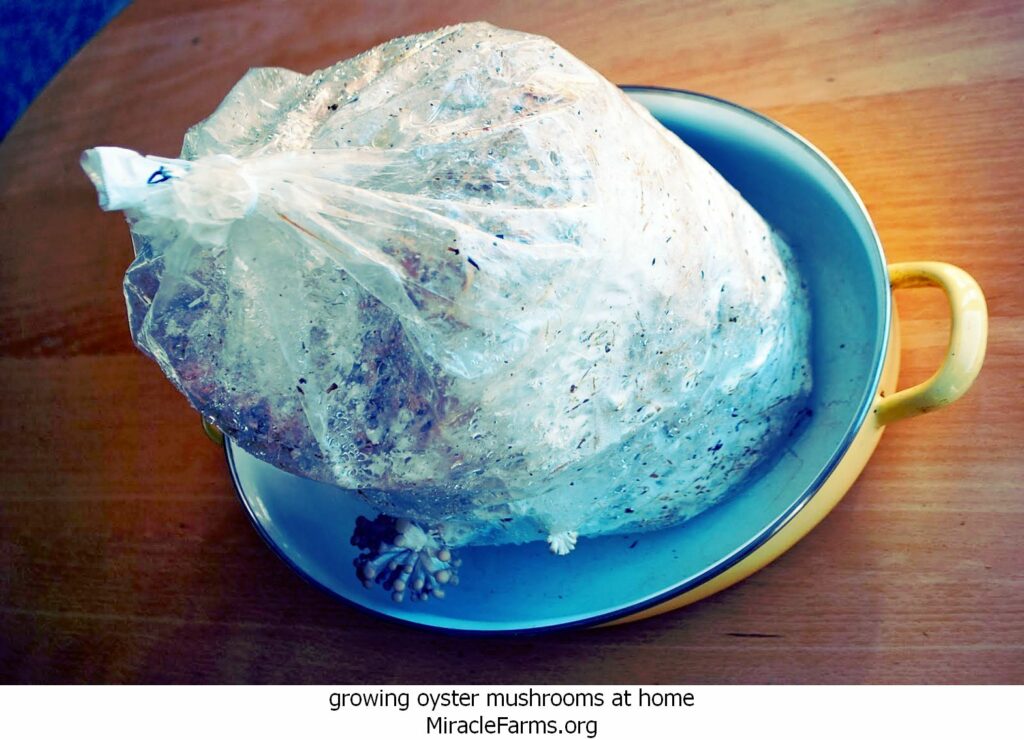
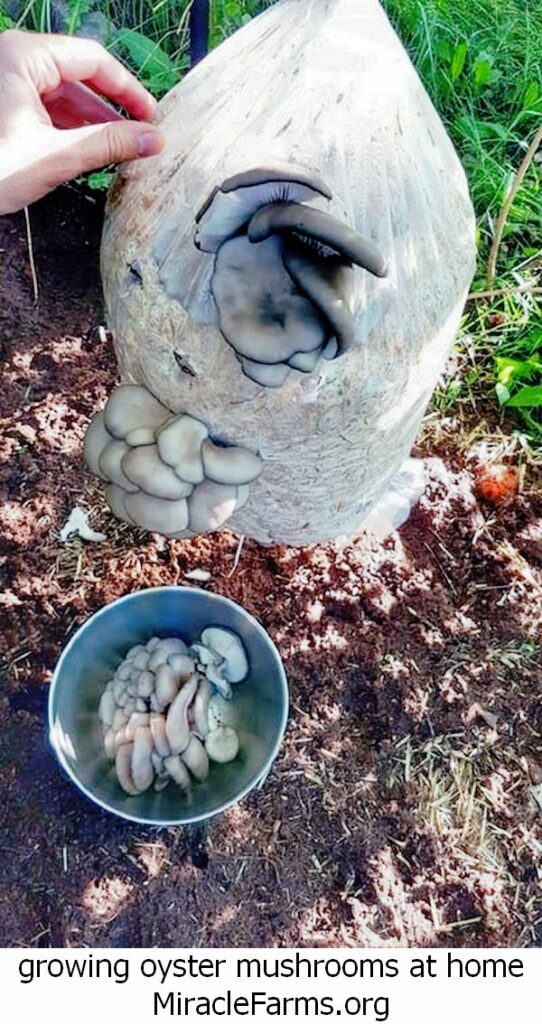
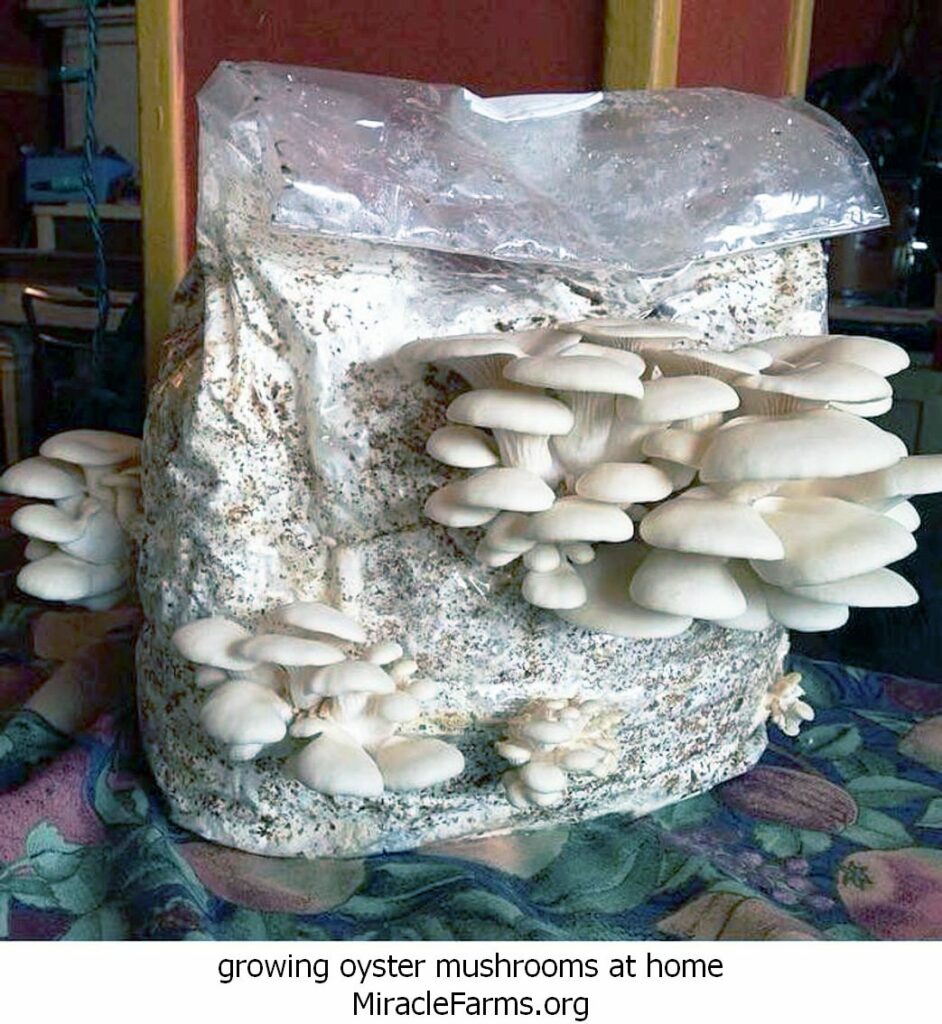
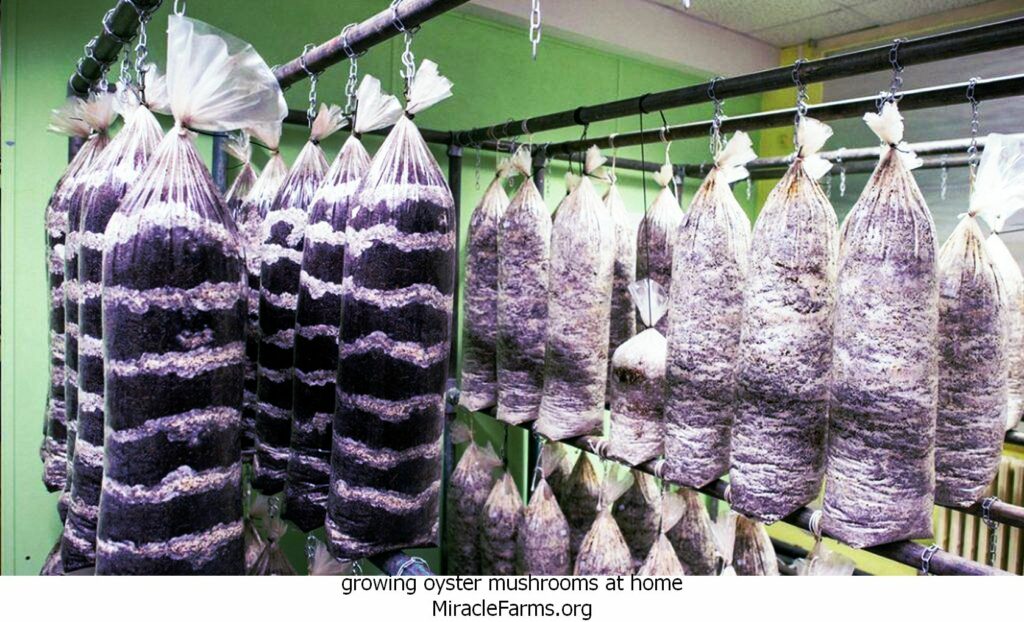
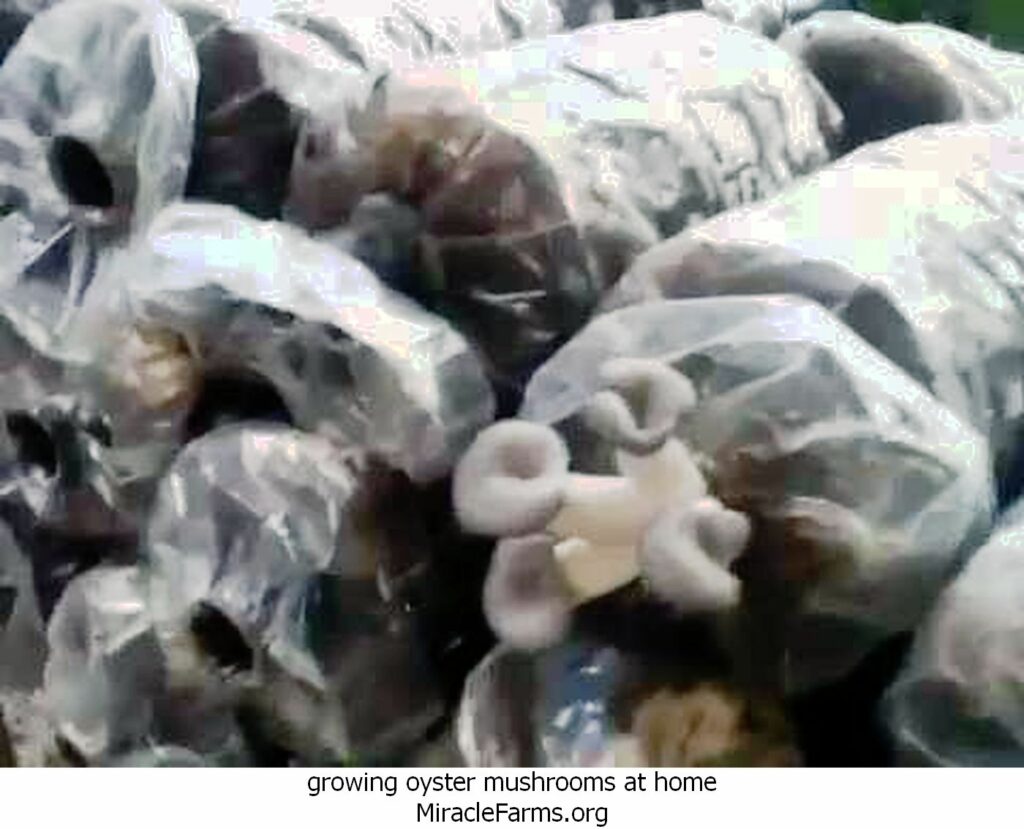
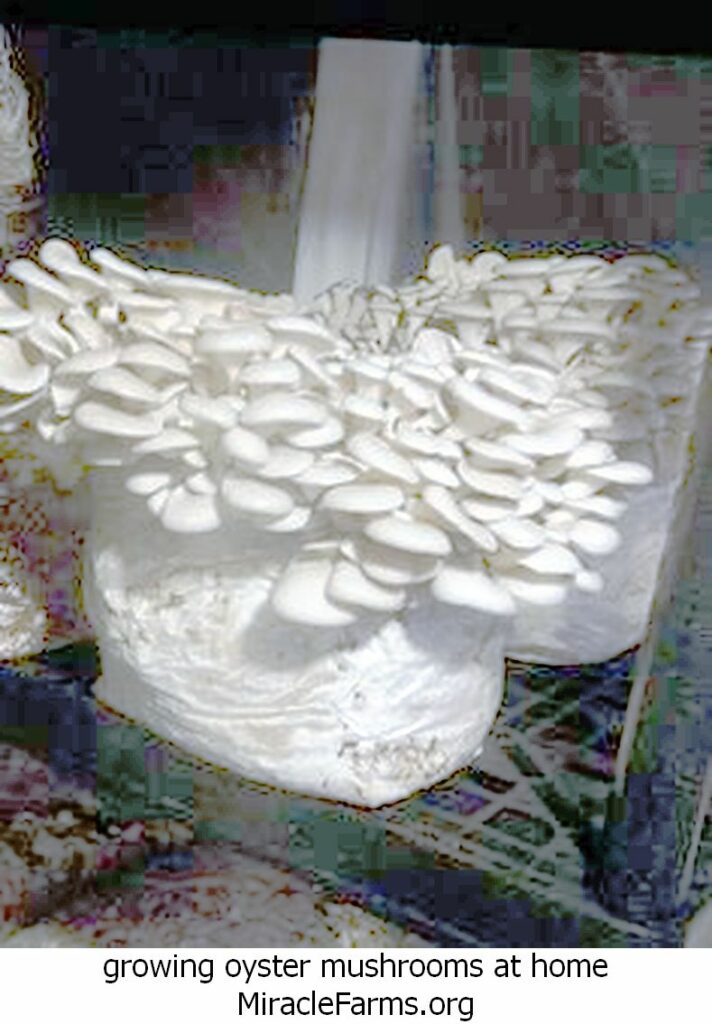
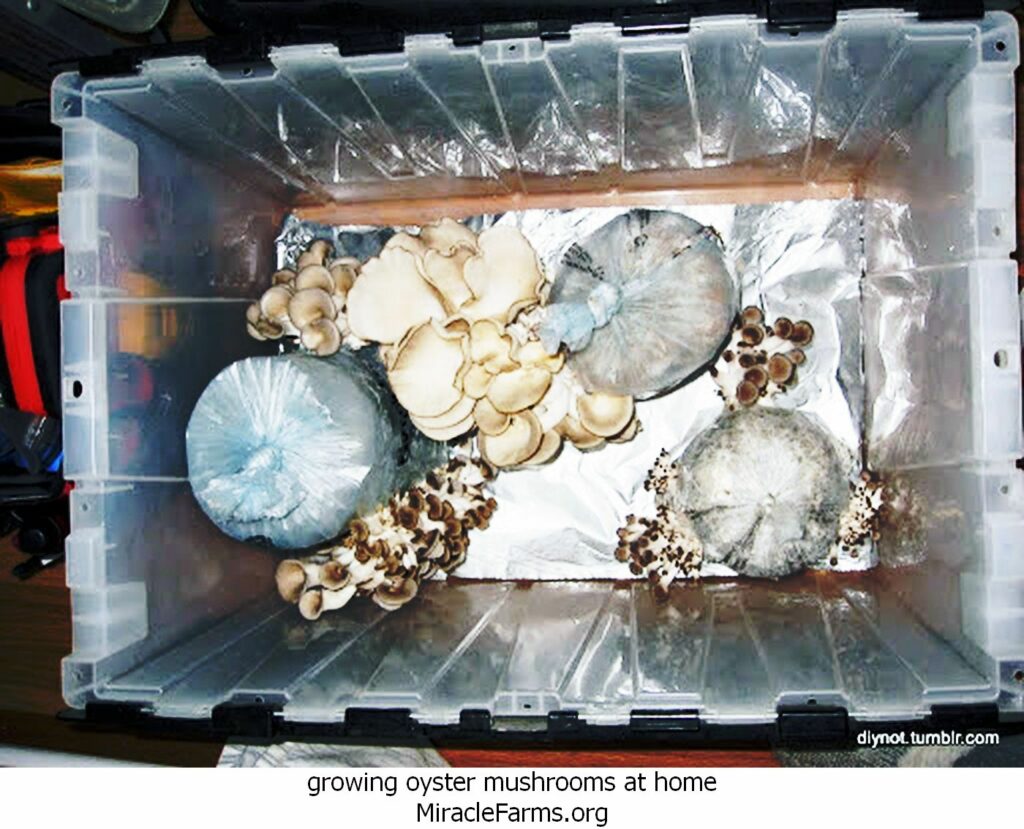
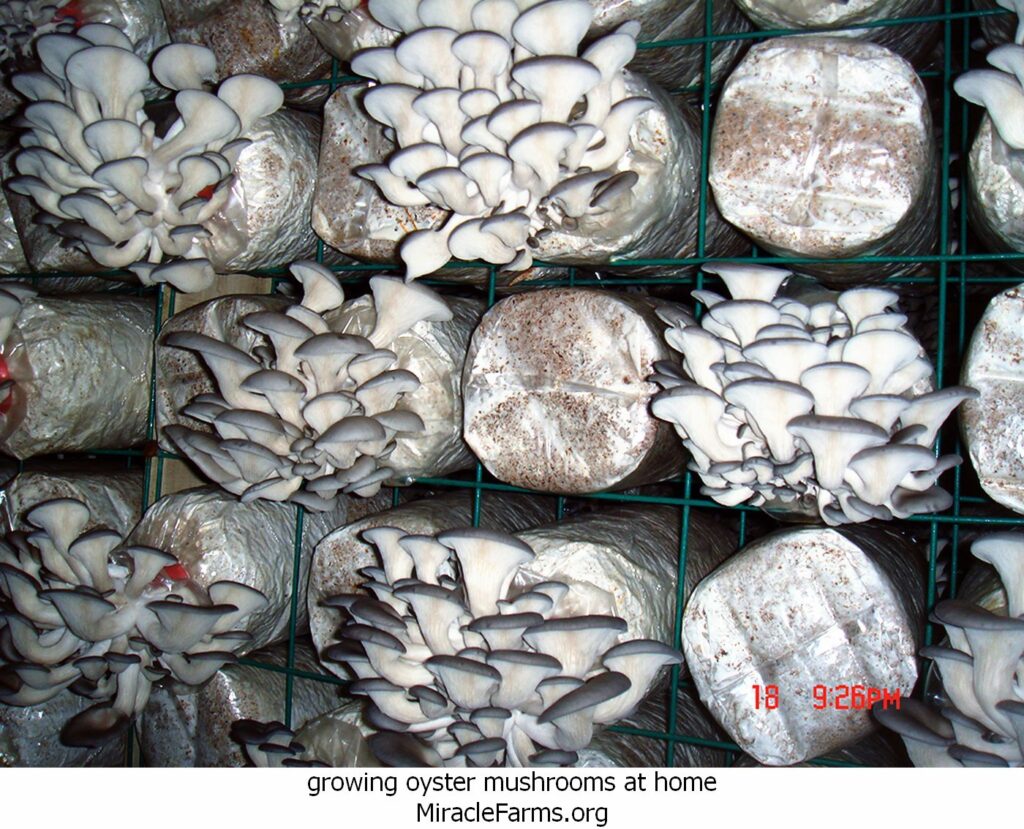
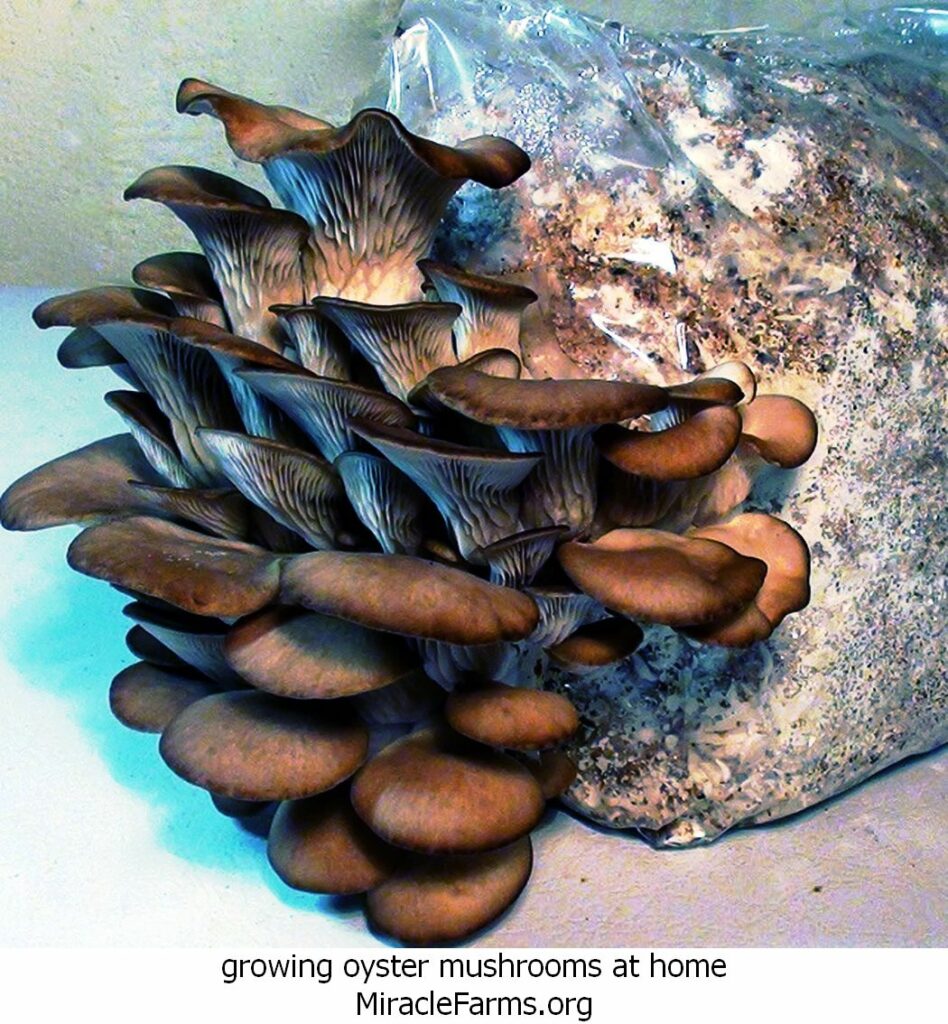
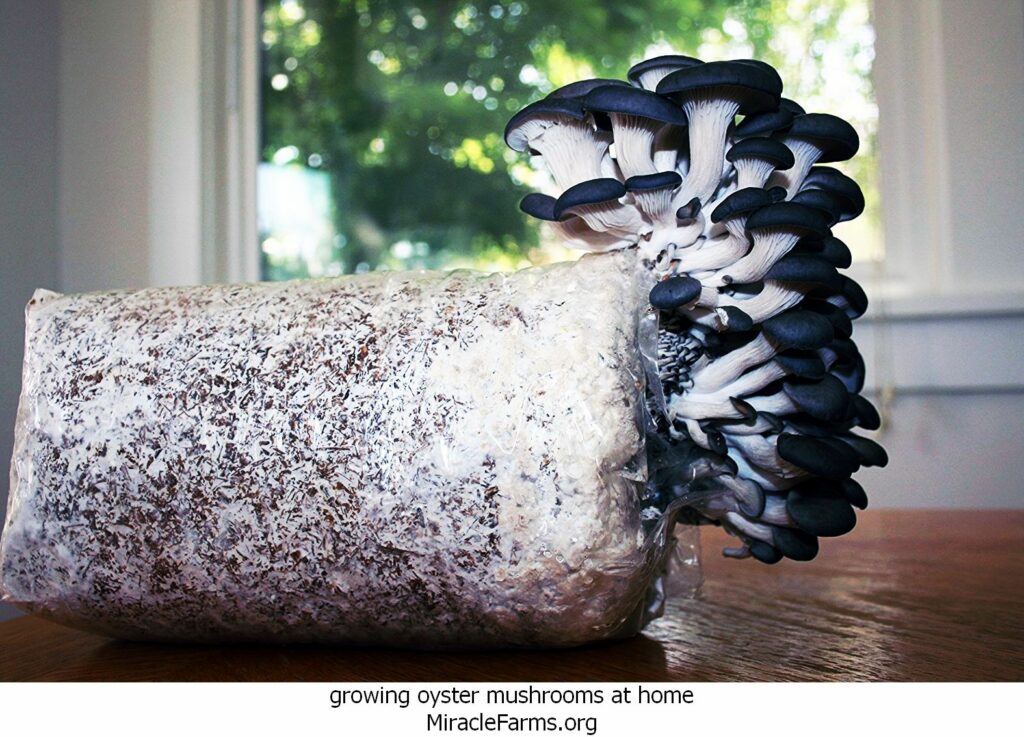
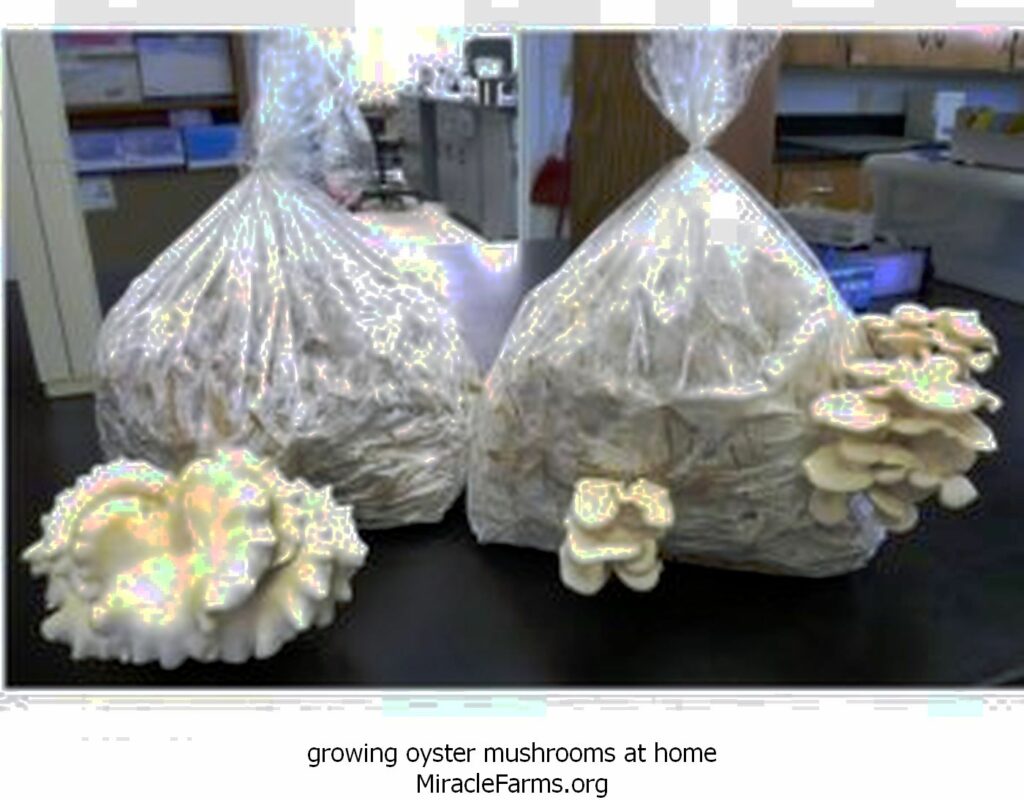
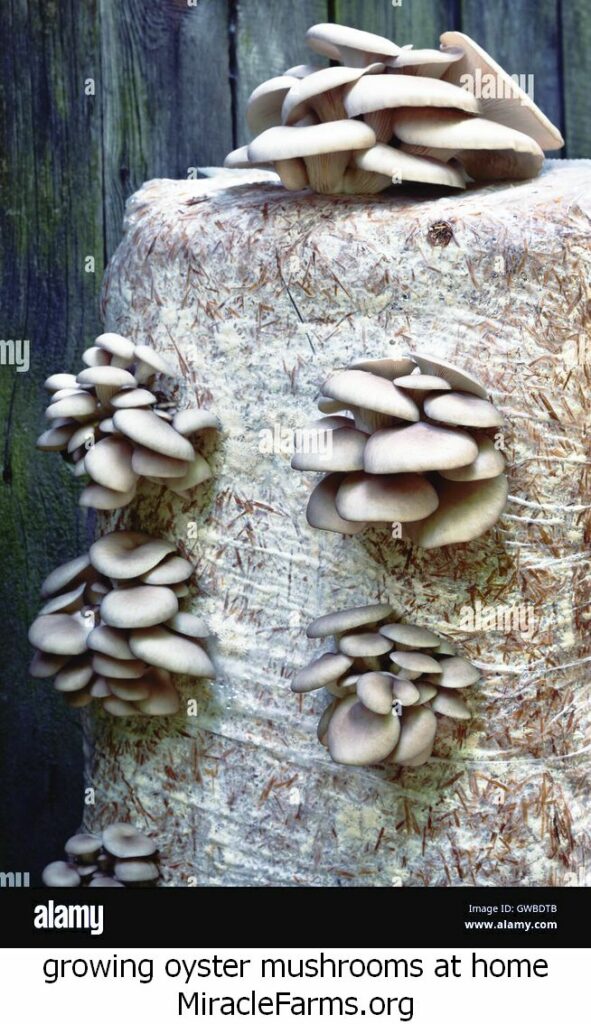
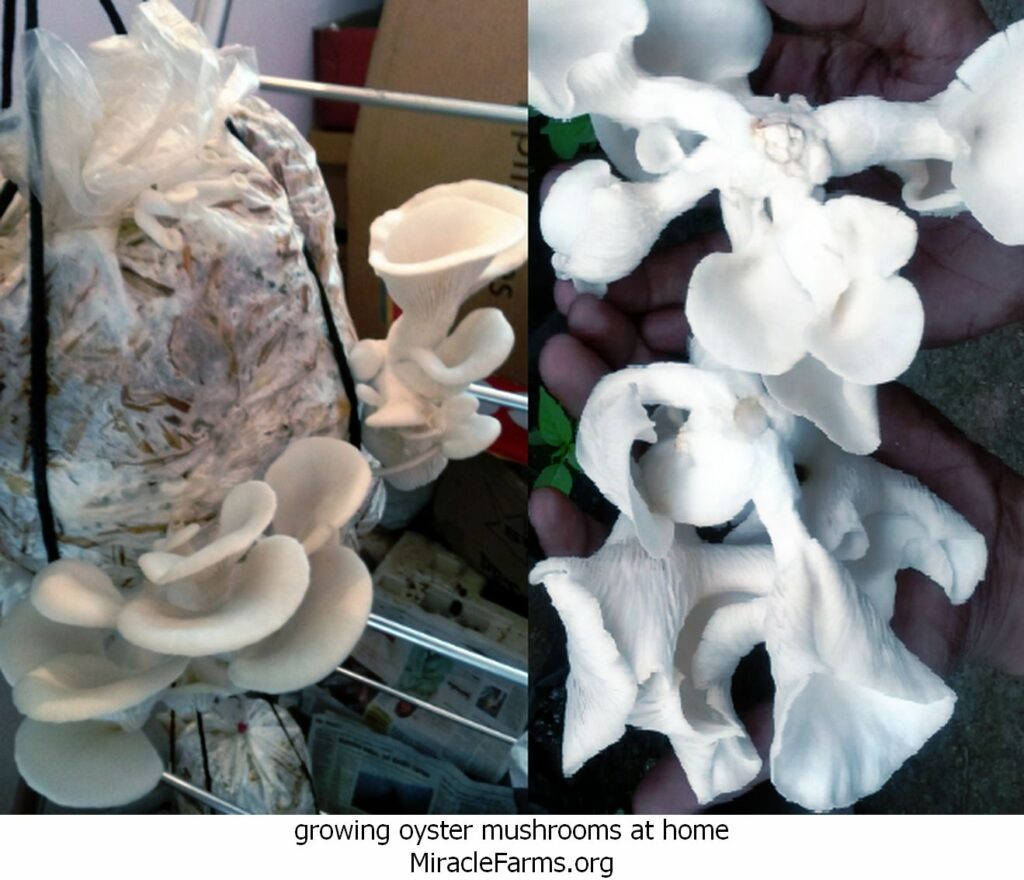
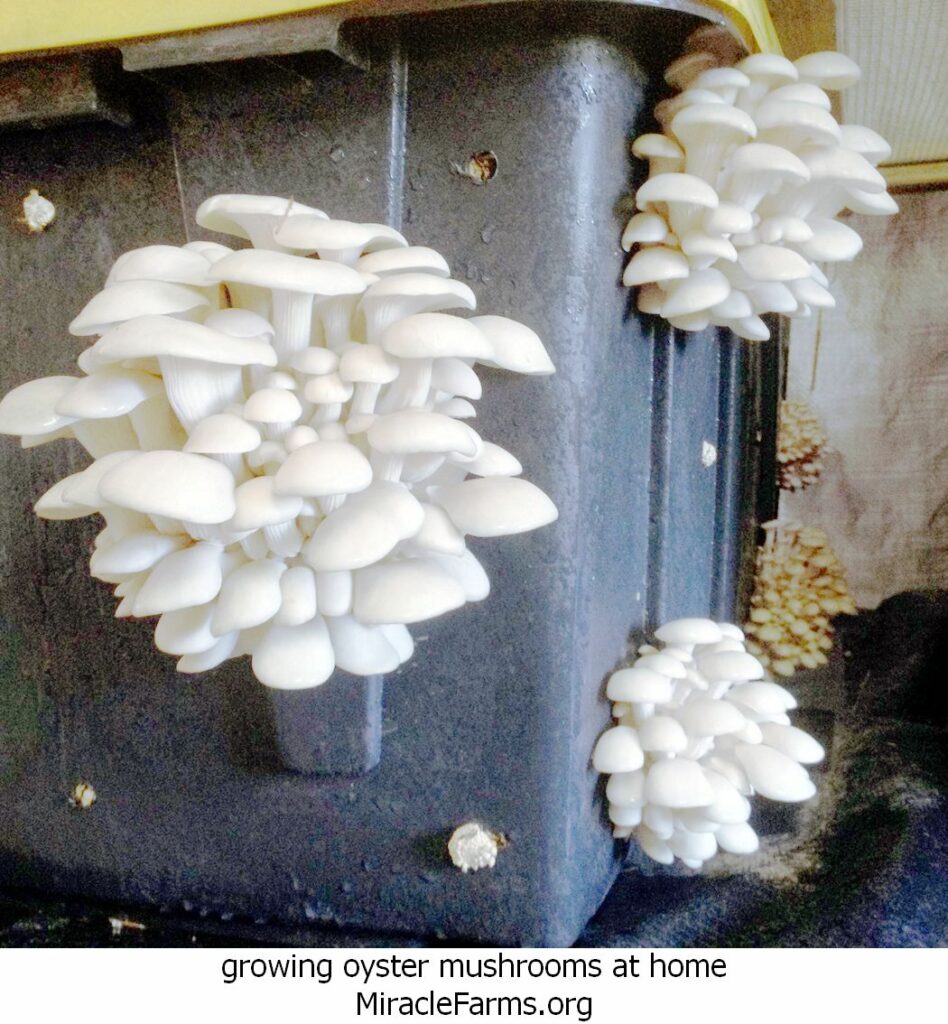
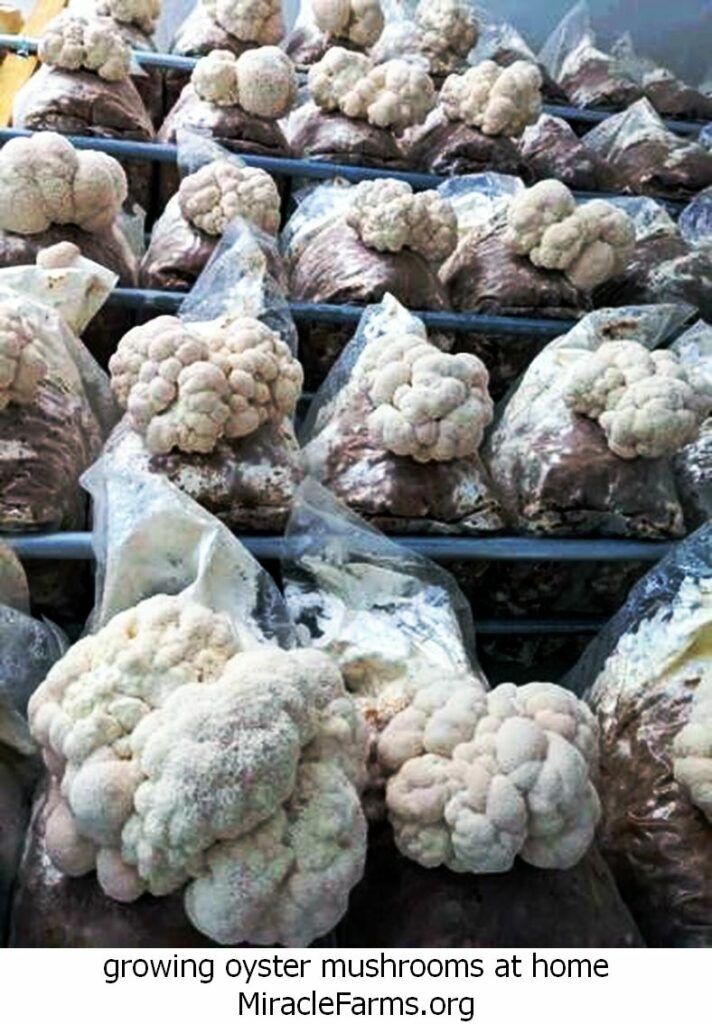
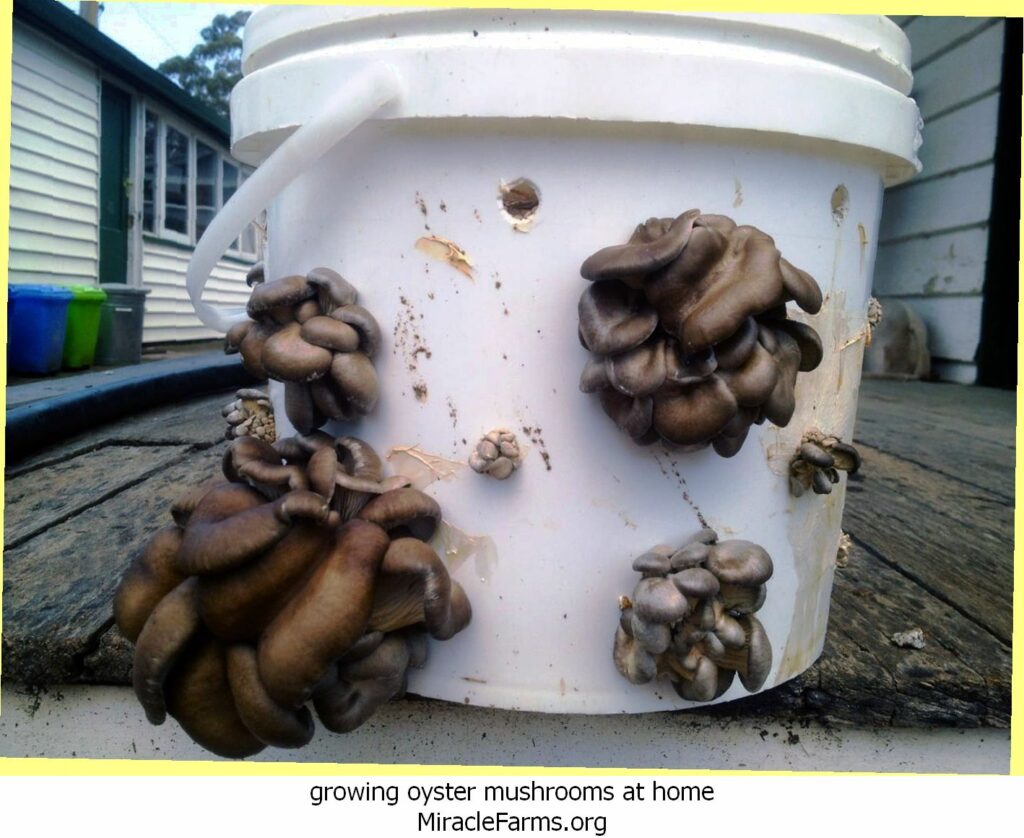
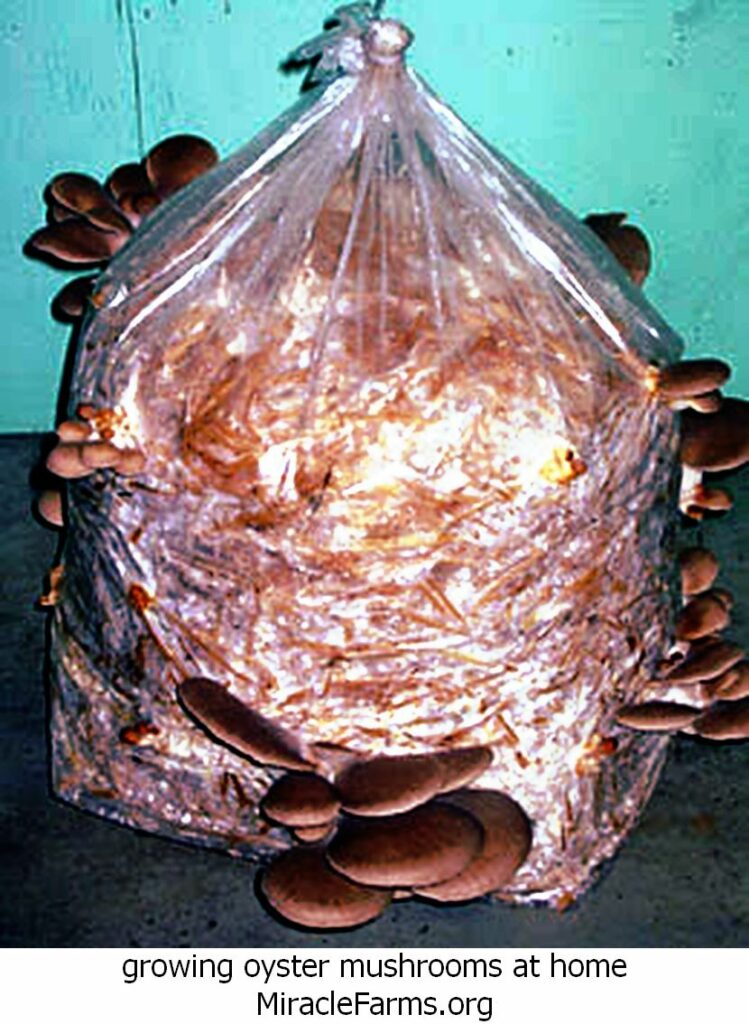
Fill your inoculated substrate into growing bags or containers. Polypropylene bags or buckets are commonly used.
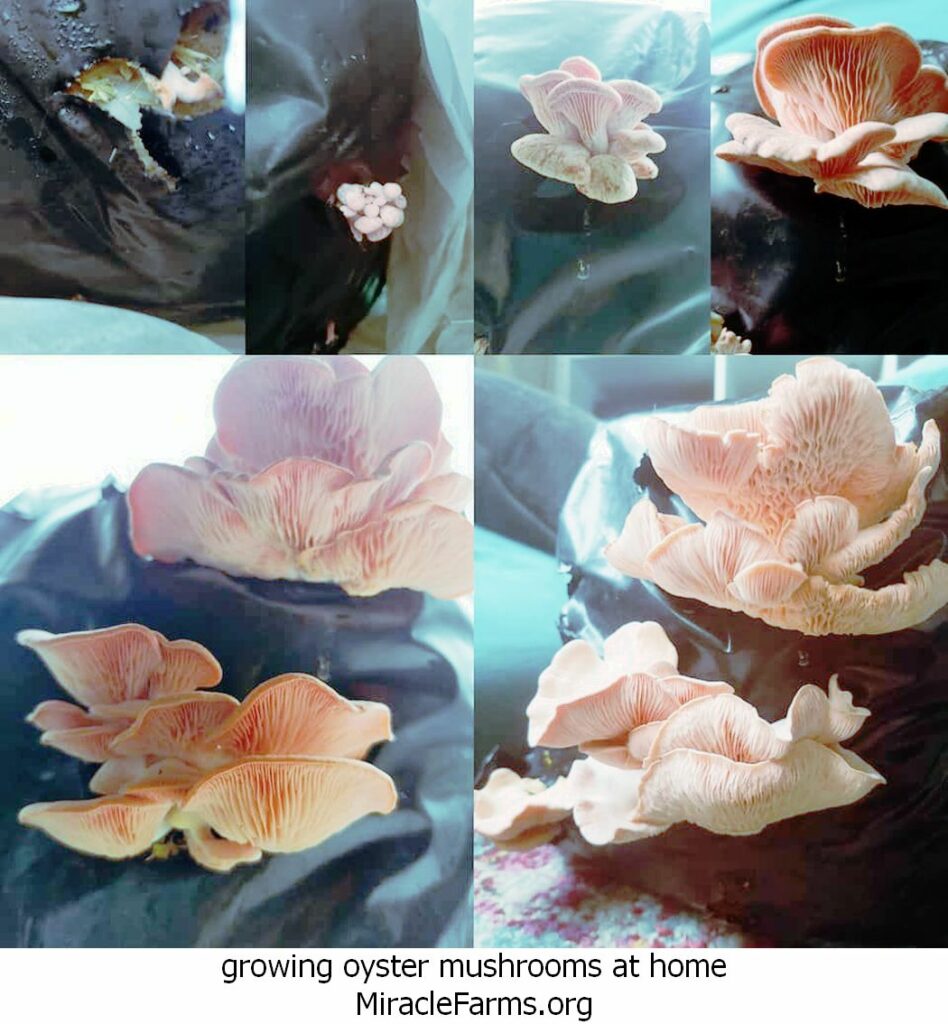
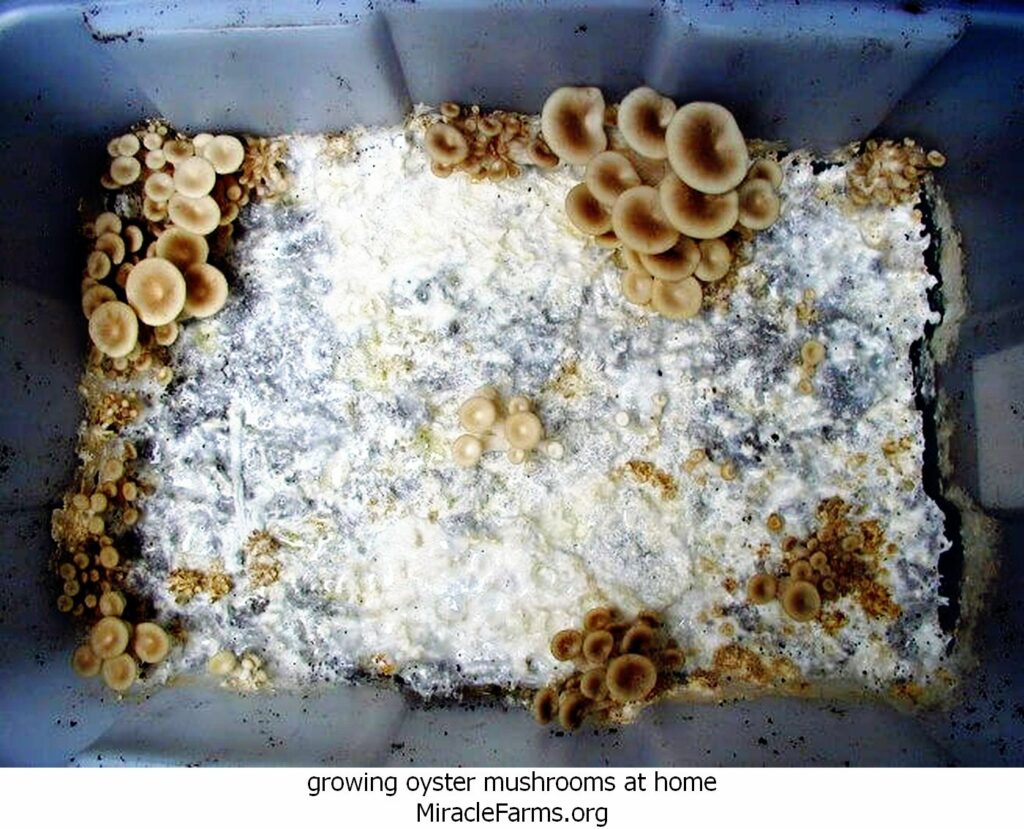
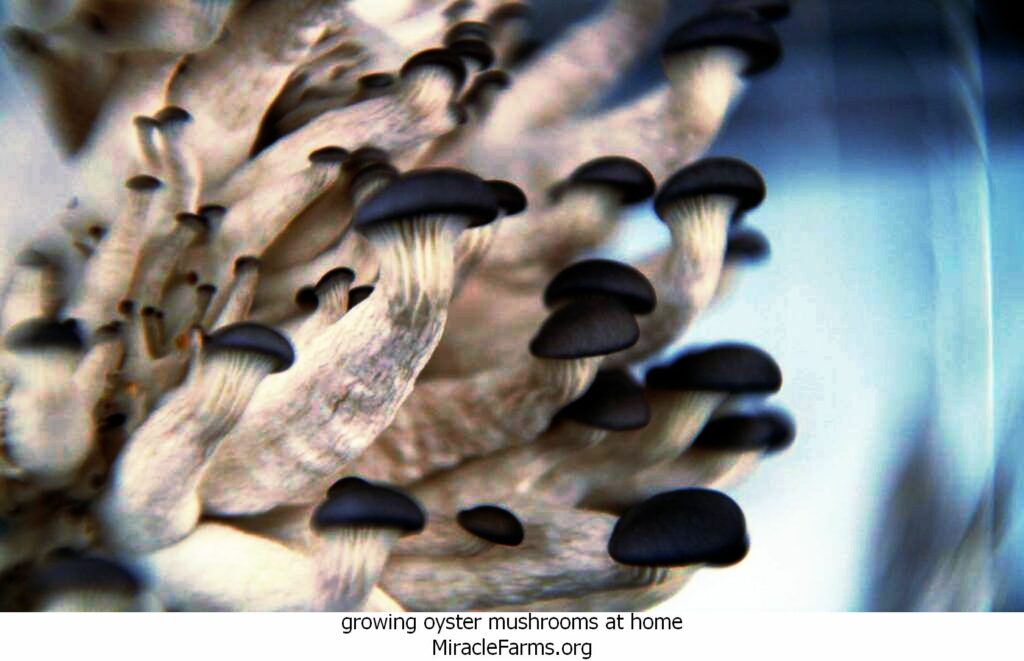
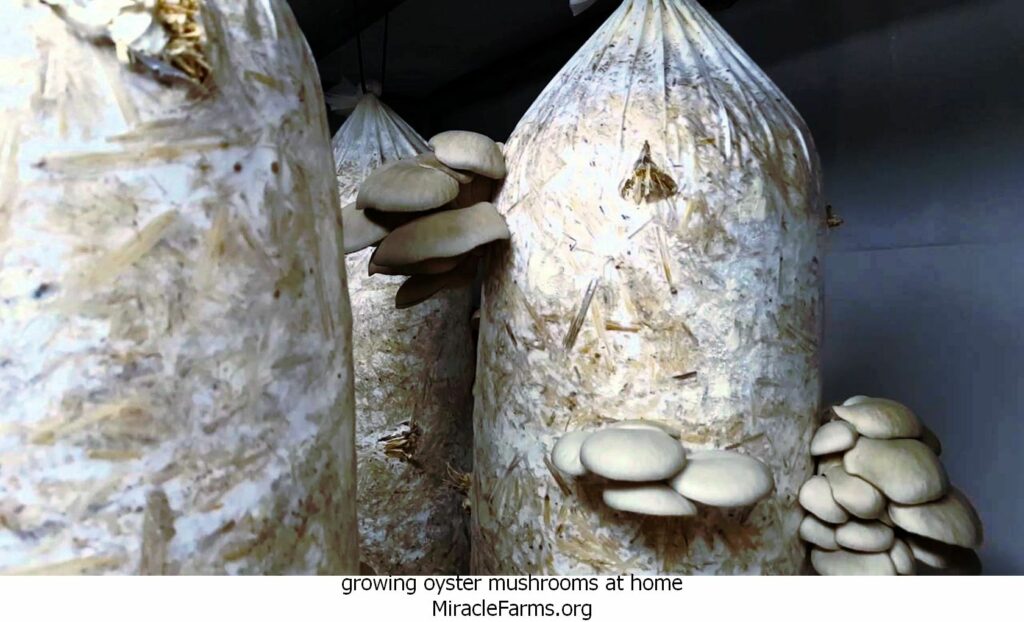
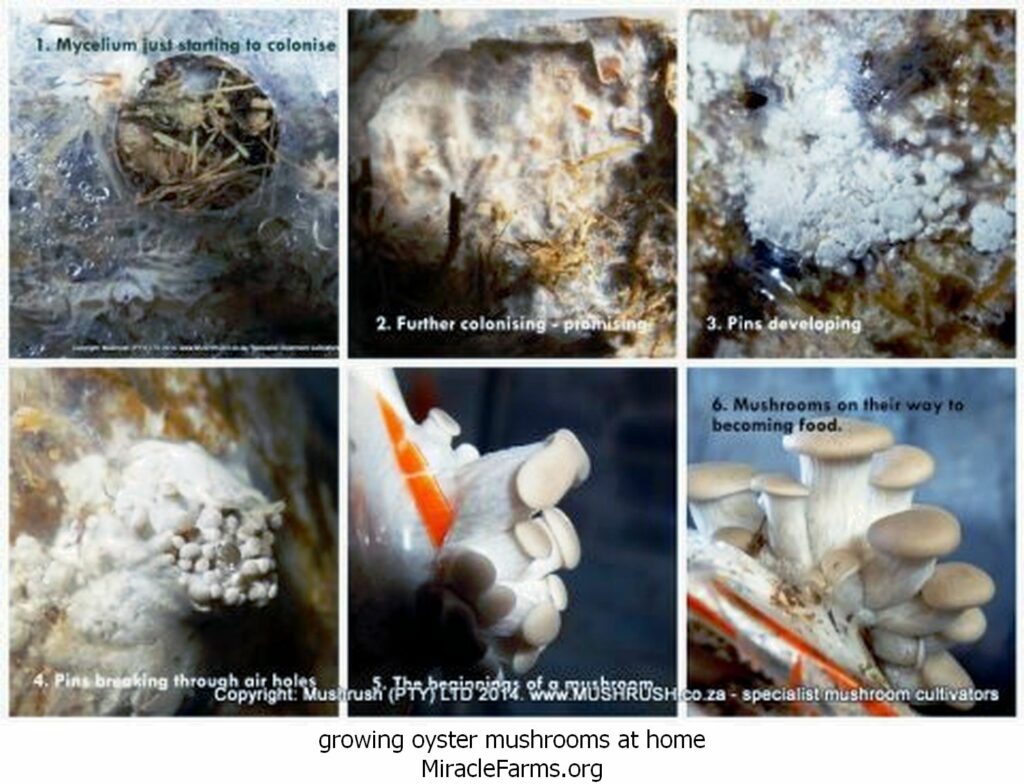
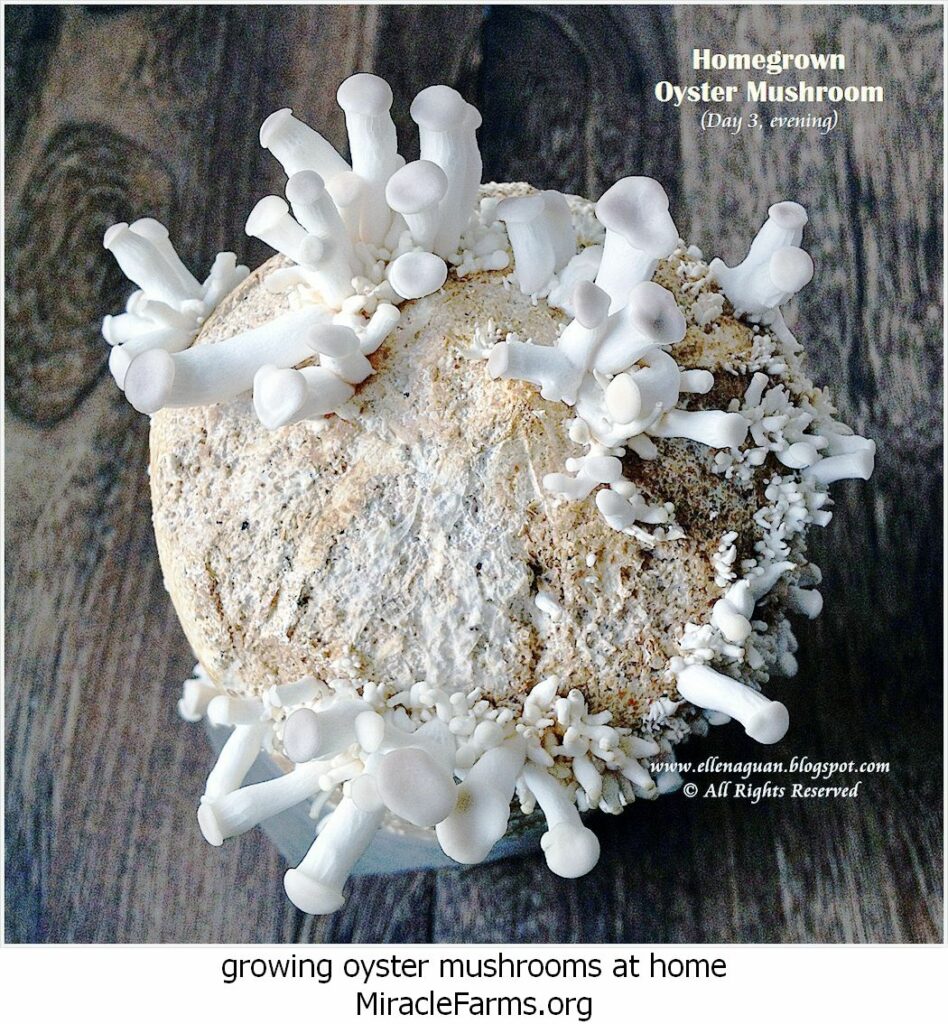
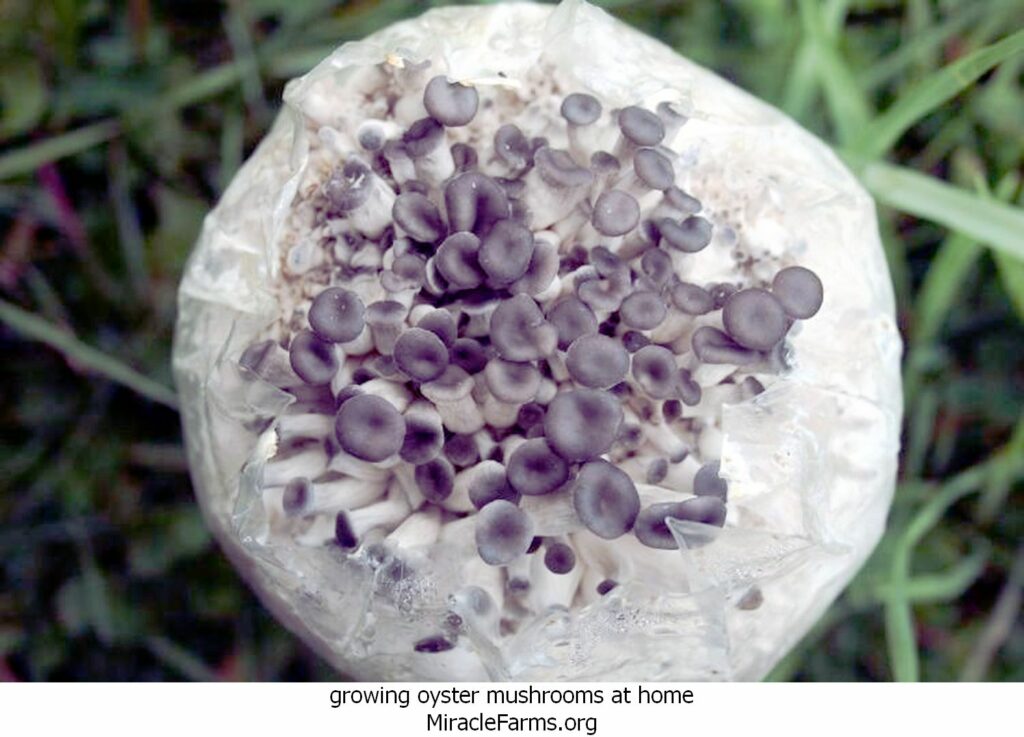
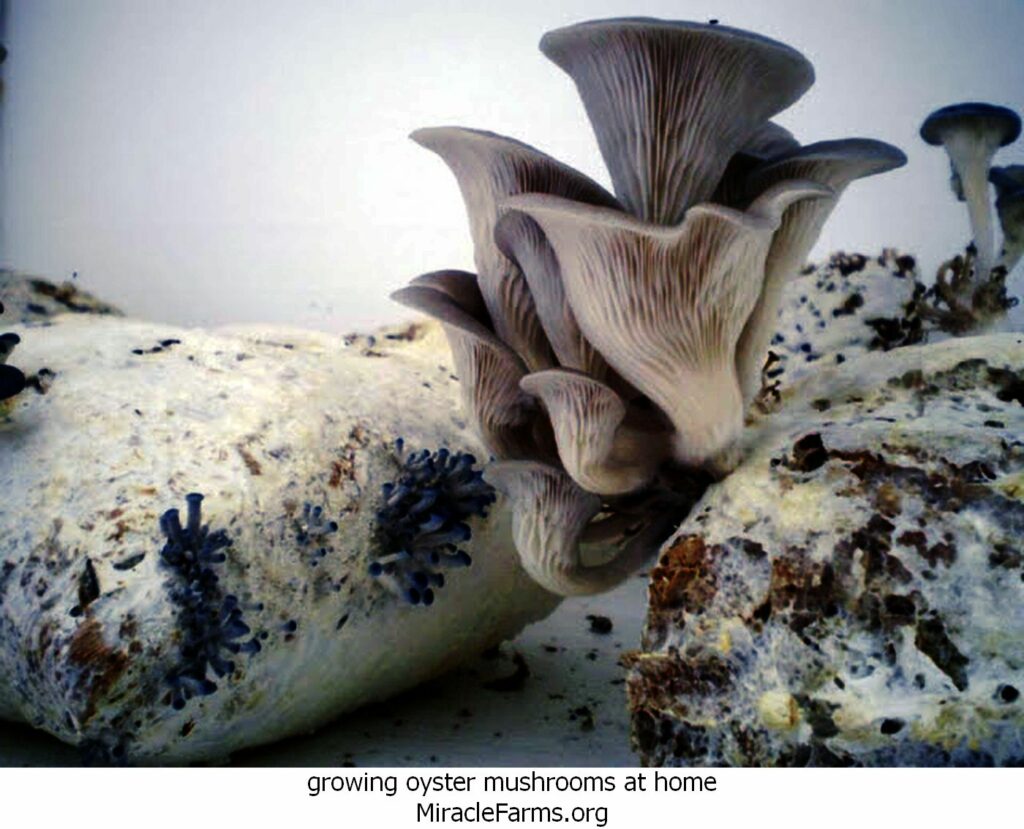
4. Incubation:
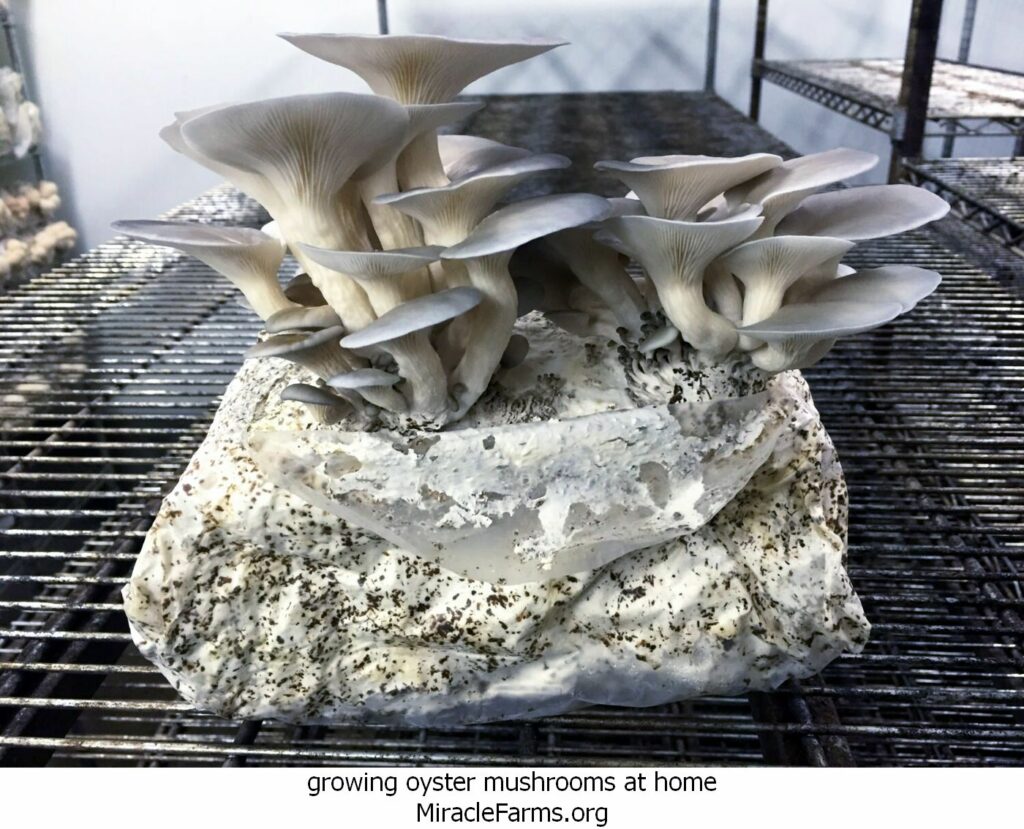
Place the inoculated bags or containers in a dark, warm place. The ideal temperature is around 20-24°C (68-75°F).
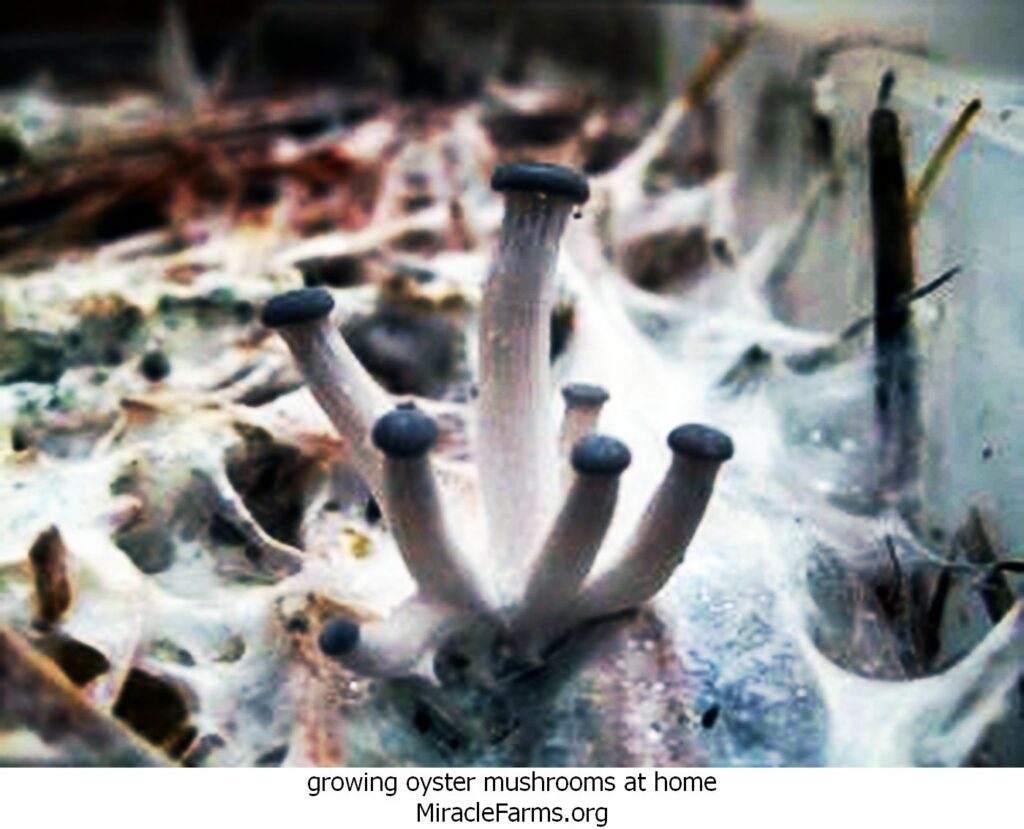
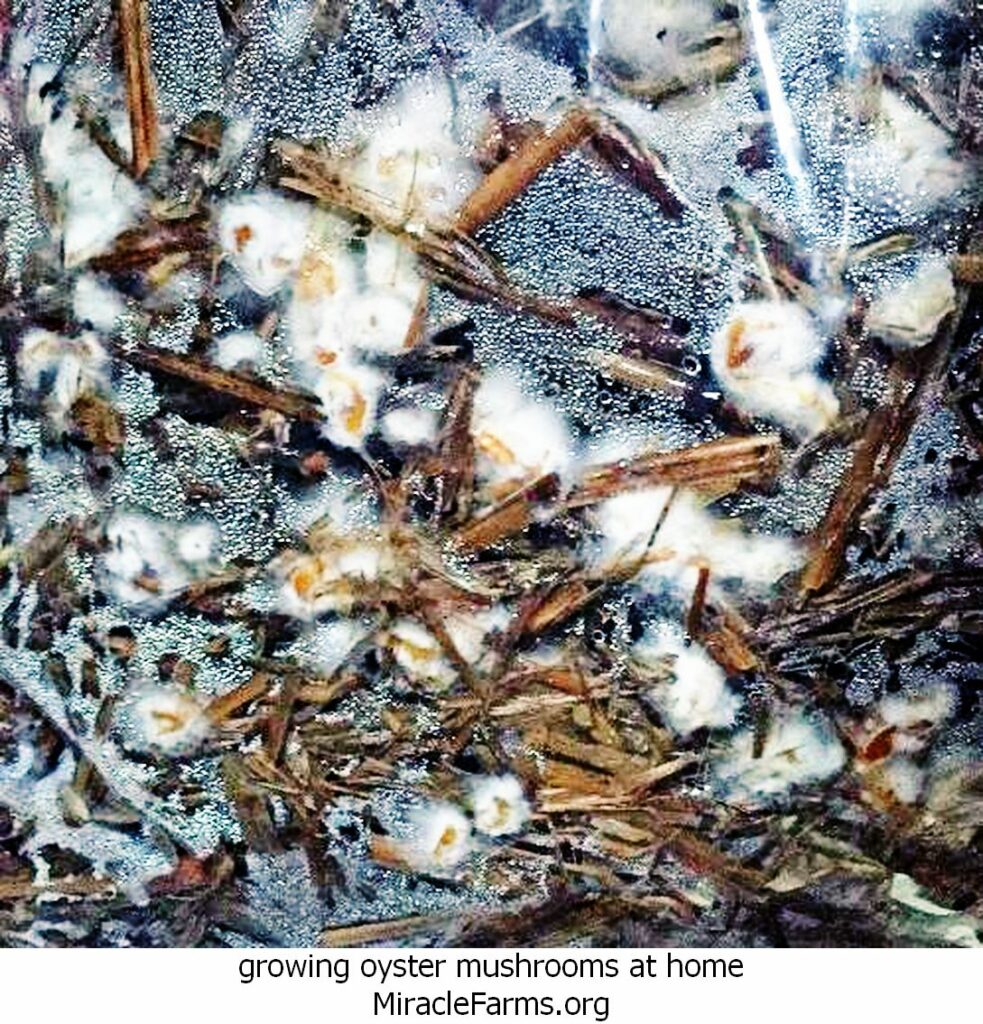
This is the colonization phase, where the mycelium will grow and fully colonize the substrate. This can take 2-4 weeks.
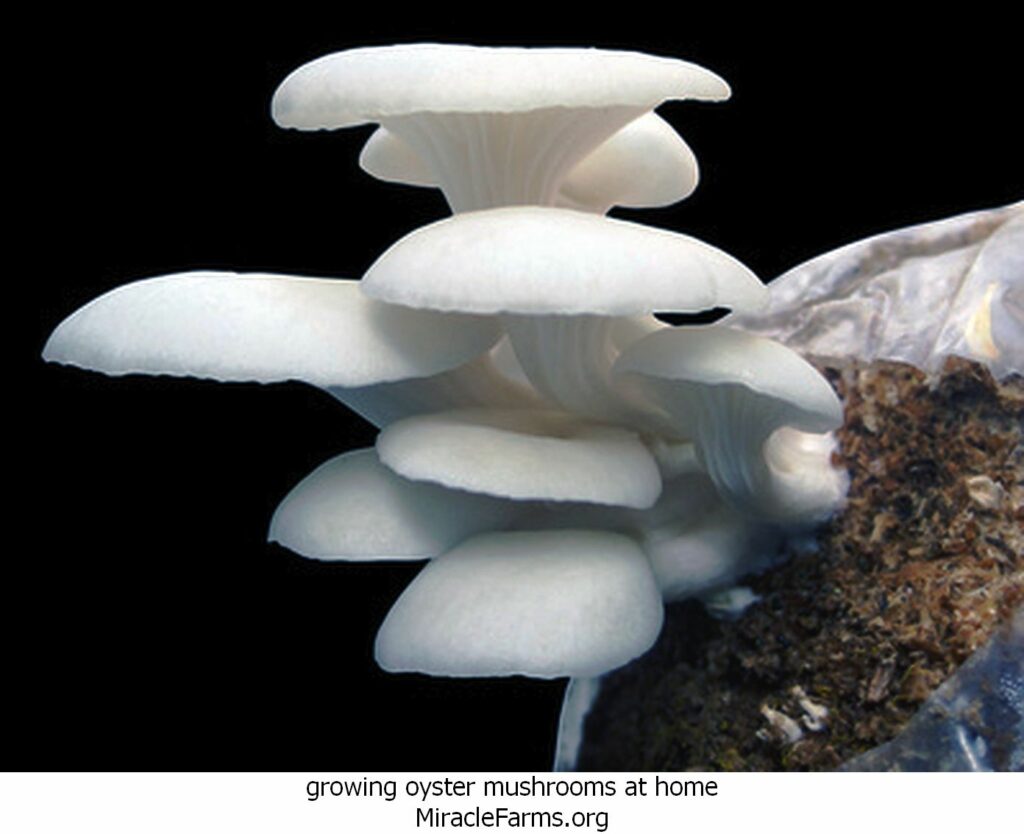
You’ll know it’s ready when the substrate is fully covered with white mycelium.
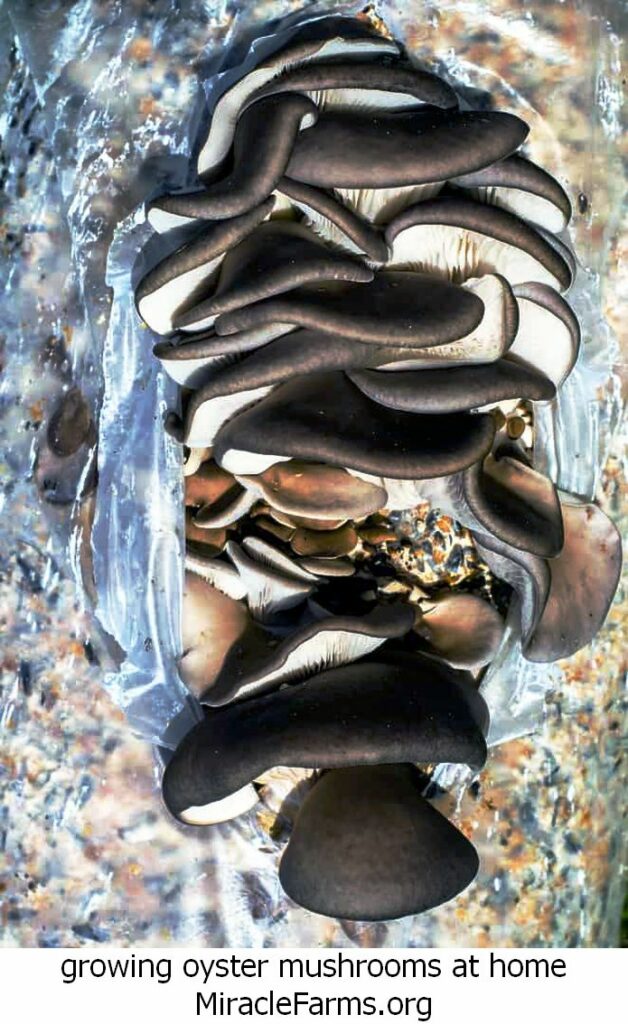
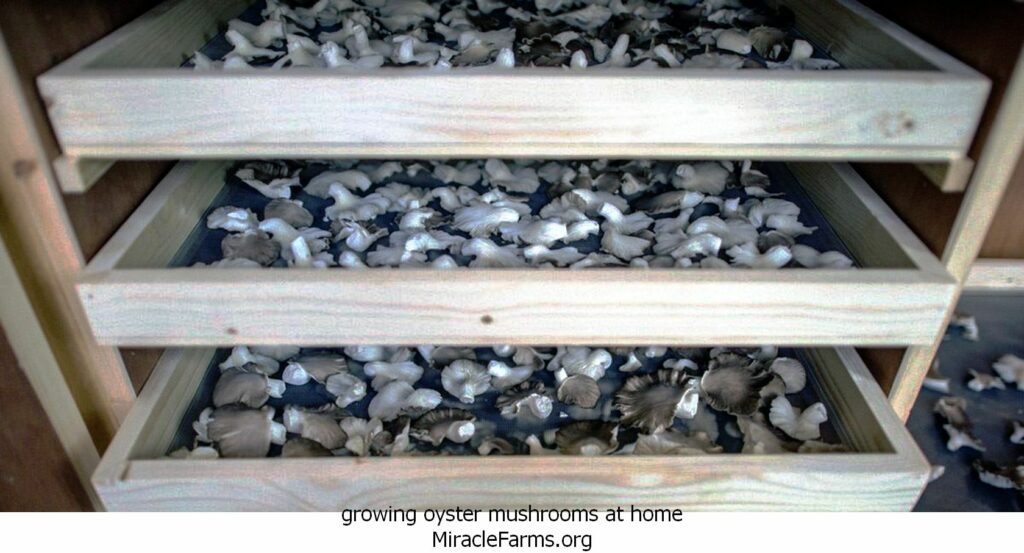
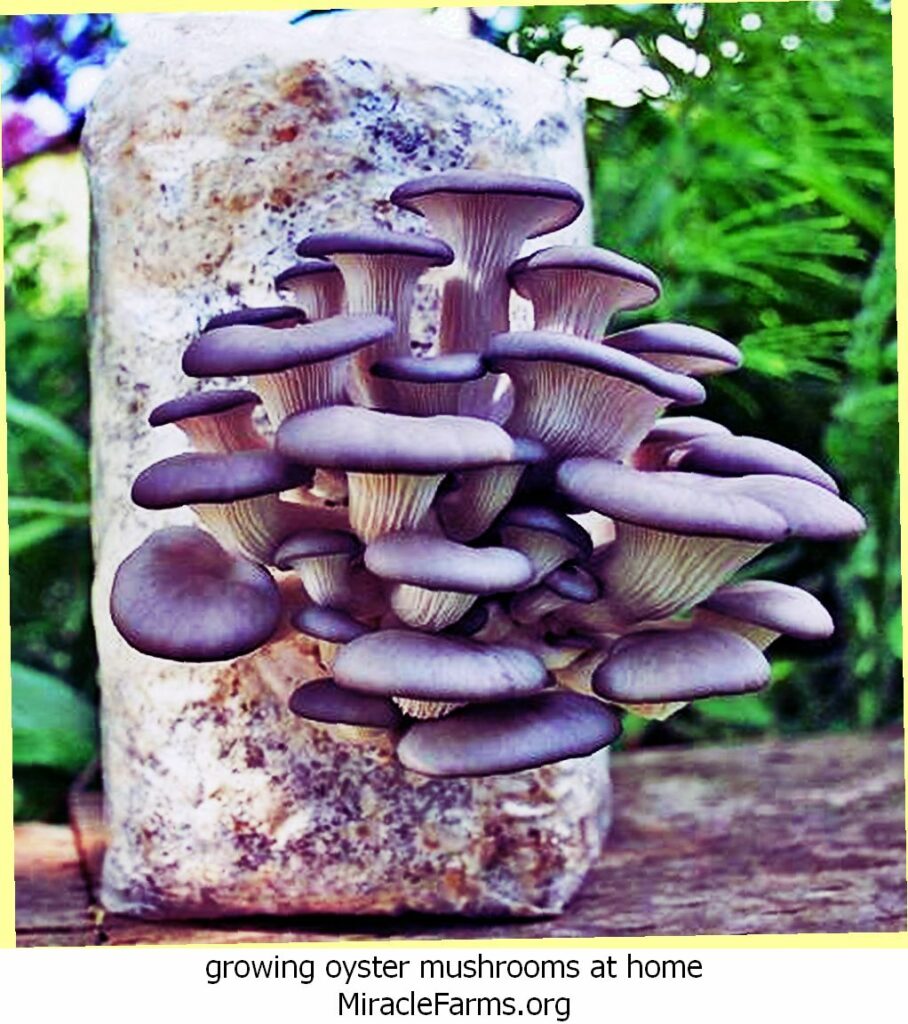
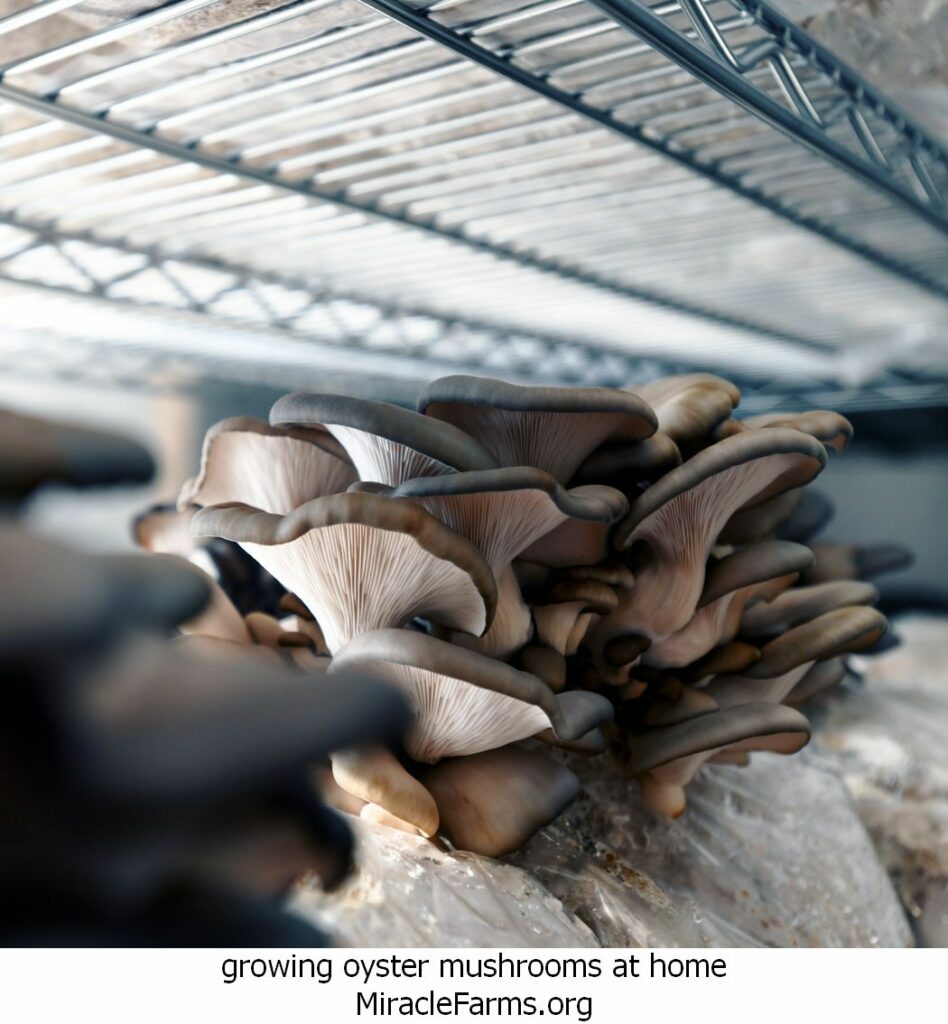
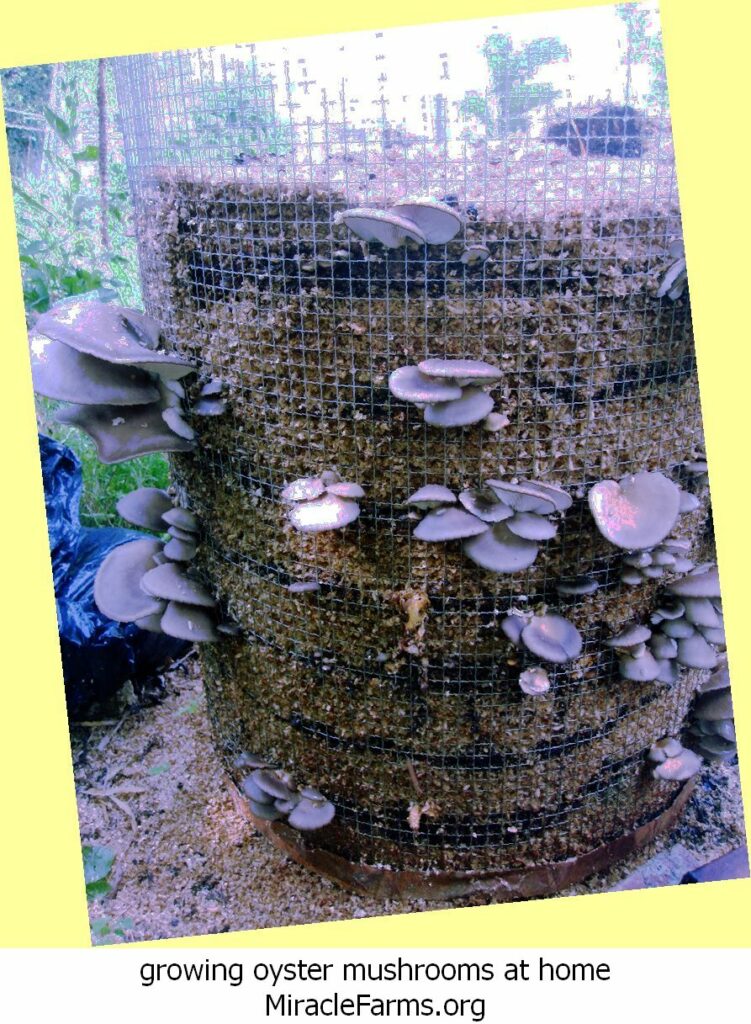
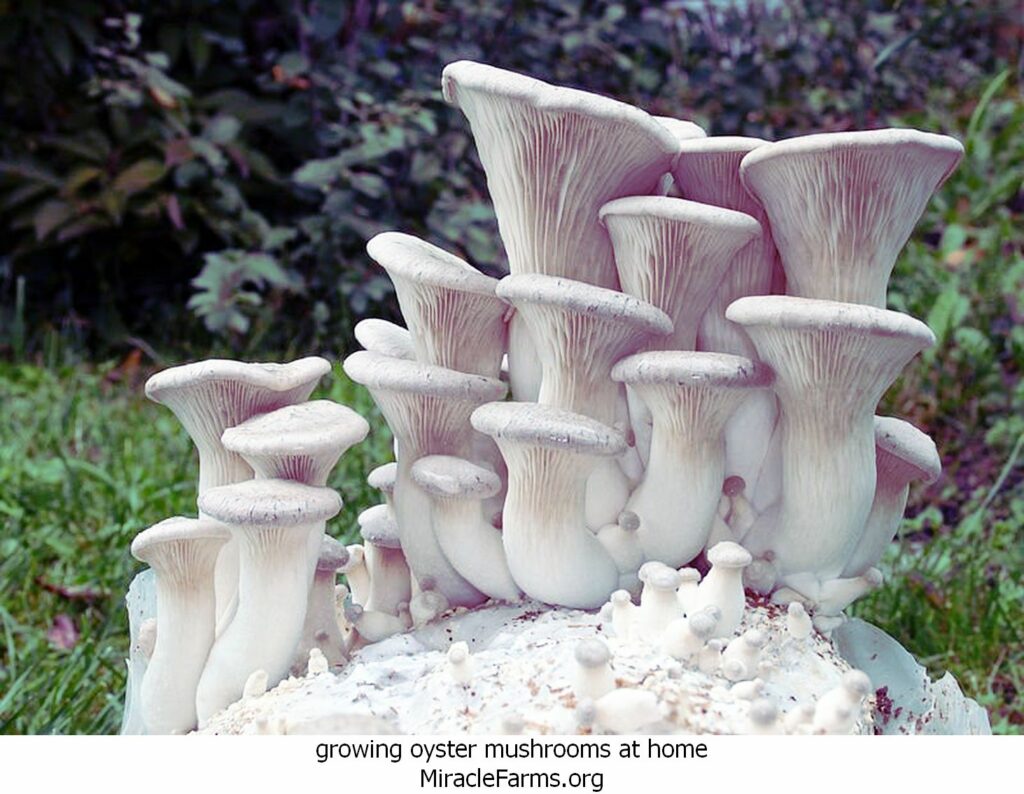
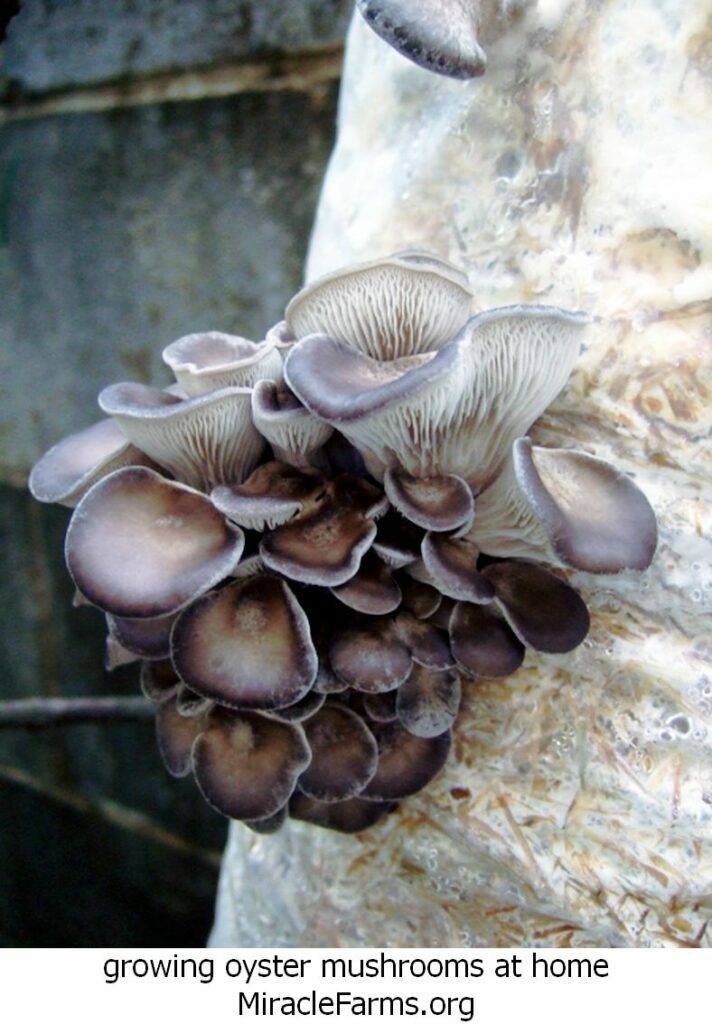
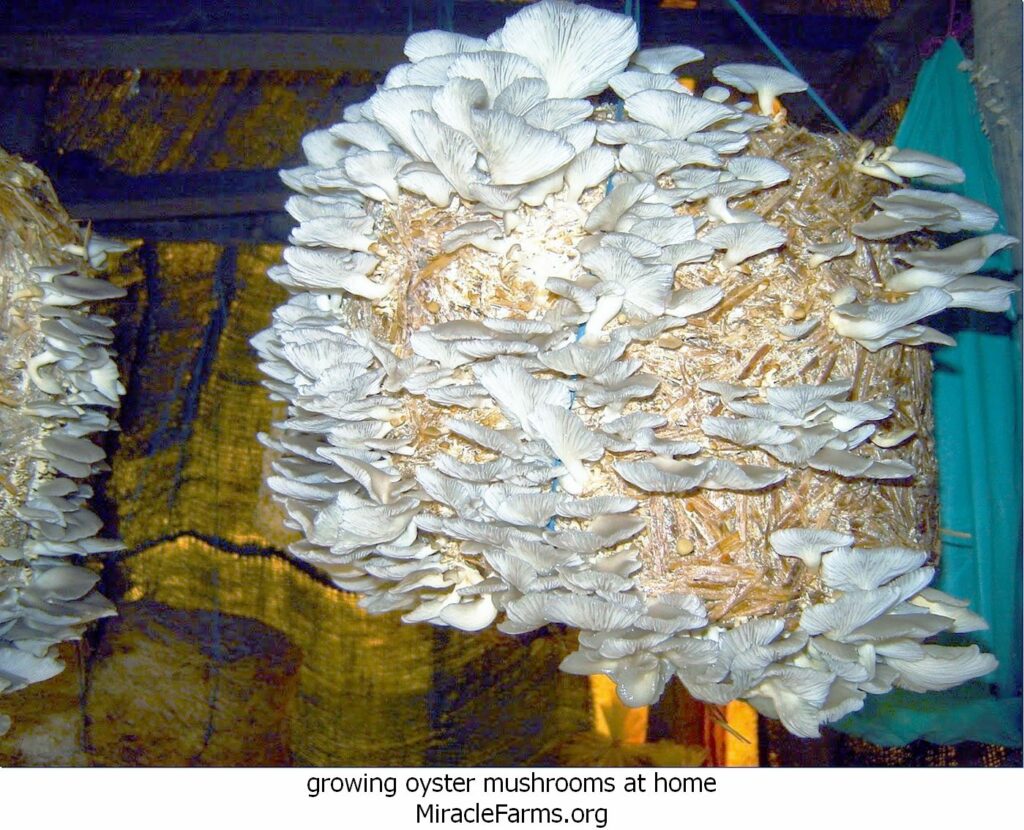
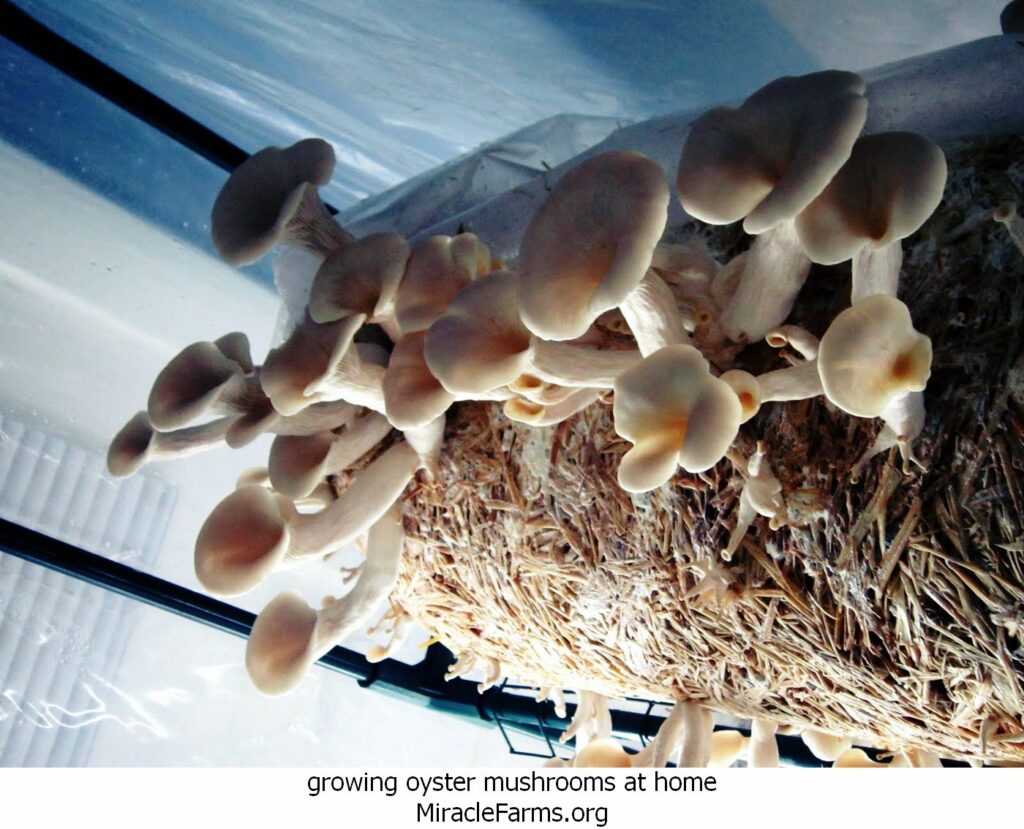
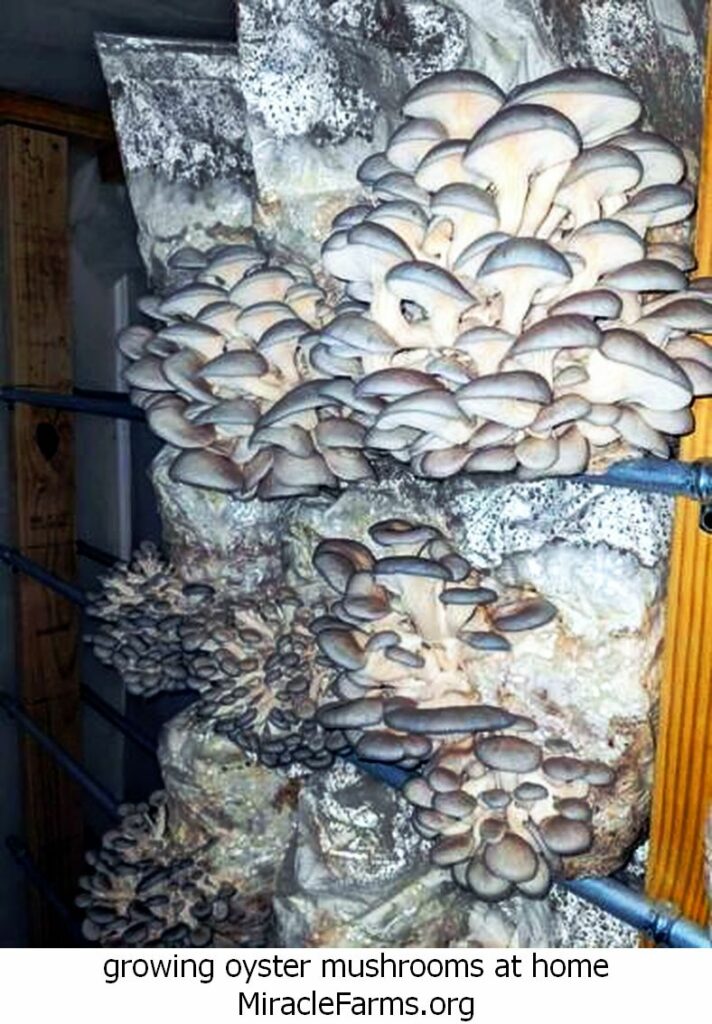
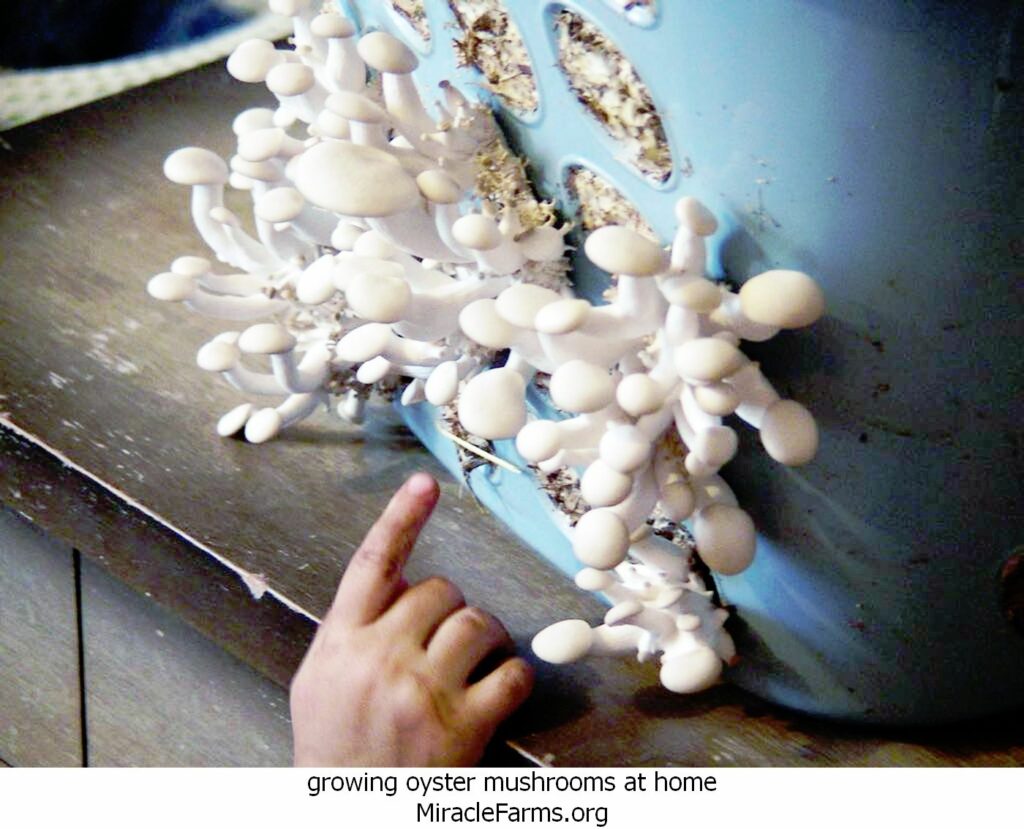
5. Fruiting Conditions:
Once fully colonized, the bags or containers need to be exposed to conditions that promote mushroom fruiting:
Light: Introduce to indirect natural light or fluorescent lighting for about 12 hours a day.
Temperature: A bit cooler than the incubation phase, around 10-20°C (50-68°F).
Humidity: High humidity is crucial. Maintain around 90-95%. This can be achieved with a humidifier or by misting the environment.
Air Exchange: Fresh air exchange is essential to prevent carbon dioxide buildup. This can be done by fanning or using a small fan.
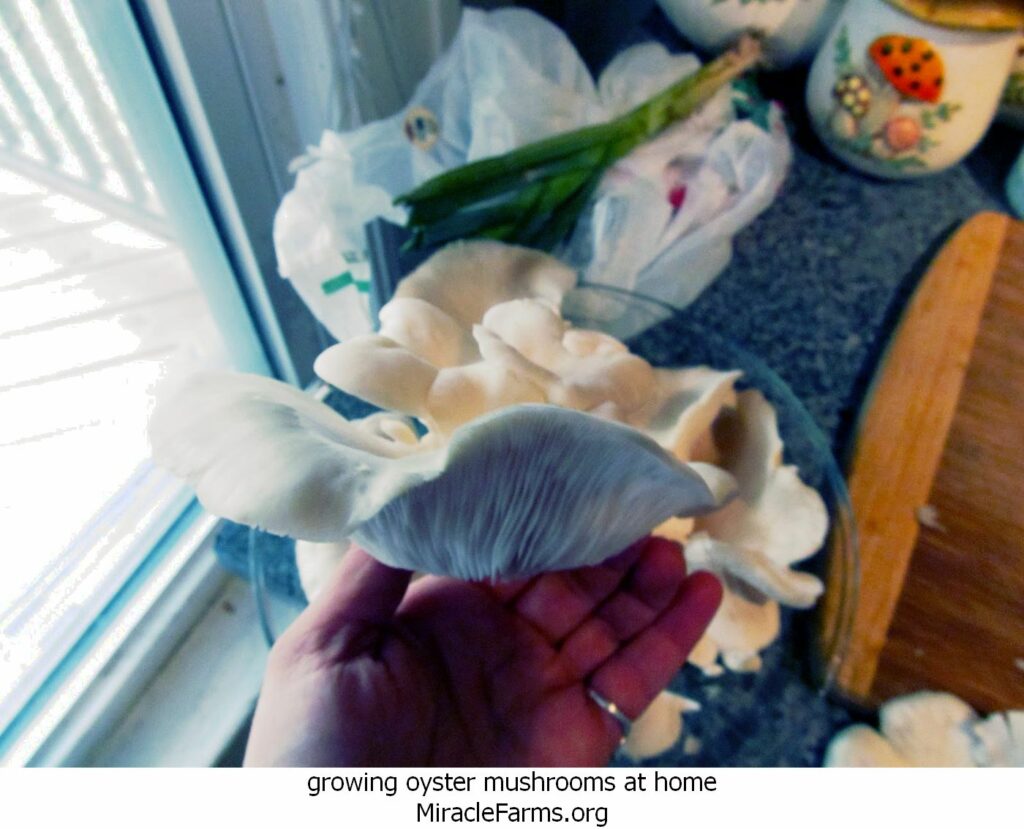
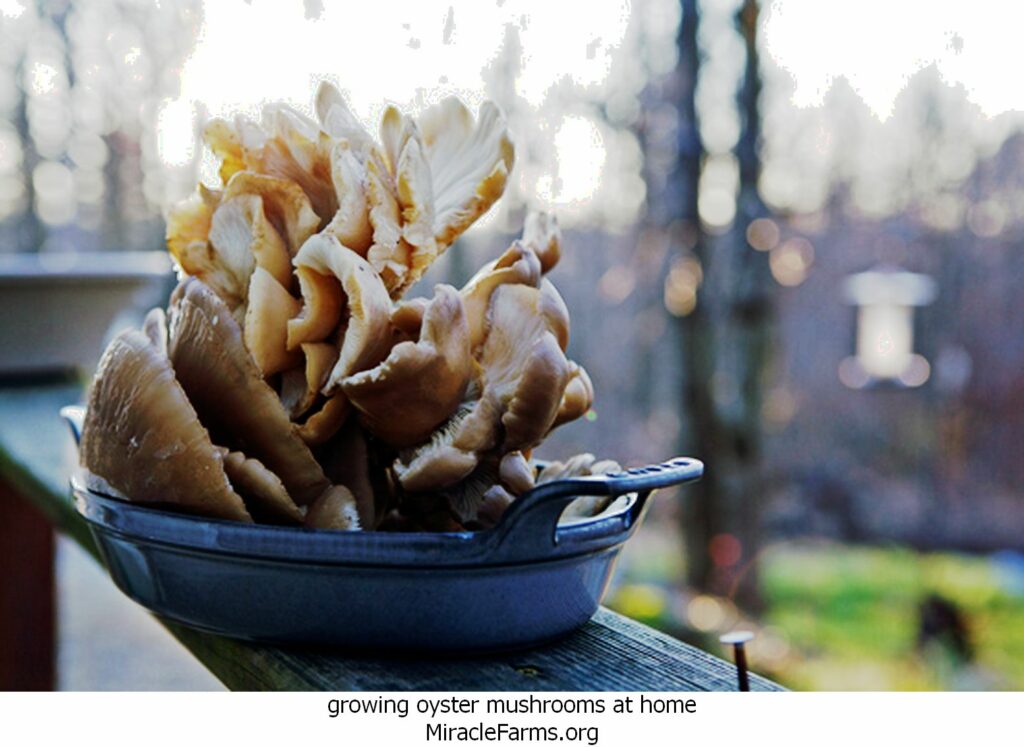
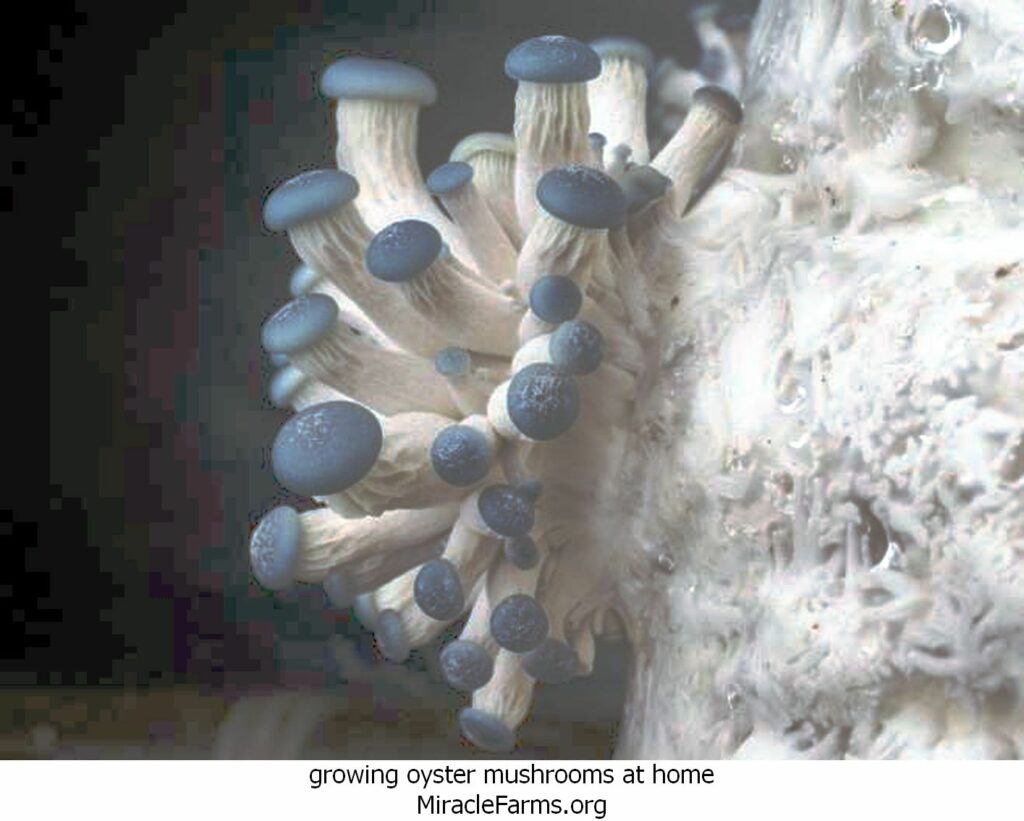
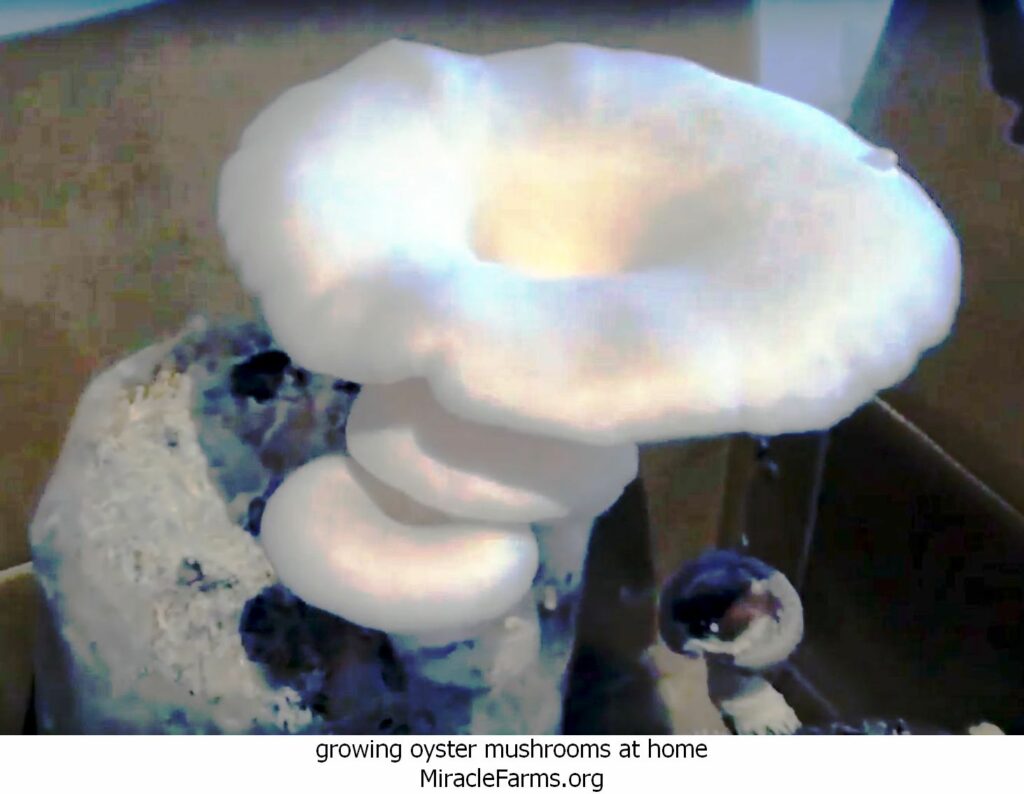
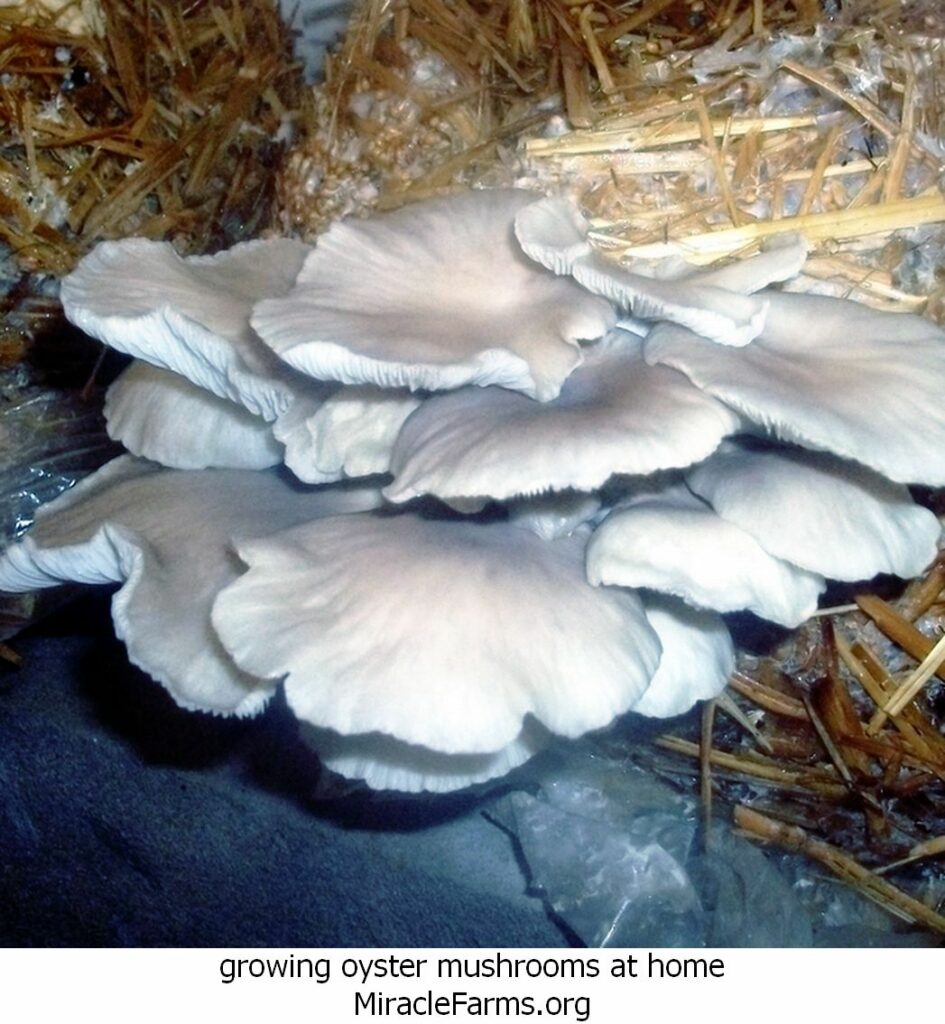
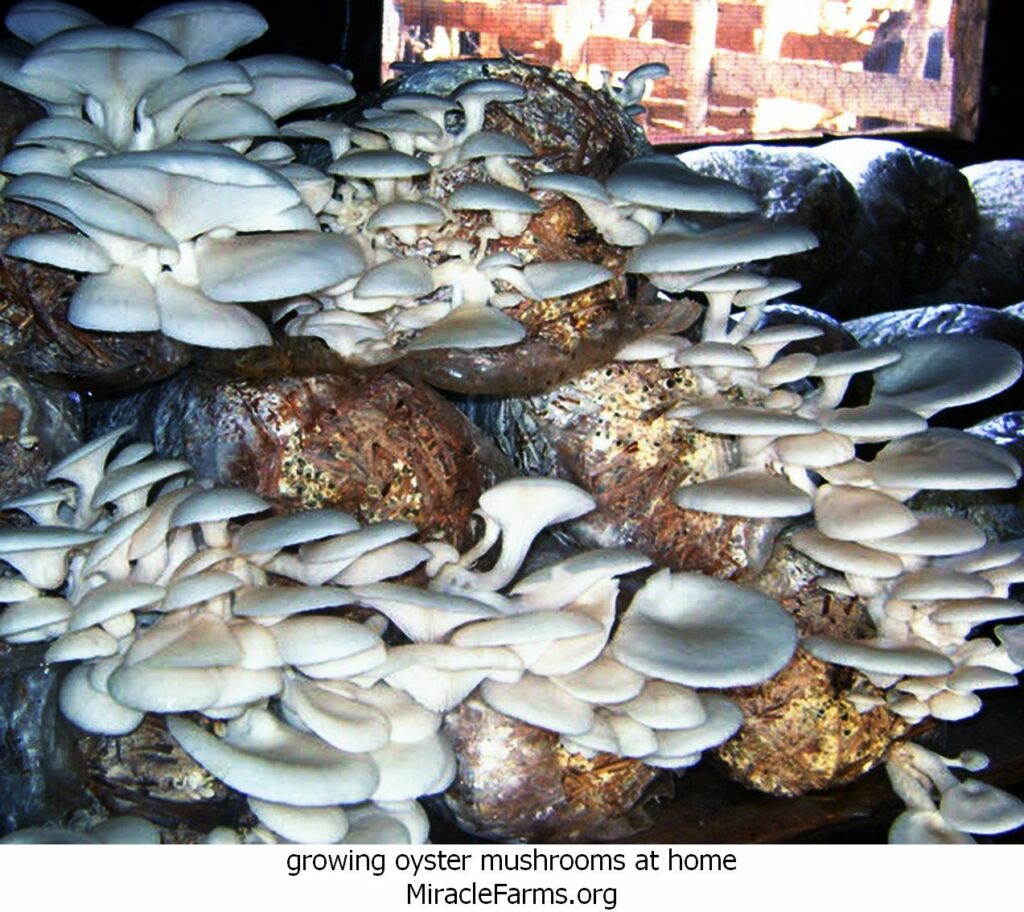
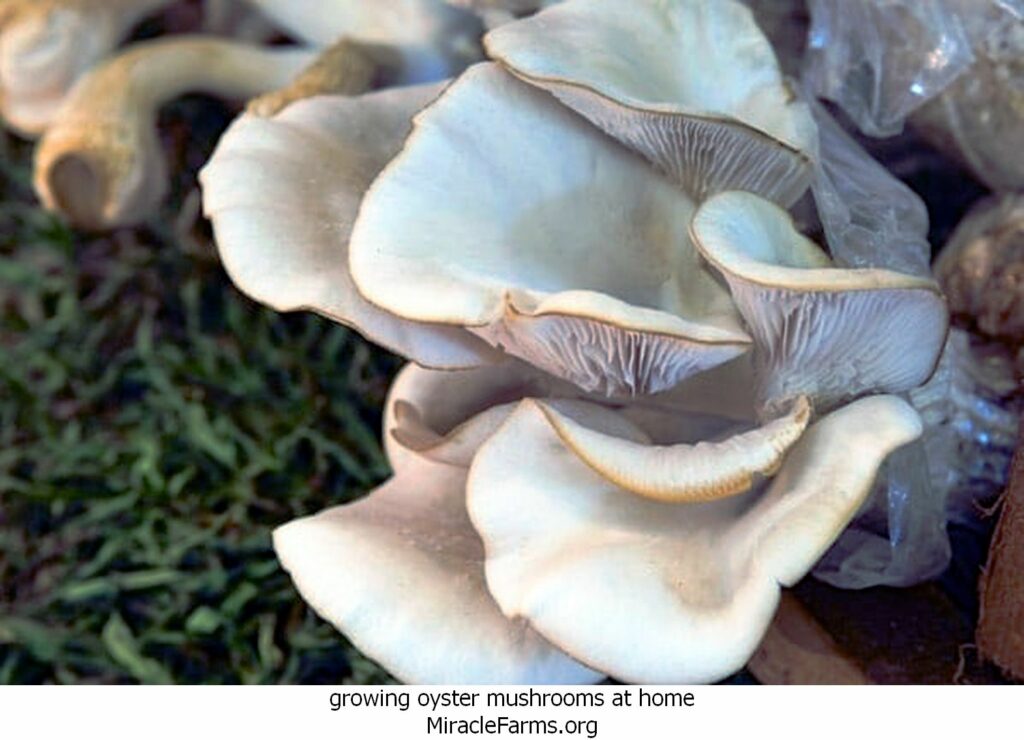
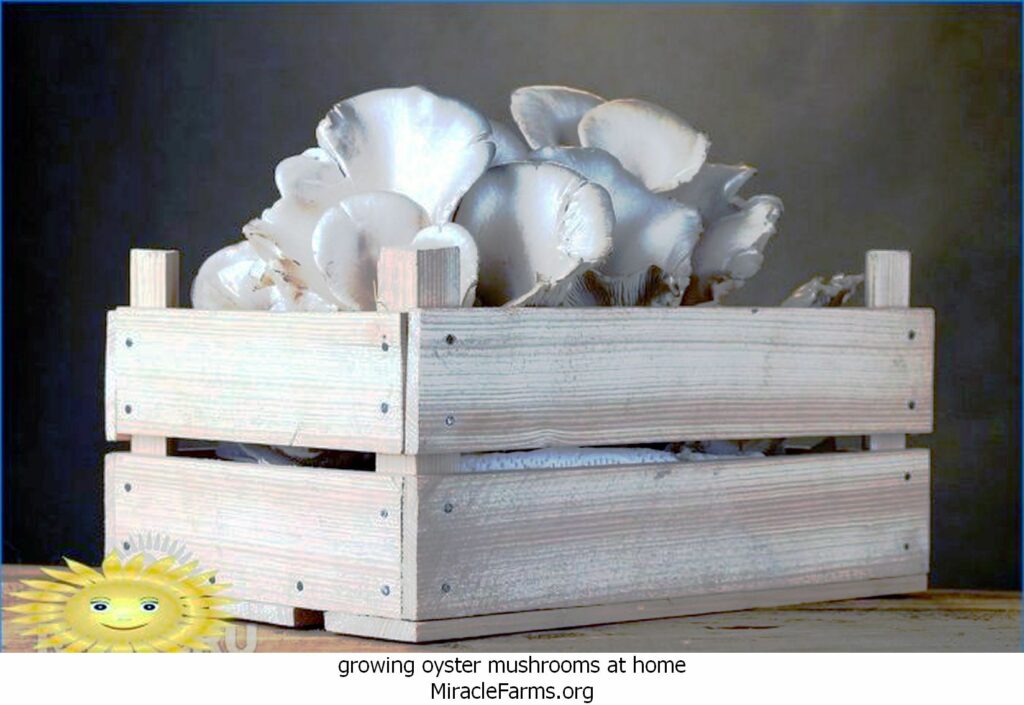
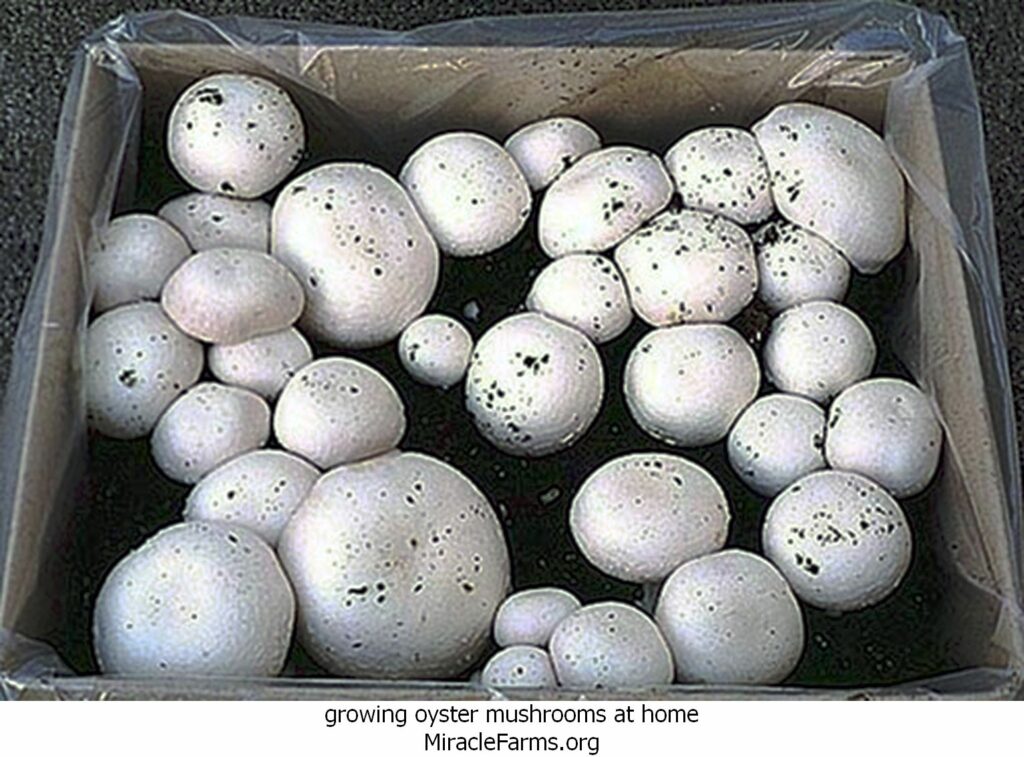
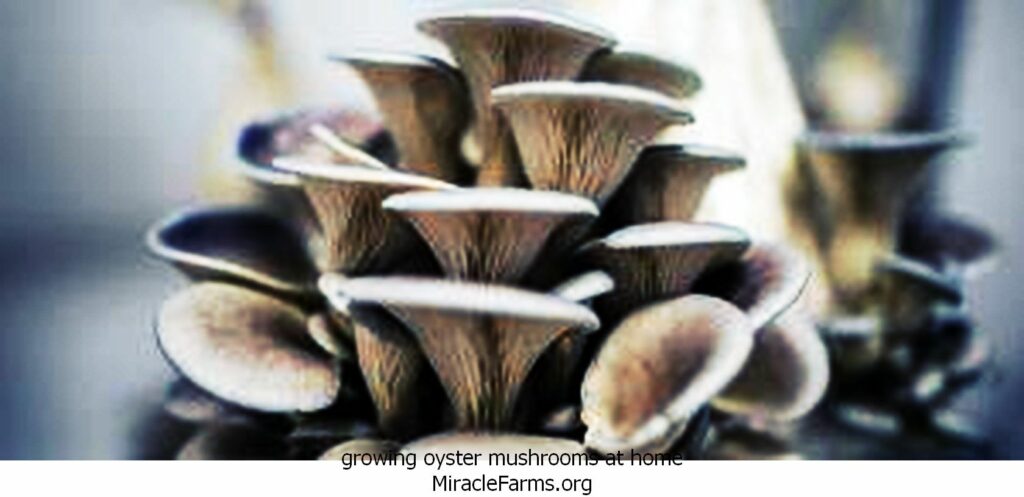
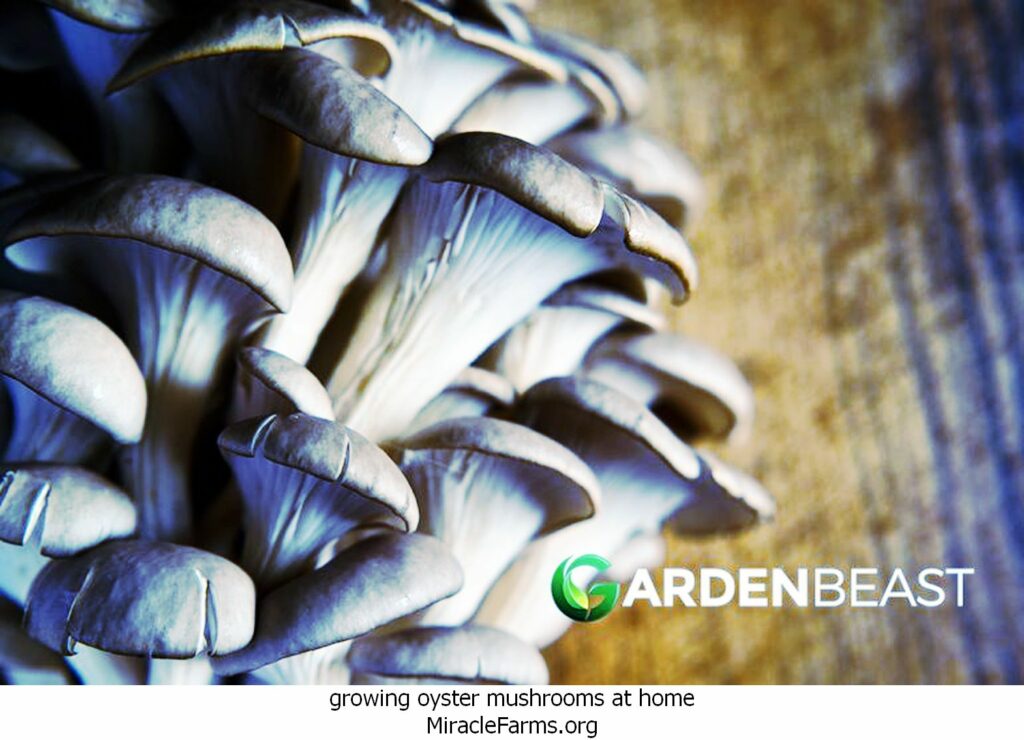
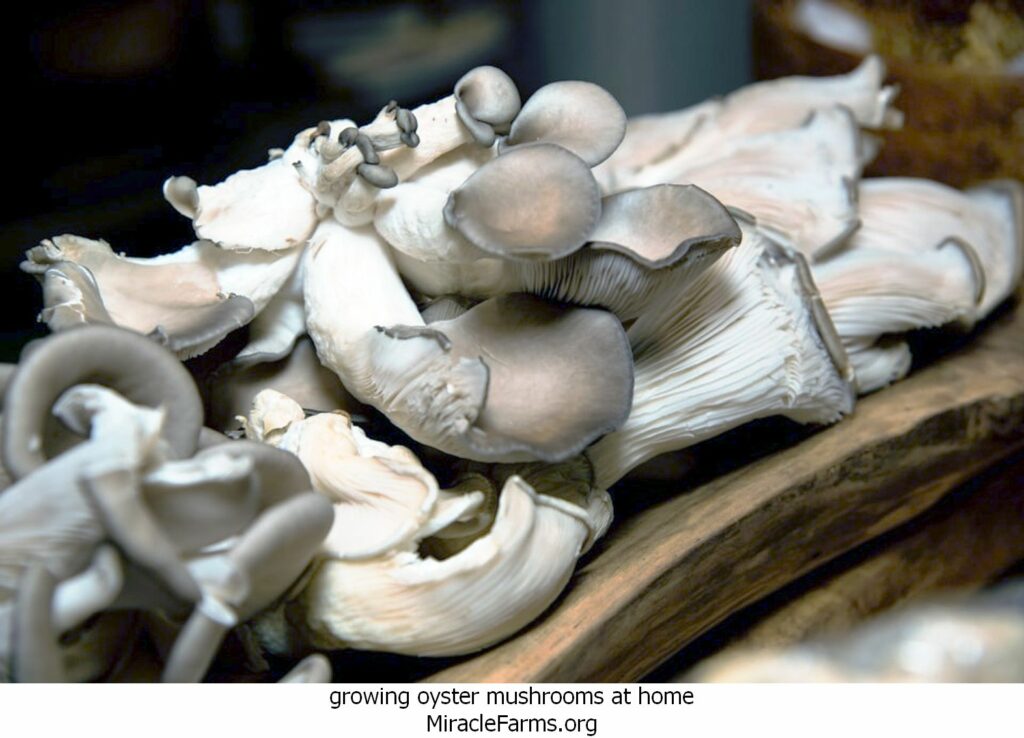
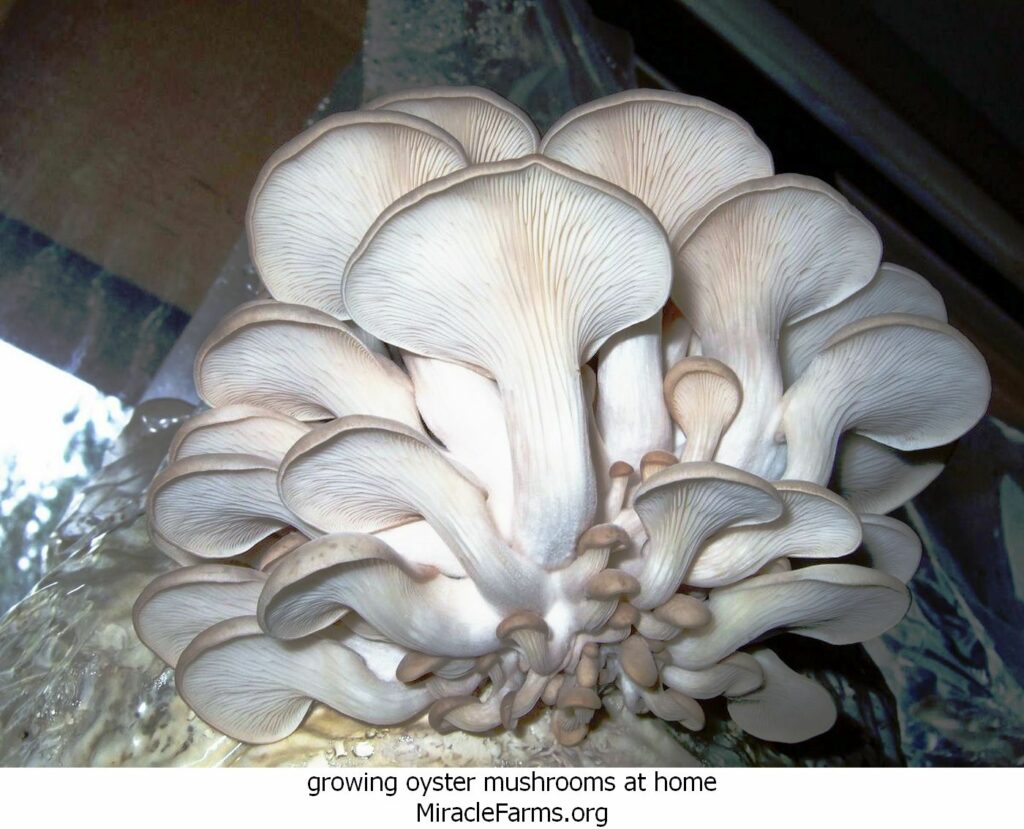
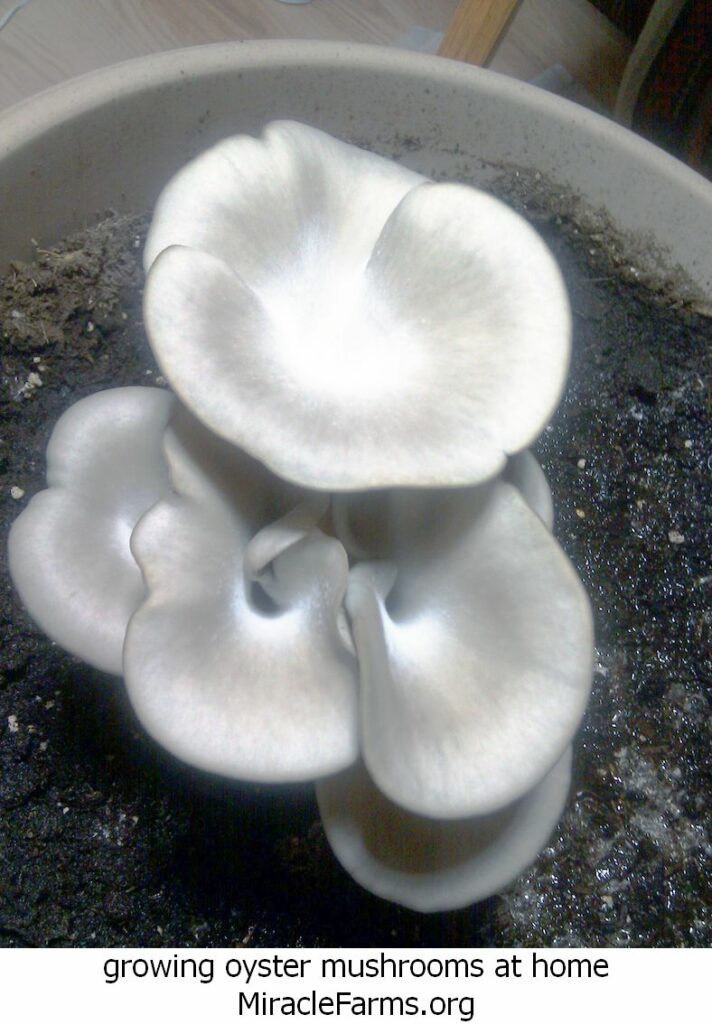
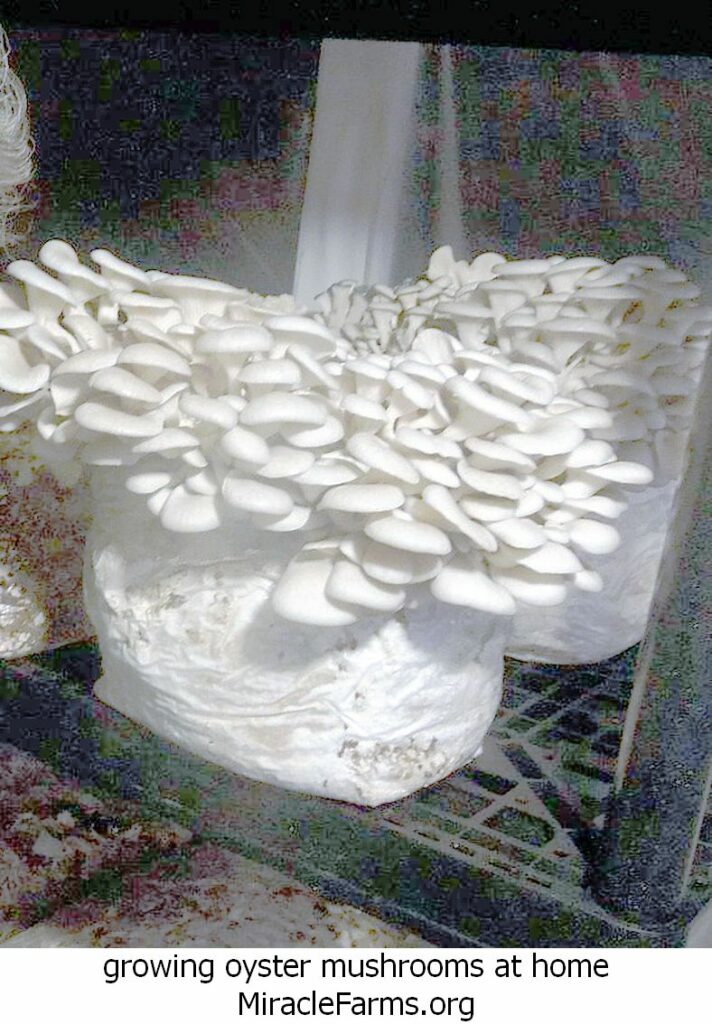
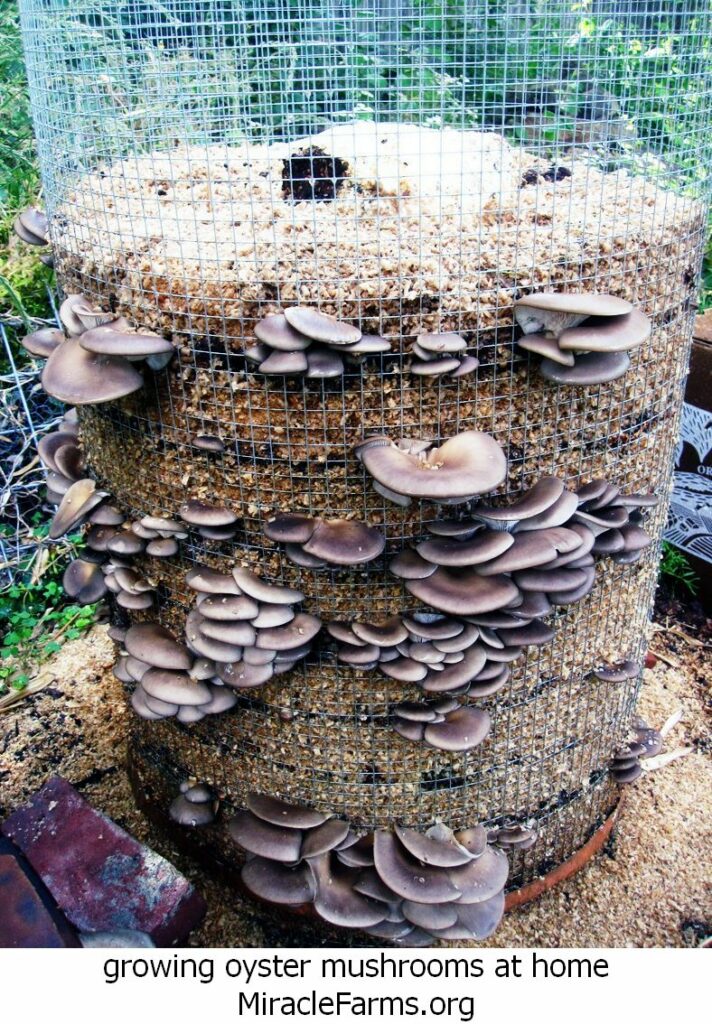
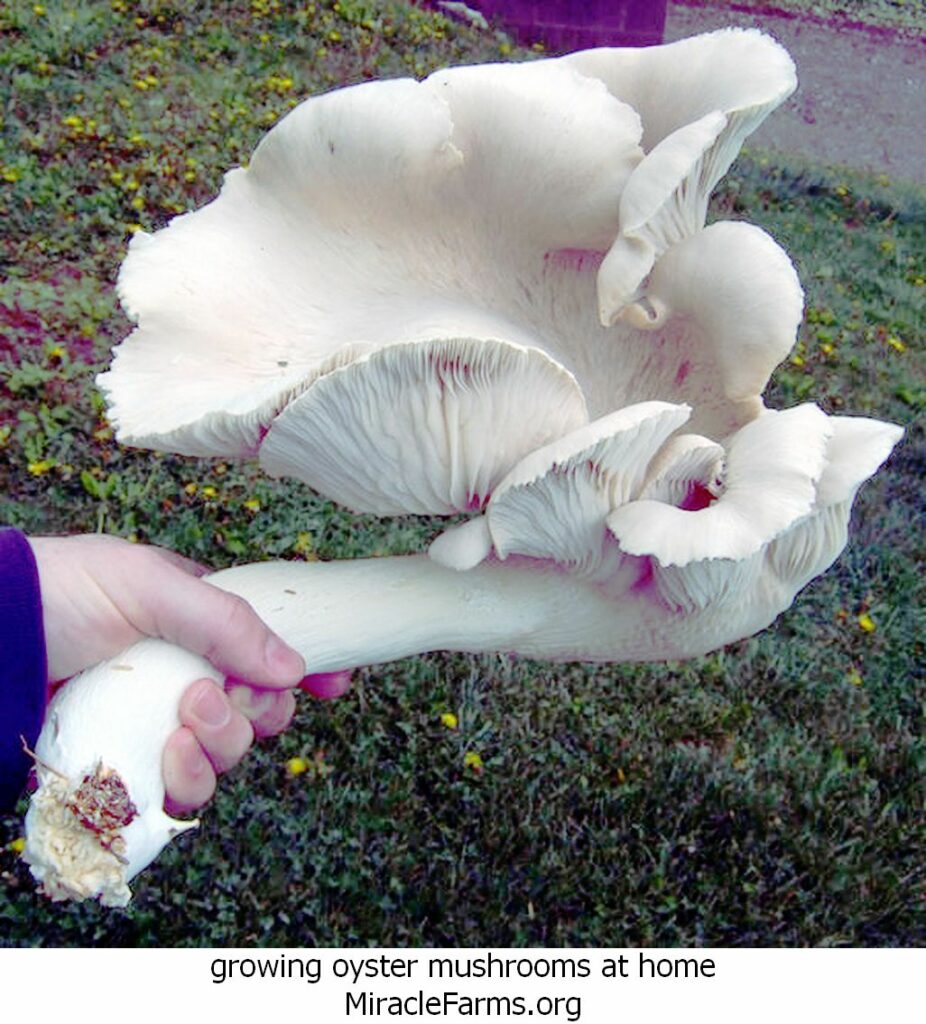
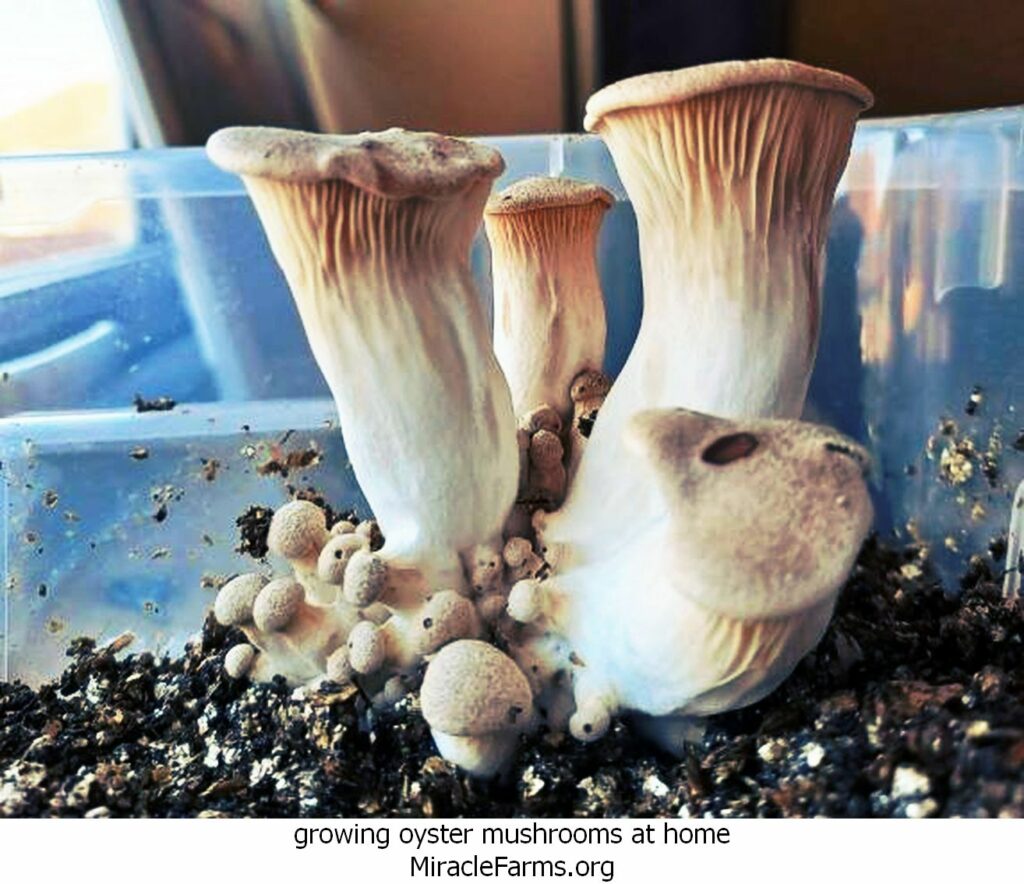
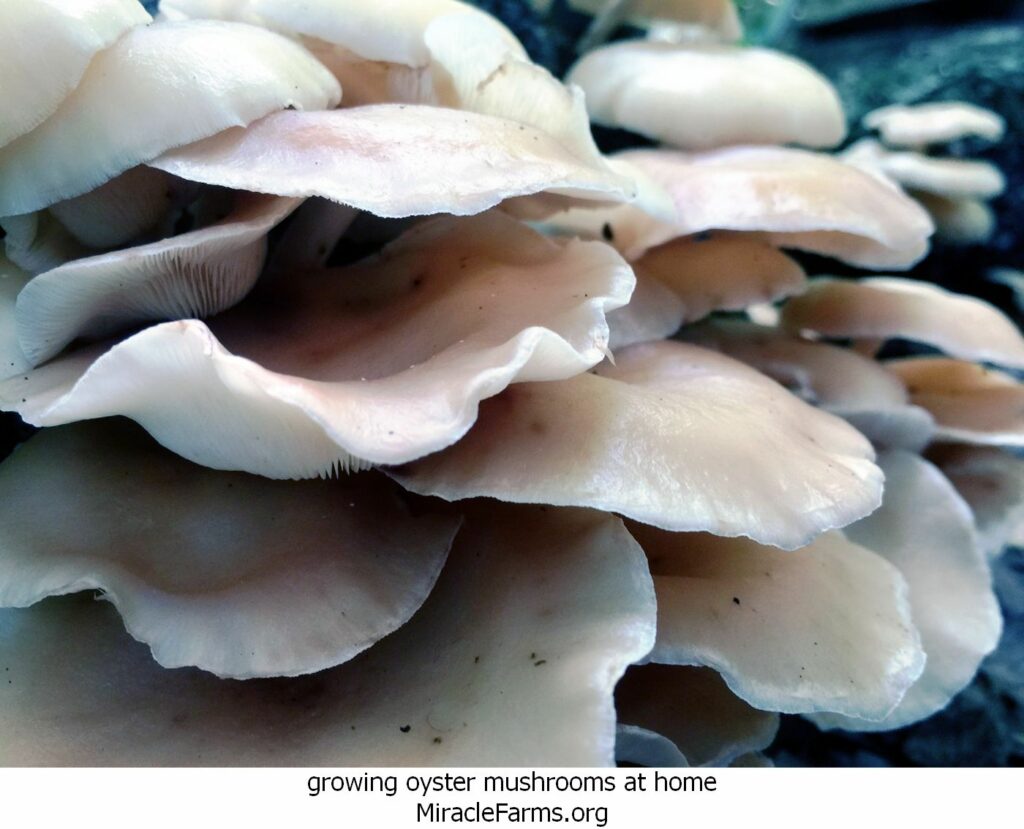
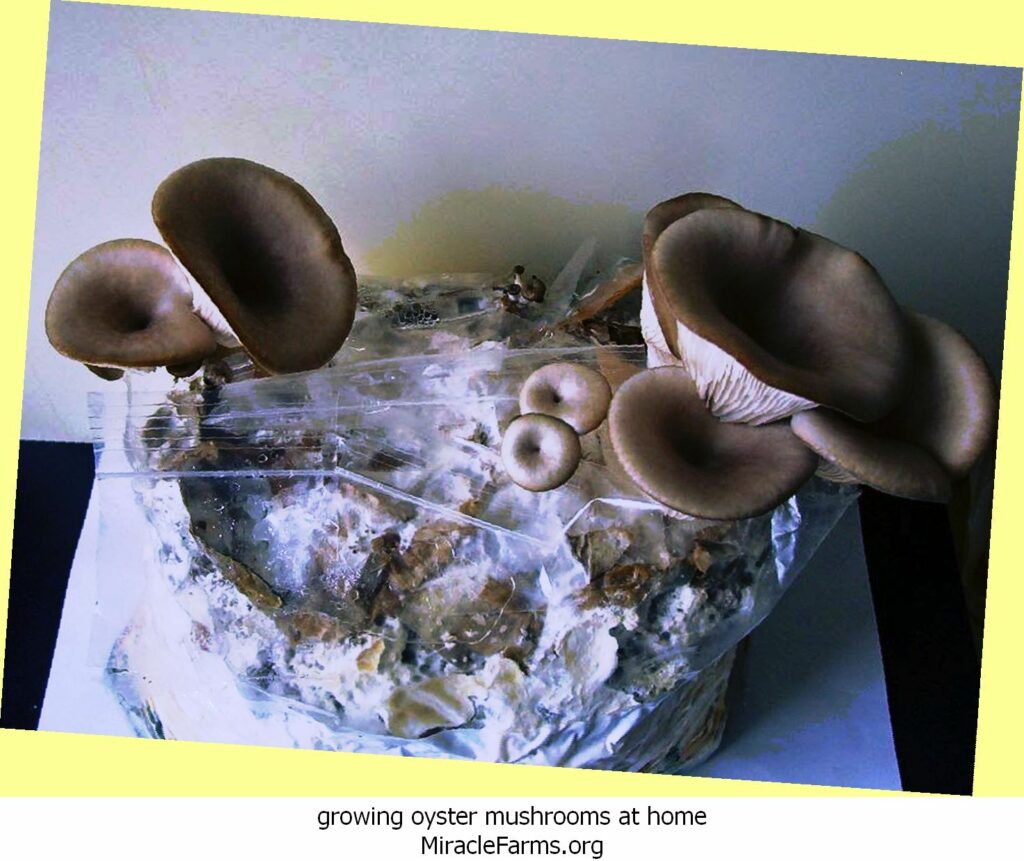
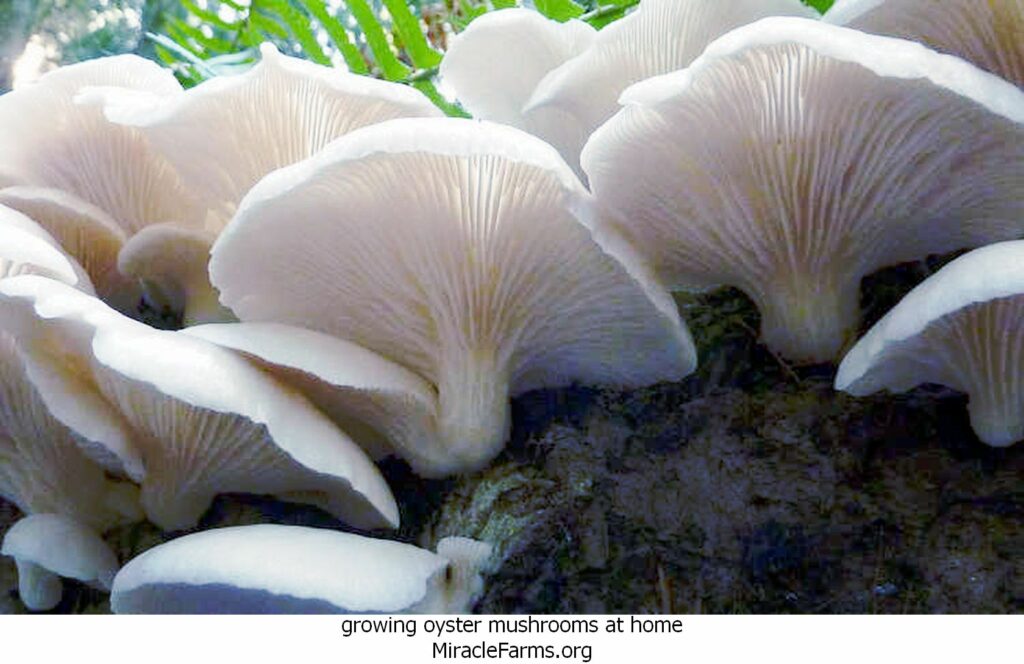
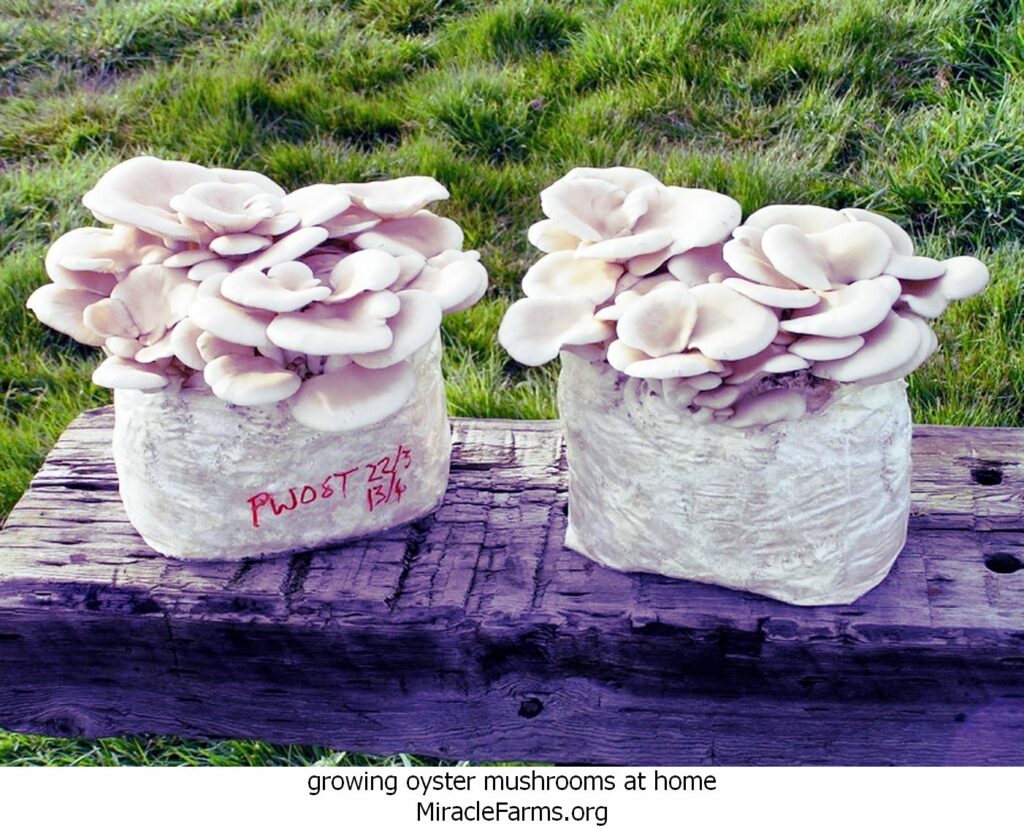
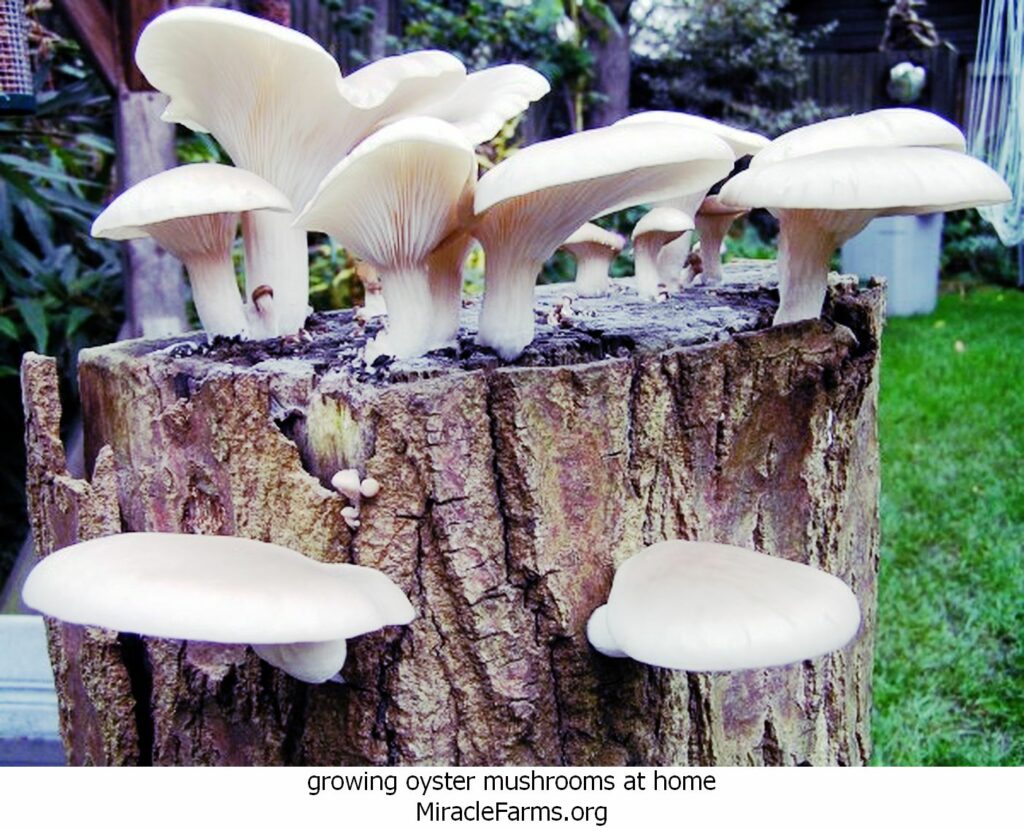
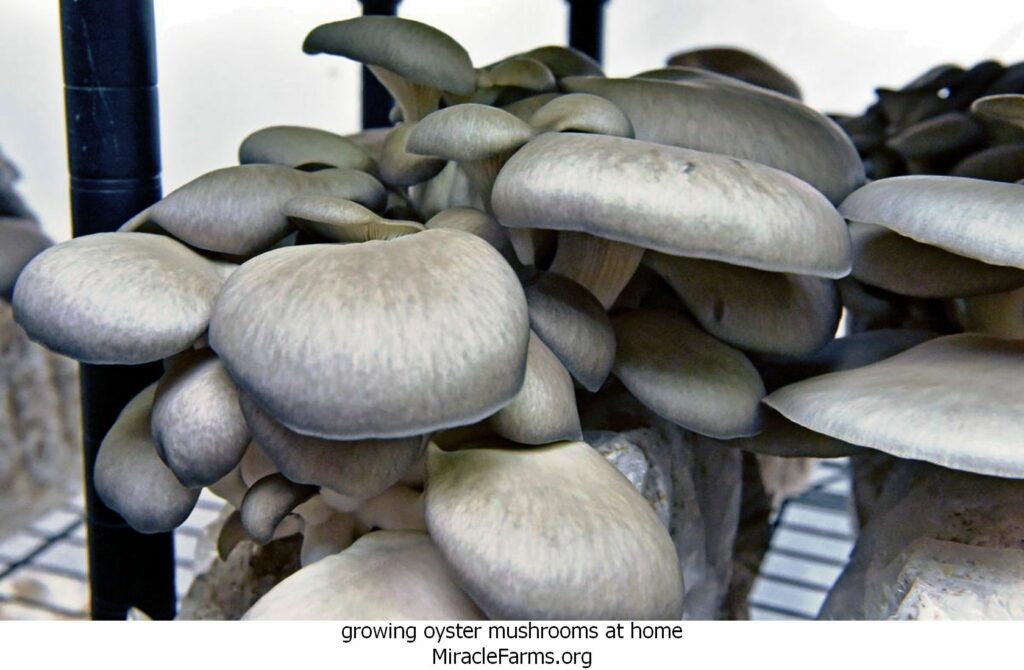
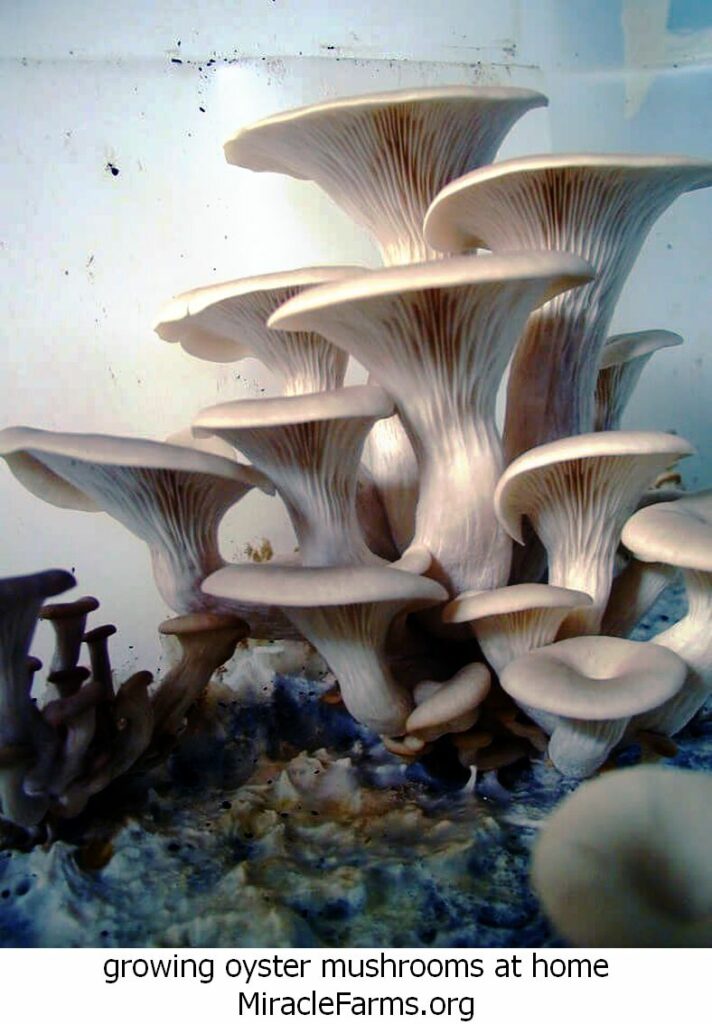
6. Harvesting:
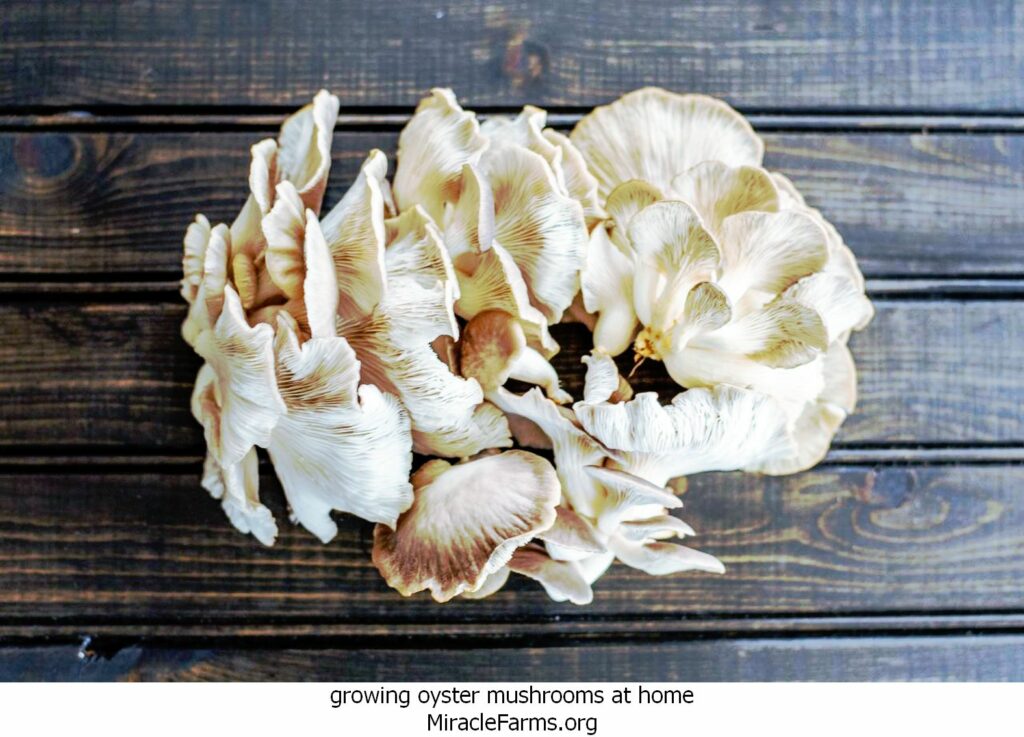
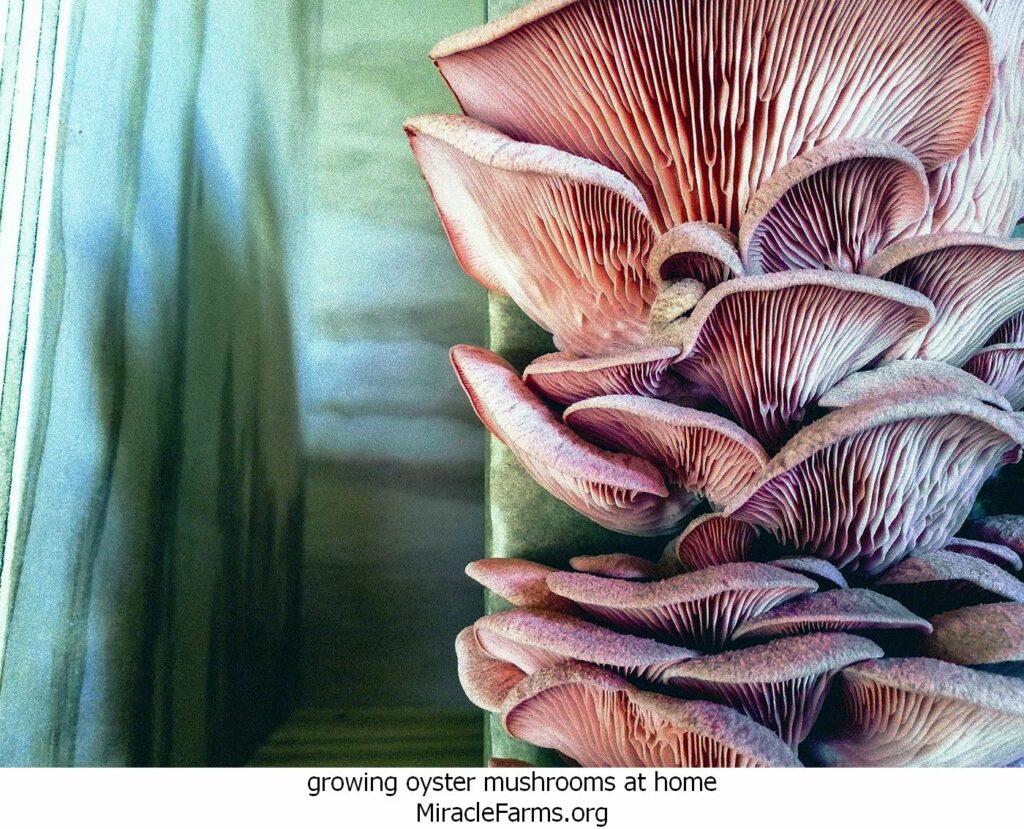
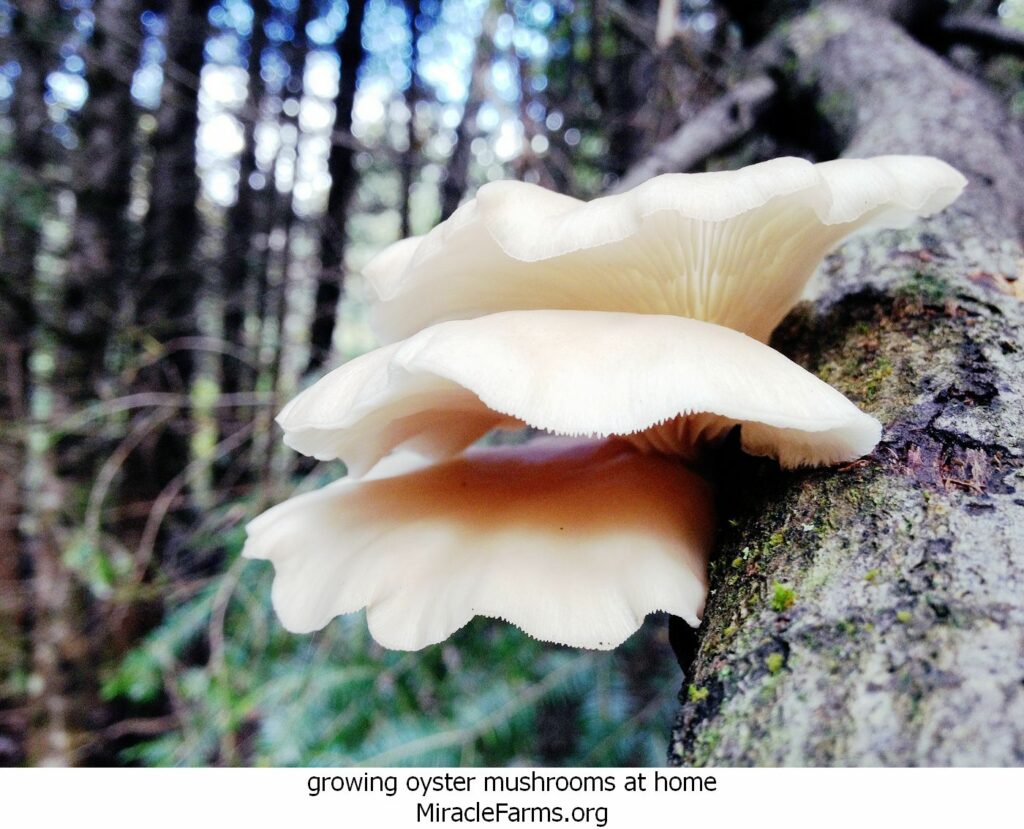
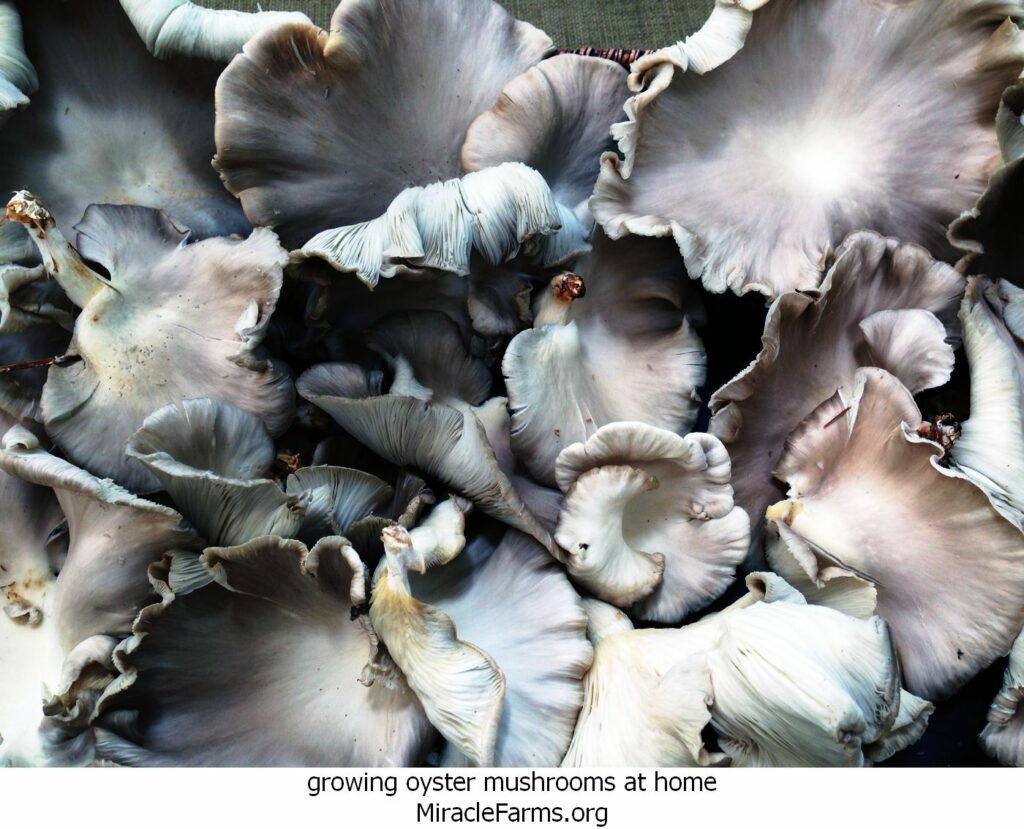
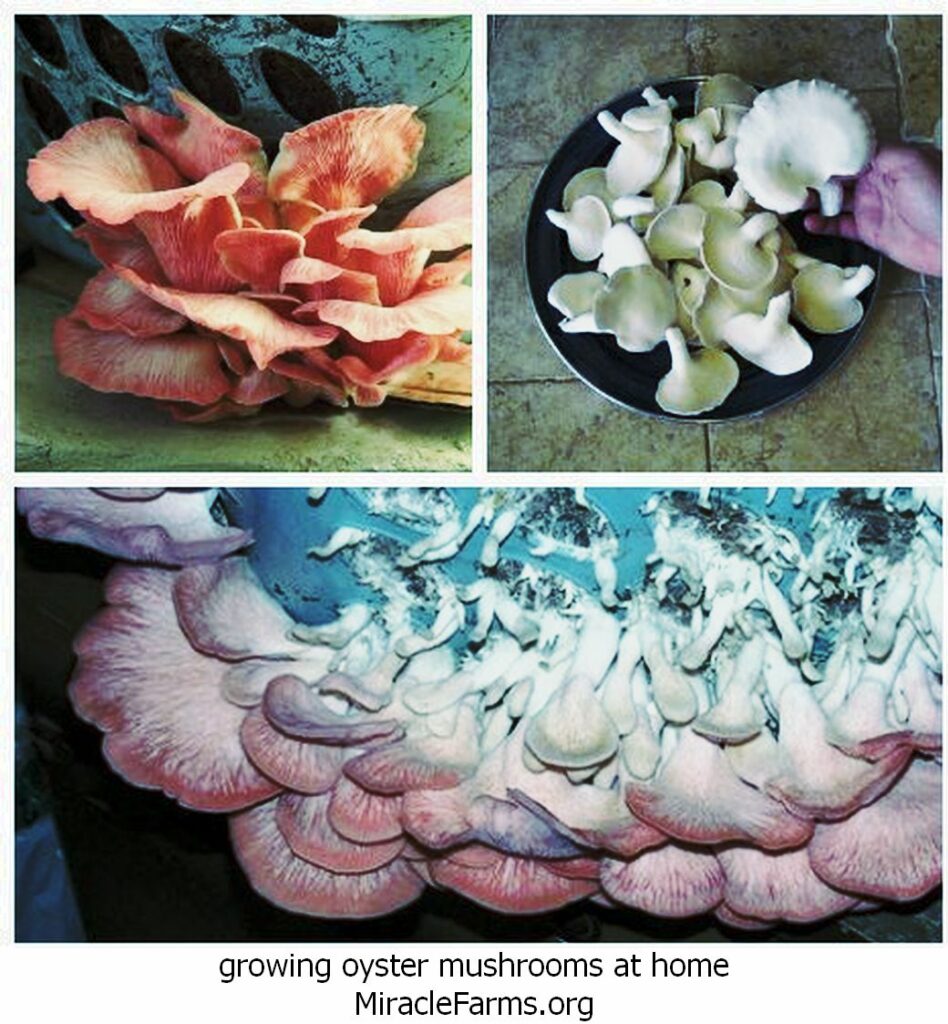
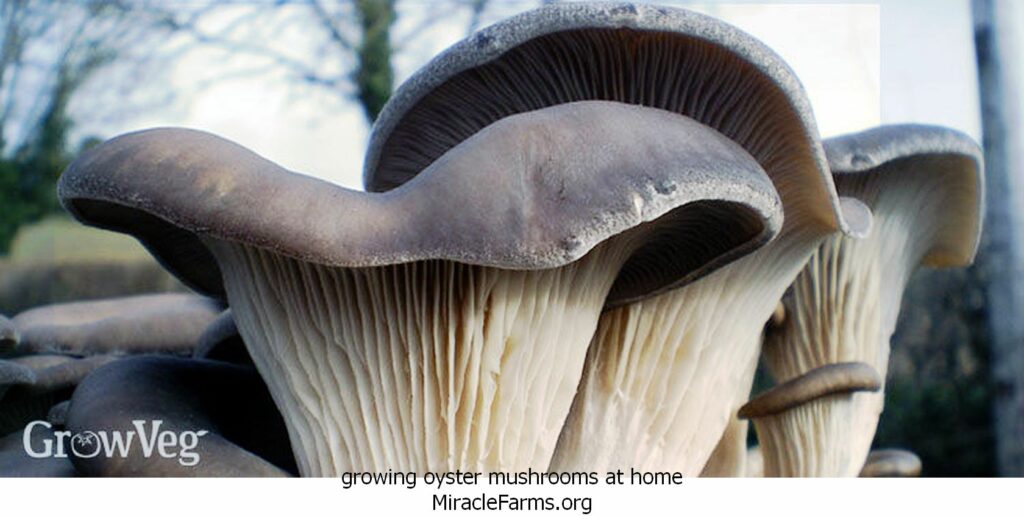
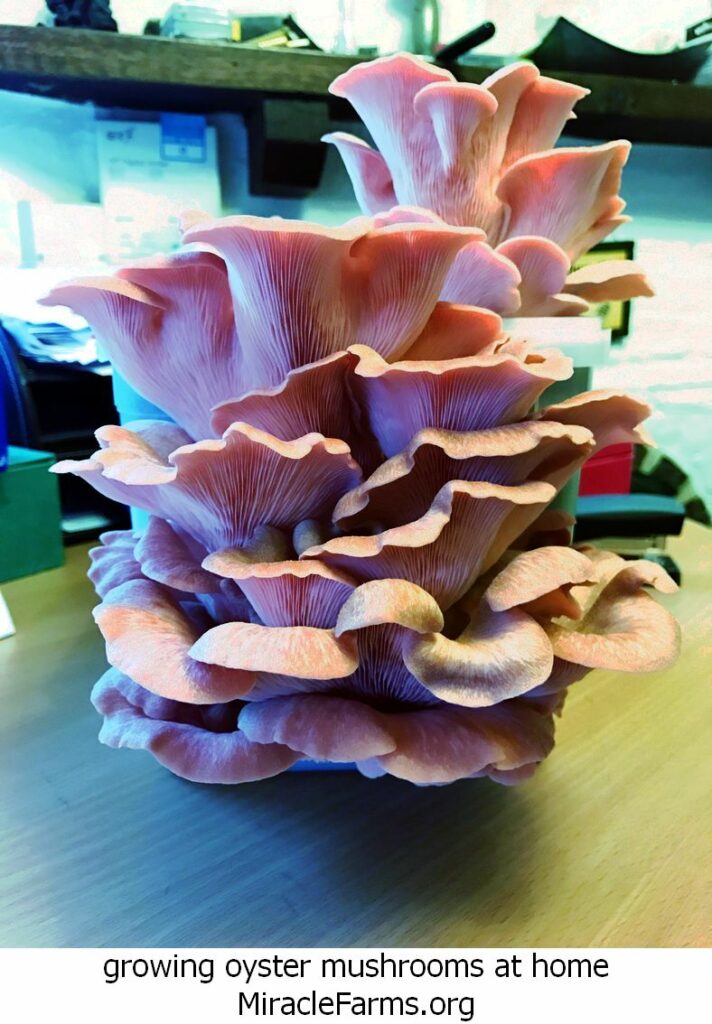
Oyster mushrooms grow quickly once they start fruiting. They’re ready to harvest just before their caps fully unroll.
Gently twist and pull the mushroom cluster from the substrate.
7. Post-Harvest:
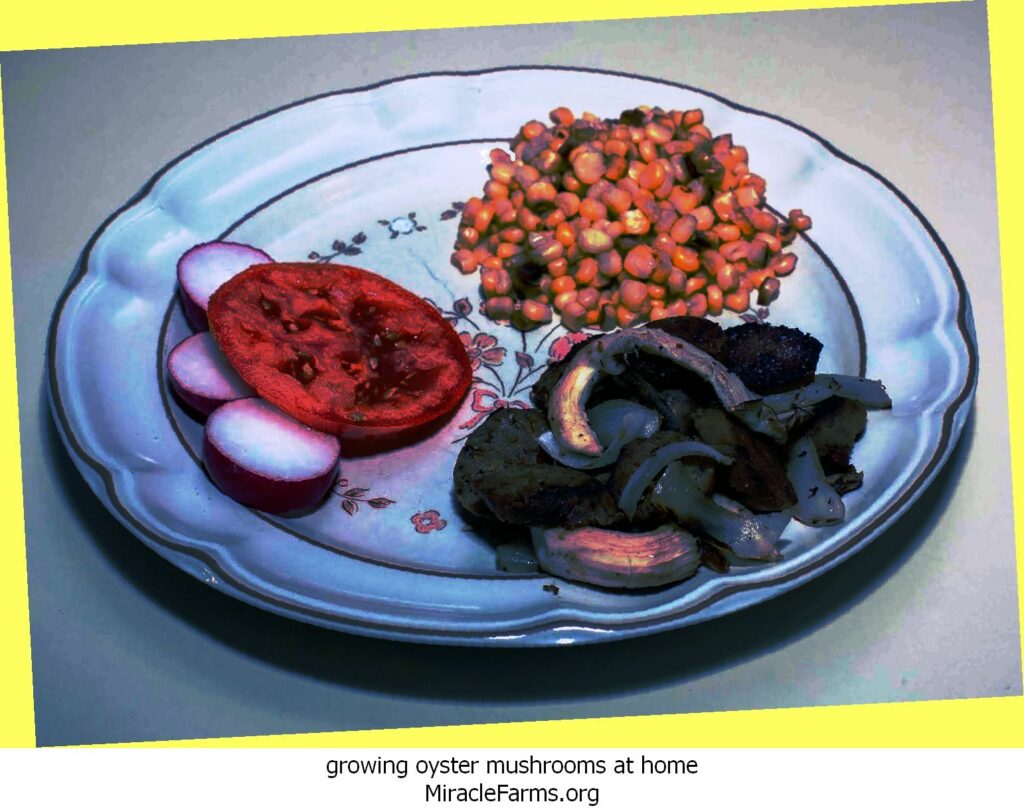
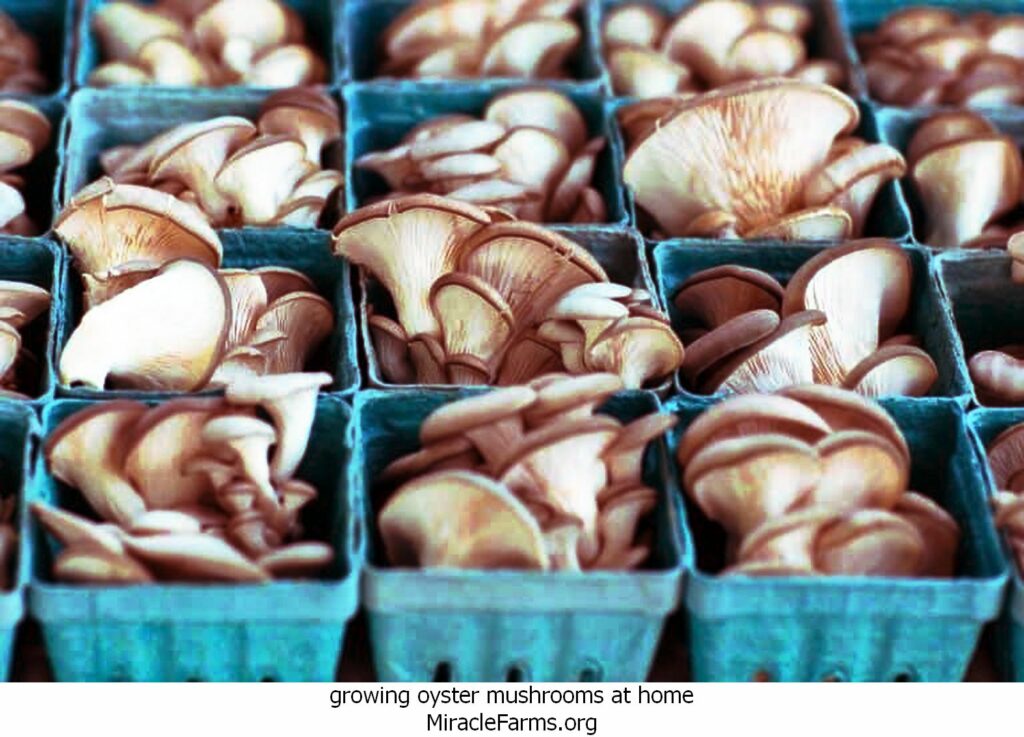
Oyster mushrooms are best consumed fresh but can be stored in a refrigerator for up to a week.
They can also be dried for long-term storage.
8. Potential Pests and Problems:
Contamination: Other molds or fungi can contaminate the substrate. Sterility during inoculation and proper pasteurization or sterilization of the substrate are crucial.
Fungus Gnats: These can be a nuisance. Sticky traps can help reduce their numbers.
9. Safety:
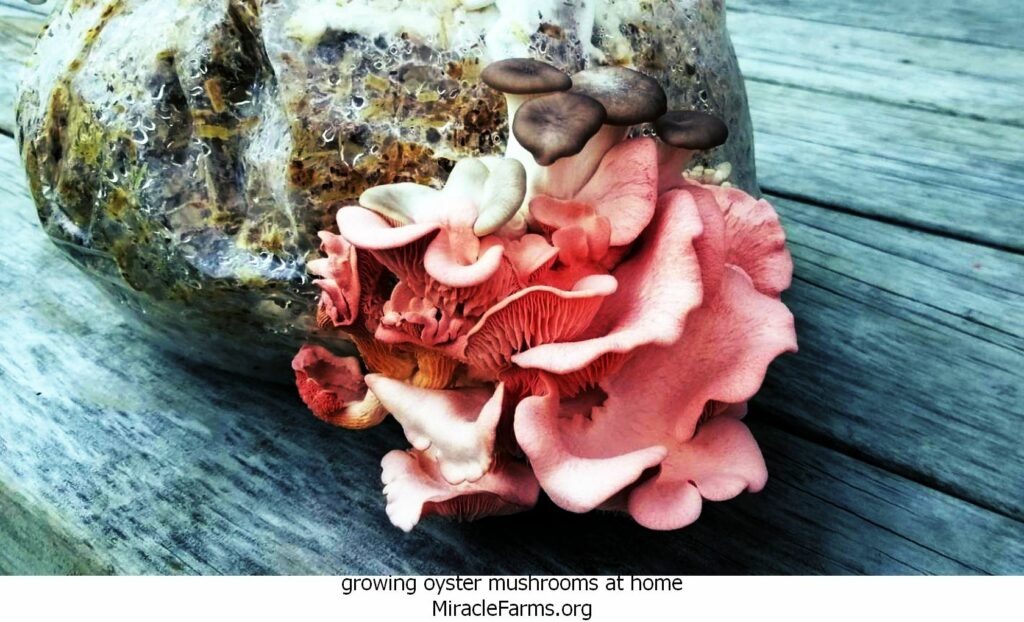
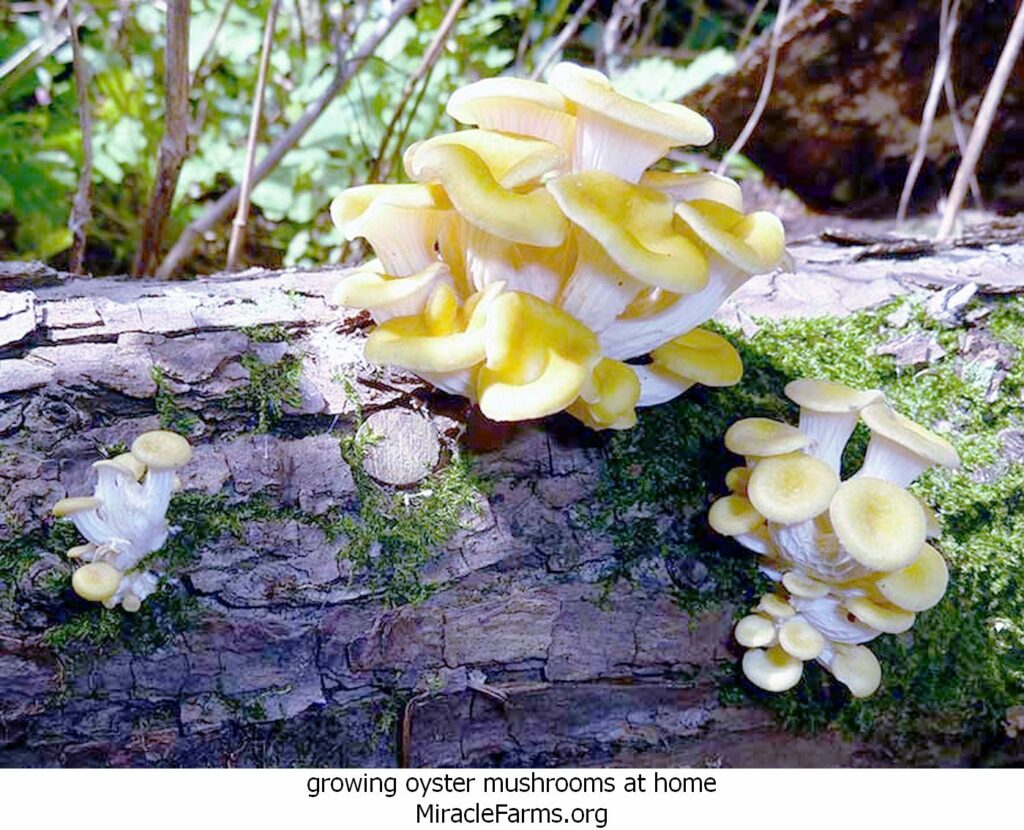
Always ensure that you’re growing and consuming actual oyster mushrooms. There are look-alikes in the wild that can be toxic.
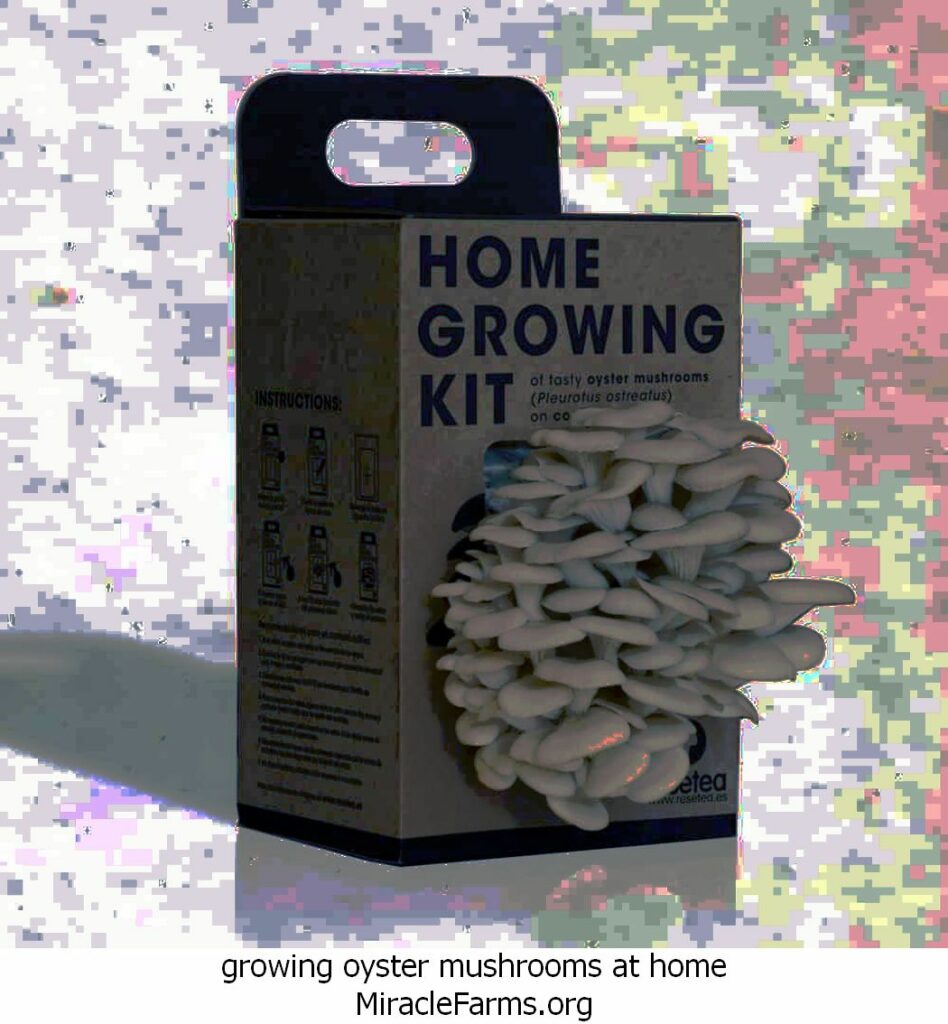
If you’re new to mushroom cultivation, consider starting with a kit, which provides all the necessary materials and instructions.
Remember, like all forms of cultivation, growing mushrooms can require some trial and error. Adjustments might be needed based on your specific environment and conditions. Happy growing!
growing oyster mushrooms at home liquid culture syringegrowing oyster mushrooms at home liquid culture syringegrowing oyster mushrooms at home befccddfddae liquid culture syringegrowing oyster mushrooms at home bfabdc image liquid culture syringegrowing oyster mushrooms at home cedaffeecbca liquid culture syringegrowing oyster mushrooms at home DwVobBzL SL liquid culture syringegrowing oyster mushrooms at home liquid culture syringegrowing oyster mushrooms at home the first arrivals x liquid culture syringegrowing oyster mushrooms at home liquid culture syringegrowing oyster mushrooms at home Dinnerplate liquid culture syringegrowing oyster mushrooms at home oysterbucket liquid culture syringegrowing oyster mushrooms at home pm liquid culture syringegrowing oyster mushrooms at home oyster liquid culture syringegrowing oyster mushrooms at home liquid culture syringegrowing oyster mushrooms at home liquid culture syringegrowing oyster mushrooms at home APabjmXFL liquid culture syringegrowing oyster mushrooms at home AdobeStock liquid culture syringegrowing oyster mushrooms at home Blue Oyster Mushroom liquid culture syringegrowing oyster mushrooms at home cultivation of oyster mushrooms liquid culture syringegrowing oyster mushrooms at home DSC liquid culture syringegrowing oyster mushrooms at home enormousoystermushroom liquid culture syringegrowing oyster mushrooms at home file liquid culture syringegrowing oyster mushrooms at home FRSMFEGIWZLIYW liquid culture syringegrowing oyster mushrooms at home Fruitbodiesof liquid culture syringegrowing oyster mushrooms at home fruiting oyster mushrooms outside small liquid culture syringegrowing oyster mushrooms at home fungi liquid culture syringegrowing oyster mushrooms at home gold oyster mushroom liquid culture syringegrowing oyster mushrooms at home grow at home mushroom varieties liquid culture syringegrowing oyster mushrooms at home growing oyster mushrooms liquid culture syringegrowing oyster mushrooms at home GrowingOysterMushroomsatHome liquid culture syringegrowing oyster mushrooms at home growing mushrooms in the city liquid culture syringegrowing oyster mushrooms at home growing oyster mushrooms liquid culture syringegrowing oyster mushrooms at home growing oyster mushrooms additional income on your liquid culture syringegrowing oyster mushrooms at home growing oyster mushrooms additional income on your liquid culture syringegrowing oyster mushrooms at home Growing Oyster Mushrooms At Home liquid culture syringegrowing oyster mushrooms at home growing oyster mushrooms indoors awesome how to grow oyster mushrooms indoors all mushroom info of growing oyster mushrooms indoors liquid culture syringegrowing oyster mushrooms at home growing oyster mushrooms indoors beautiful how to grow oyster mushrooms indoors of growing oyster mushrooms indoors liquid culture syringegrowing oyster mushrooms at home growing oyster mushrooms indoors inspirational growing oyster mushrooms the plete beginner s guide of growing oyster mushrooms indoors liquid culture syringegrowing oyster mushrooms at home growing oyster mushrooms indoors inspirational how to grow oyster mushrooms indoors permacrafters of growing oyster mushrooms indoors liquid culture syringegrowing oyster mushrooms at home growing oyster mushrooms in sawdust at home x liquid culture syringegrowing oyster mushrooms at home growing oyster mushrooms on your homestead liquid culture syringegrowing oyster mushrooms at home growing oyster mushrooms outside gills liquid culture syringegrowing oyster mushrooms at home Growing your own mushrooms oyster mushrooms shiitake mushrooms and white button liquid culture syringegrowing oyster mushrooms at home Grow Oyster Mushroom at home x liquid culture syringegrowing oyster mushrooms at home grow your own oyster mushrooms with this all in one kit thumb liquid culture syringegrowing oyster mushrooms at home guide to growing oyster mushrooms guide blog title x liquid culture syringegrowing oyster mushrooms at home Hnaging Oyster mushroom columns growing on waste coffee grounds x liquid culture syringegrowing oyster mushrooms at home Home Growing Kit Resetea liquid culture syringegrowing oyster mushrooms at home How to grow Oyster mushrooms x liquid culture syringegrowing oyster mushrooms at home how to grow oyster mushrooms x liquid culture syringegrowing oyster mushrooms at home How to Grow Oyster Mushrooms Indoors c liquid culture syringegrowing oyster mushrooms at home How to Grow Oyster Nushrooms liquid culture syringegrowing oyster mushrooms at home How To Grow Your Own Oyster Mushrooms liquid culture syringegrowing oyster mushrooms at home hqdefault liquid culture syringegrowing oyster mushrooms at home humongous king oyster liquid culture syringegrowing oyster mushrooms at home il fullxfull dxnq liquid culture syringegrowing oyster mushrooms at home Image result for growing oyster mushrooms at home liquid culture syringegrowing oyster mushrooms at home Image result for growing oyster mushrooms at home liquid culture syringegrowing oyster mushrooms at home Image result for growing oyster mushrooms at home liquid culture syringegrowing oyster mushrooms at home Image result for growing oyster mushrooms at home liquid culture syringegrowing oyster mushrooms at home Image result for growing oyster mushrooms at home liquid culture syringegrowing oyster mushrooms at home Image result for growing oyster mushrooms at home liquid culture syringegrowing oyster mushrooms at home Image result for growing oyster mushrooms at home liquid culture syringegrowing oyster mushrooms at home Image result for growing oyster mushrooms at home liquid culture syringegrowing oyster mushrooms at home Image result for growing oyster mushrooms at home liquid culture syringegrowing oyster mushrooms at home Image result for growing oyster mushrooms at home liquid culture syringegrowing oyster mushrooms at home Image result for growing oyster mushrooms at home liquid culture syringegrowing oyster mushrooms at home Image result for growing oyster mushrooms at home liquid culture syringegrowing oyster mushrooms at home Image result for growing oyster mushrooms at home liquid culture syringegrowing oyster mushrooms at home Image result for growing oyster mushrooms at home liquid culture syringegrowing oyster mushrooms at home Image result for growing oyster mushrooms at home liquid culture syringegrowing oyster mushrooms at home Image result for growing oyster mushrooms at home liquid culture syringegrowing oyster mushrooms at home Image result for growing oyster mushrooms at home liquid culture syringegrowing oyster mushrooms at home Image result for growing oyster mushrooms at home liquid culture syringegrowing oyster mushrooms at home Image result for growing oyster mushrooms at home liquid culture syringegrowing oyster mushrooms at home Image result for growing oyster mushrooms at home liquid culture syringegrowing oyster mushrooms at home Image result for growing oyster mushrooms at home liquid culture syringegrowing oyster mushrooms at home Image result for growing oyster mushrooms at home liquid culture syringegrowing oyster mushrooms at home Image result for growing oyster mushrooms at home liquid culture syringegrowing oyster mushrooms at home Image result for growing oyster mushrooms at home liquid culture syringegrowing oyster mushrooms at home Image result for growing oyster mushrooms at home liquid culture syringegrowing oyster mushrooms at home Image result for growing oyster mushrooms at home liquid culture syringegrowing oyster mushrooms at home IMG liquid culture syringegrowing oyster mushrooms at home IMG liquid culture syringegrowing oyster mushrooms at home IMG liquid culture syringegrowing oyster mushrooms at home IMG liquid culture syringegrowing oyster mushrooms at home IMG liquid culture syringegrowing oyster mushrooms at home IMG x liquid culture syringegrowing oyster mushrooms at home King Oyster Days liquid culture syringegrowing oyster mushrooms at home King oyster mushroom x liquid culture syringegrowing oyster mushrooms at home King Oyster Mushrooms grow liquid culture syringegrowing oyster mushrooms at home king oyster mushrooms unique growing mushrooms at home gardendrum of king oyster mushrooms liquid culture syringegrowing oyster mushrooms at home King Oyster Mycelium liquid culture syringegrowing oyster mushrooms at home maxresdefault liquid culture syringegrowing oyster mushrooms at home maxresdefault liquid culture syringegrowing oyster mushrooms at home mushroom liquid culture syringegrowing oyster mushrooms at home MUSHROOMLEARNINGCENTER Copy liquid culture syringegrowing oyster mushrooms at home Mushroom Blue Oyster Grow Kit liquid culture syringegrowing oyster mushrooms at home MUSHROOM MAIN liquid culture syringegrowing oyster mushrooms at home mushrooms x liquid culture syringegrowing oyster mushrooms at home mushrooms liquid culture syringegrowing oyster mushrooms at home Mushrush Growing Oysters x liquid culture syringegrowing oyster mushrooms at home mush still x liquid culture syringegrowing oyster mushrooms at home organic oyster mushroom growing log kit liquid culture syringegrowing oyster mushrooms at home oyster D liquid culture syringegrowing oyster mushrooms at home Oyster Mushrooms liquid culture syringegrowing oyster mushrooms at home oyster mushrooms on coffee grounds and coffee filters liquid culture syringegrowing oyster mushrooms at home oyster mushroom x liquid culture syringegrowing oyster mushrooms at home Oyster liquid culture syringegrowing oyster mushrooms at home Oyster liquid culture syringegrowing oyster mushrooms at home Oyster Featured liquid culture syringegrowing oyster mushrooms at home oyster kit liquid culture syringegrowing oyster mushrooms at home OysterMushroom liquid culture syringegrowing oyster mushrooms at home oyster mushroom B liquid culture syringegrowing oyster mushrooms at home oyster mushroom cultivation liquid culture syringegrowing oyster mushrooms at home oyster mushroom growing kit liquid culture syringegrowing oyster mushrooms at home oyster mushroom growing kit liquid culture syringegrowing oyster mushrooms at home Oyster Mushroom Growing Kit Root Mushroom Farm liquid culture syringegrowing oyster mushrooms at home oyster mushrooms liquid culture syringegrowing oyster mushrooms at home oyster mushrooms x liquid culture syringegrowing oyster mushrooms at home oyster mushrooms x liquid culture syringegrowing oyster mushrooms at home oyster mushrooms x liquid culture syringegrowing oyster mushrooms at home Oyster mushrooms x liquid culture syringegrowing oyster mushrooms at home oystermushrooms x liquid culture syringegrowing oyster mushrooms at home Oyster mushrooms growing liquid culture syringegrowing oyster mushrooms at home oyster mushrooms on a log liquid culture syringegrowing oyster mushrooms at home Oyster mushrooms Sunny Liao x liquid culture syringegrowing oyster mushrooms at home oyster mushrums pleurotus ostreatus cultivated on straw selective GWBDTB liquid culture syringegrowing oyster mushrooms at home Oysters Mushrooms liquid culture syringegrowing oyster mushrooms at home P liquid culture syringegrowing oyster mushrooms at home P liquid culture syringegrowing oyster mushrooms at home pearl oyster blocks e liquid culture syringegrowing oyster mushrooms at home pearl oyster mature e liquid culture syringegrowing oyster mushrooms at home pink oyster mushrooms liquid culture syringegrowing oyster mushrooms at home Pleurotus ostreatus Oyster fungus a liquid culture syringegrowing oyster mushrooms at home post liquid culture syringegrowing oyster mushrooms at home PP Oyster Mushrooms x liquid culture syringegrowing oyster mushrooms at home resizeee liquid culture syringegrowing oyster mushrooms at home s p i w liquid culture syringegrowing oyster mushrooms at home SFQ specialitymushrooms oysterStraw qwfpl liquid culture syringegrowing oyster mushrooms at home SFQ specialty mushroom spawn liquid culture syringegrowing oyster mushrooms at home shroomsBlueOyster liquid culture syringegrowing oyster mushrooms at home shutterstock liquid culture syringegrowing oyster mushrooms at home Starting a Mushroom Garden x liquid culture syringegrowing oyster mushrooms at home th idOIF HXAQQk WQylzxbrlCwcwpid liquid culture syringegrowing oyster mushrooms at home th idOIF S Ka gzXvGWhkQpid liquid culture syringegrowing oyster mushrooms at home th idOIF XYMQiVTNuPzCoWlHkQpid liquid culture syringegrowing oyster mushrooms at home th idOIP qakkSVIzBsfzpQeAHaHIpid liquid culture syringegrowing oyster mushrooms at home th idOIP WzGZVEapGGpCvAugHaEfpid liquid culture syringegrowing oyster mushrooms at home th idOIP besdXJOLiBFAEIoRgHaIOpid liquid culture syringegrowing oyster mushrooms at home th idOIP OJlMyRN SIdJyAuxZ hAHaFjpid liquid culture syringegrowing oyster mushrooms at home th idOIP pcSsPsDT ypfuelZgHaFjpid liquid culture syringegrowing oyster mushrooms at home th idOIP sLceiwiOol Yt XRCfgHaDopid liquid culture syringegrowing oyster mushrooms at home th idOIP YulLnuYmzppgvKWtvnFQHaFjpid liquid culture syringegrowing oyster mushrooms at home Thisiswhatyouwant liquid culture syringegrowing oyster mushrooms at home title liquid culture syringegrowing oyster mushrooms at home tony holding oyster mushrooms liquid culture syringegrowing oyster mushrooms at home unnamed liquid culture syringe
FREE SPORE SWAB, PRINT, OR COLONIZED AGAR PLATE WITH EACH STRAIN ORDERED TODAY! ORDER 5 SRAINS, AND GET 5 SPORE SWABS OR PLATES! THIS OFFER IS LIMITED TO SUPPLIES ON HAND, FIRST COME FIRST SERVE. PLUS GET 15% OFF TODAY BY USING CODE '15off' AT CHECKOUT. VAILD FOR THE NEXT 24 HOURS.