


Equipment and Supplies Needed:
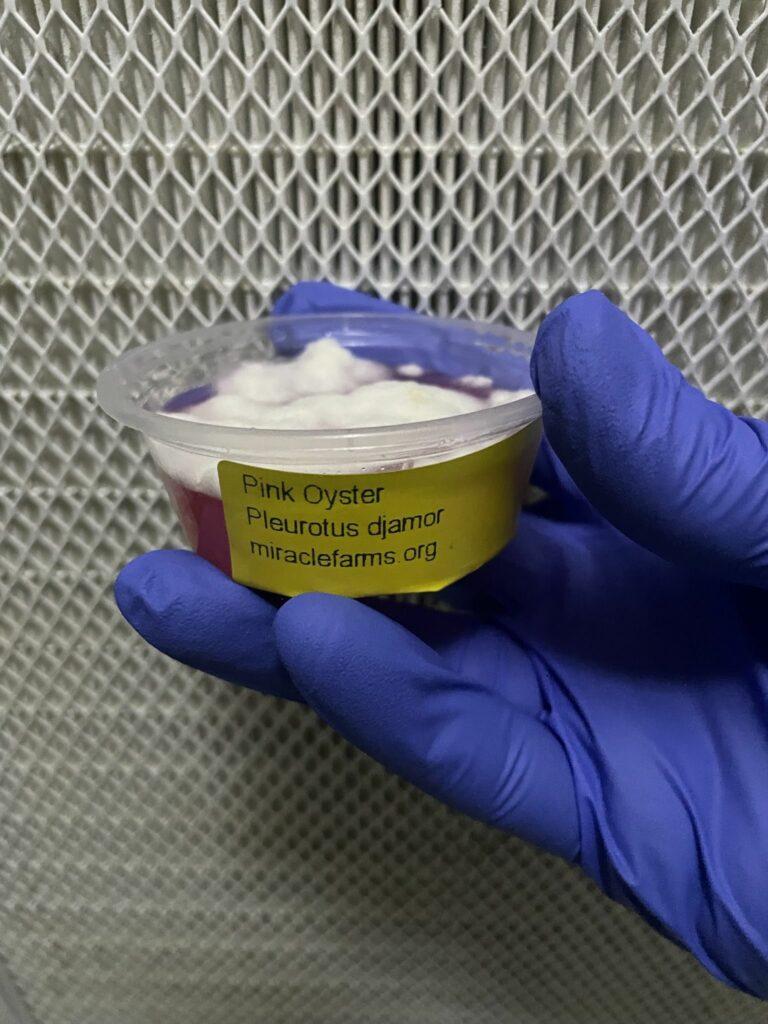
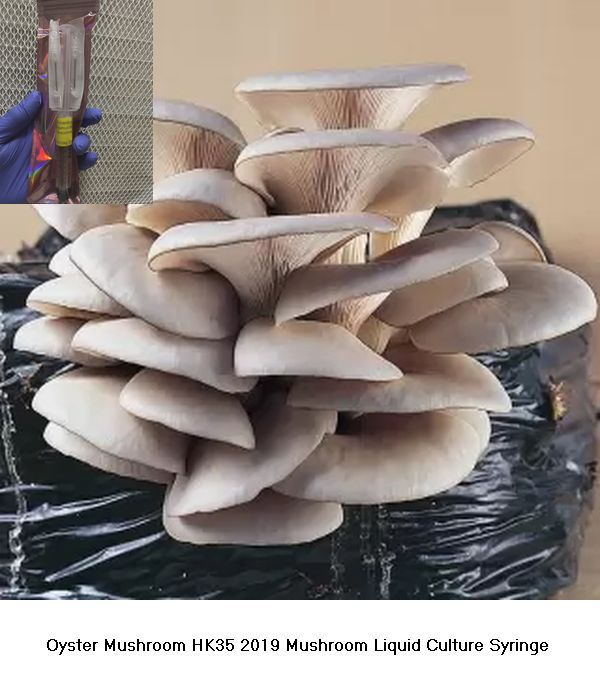
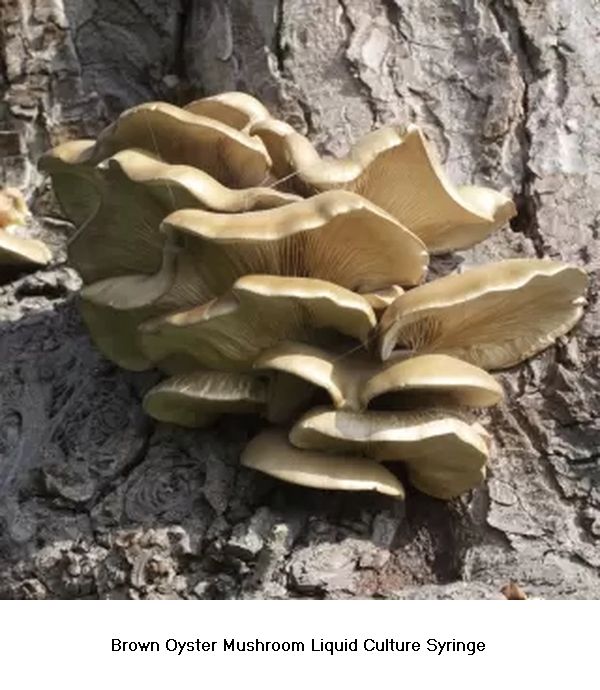
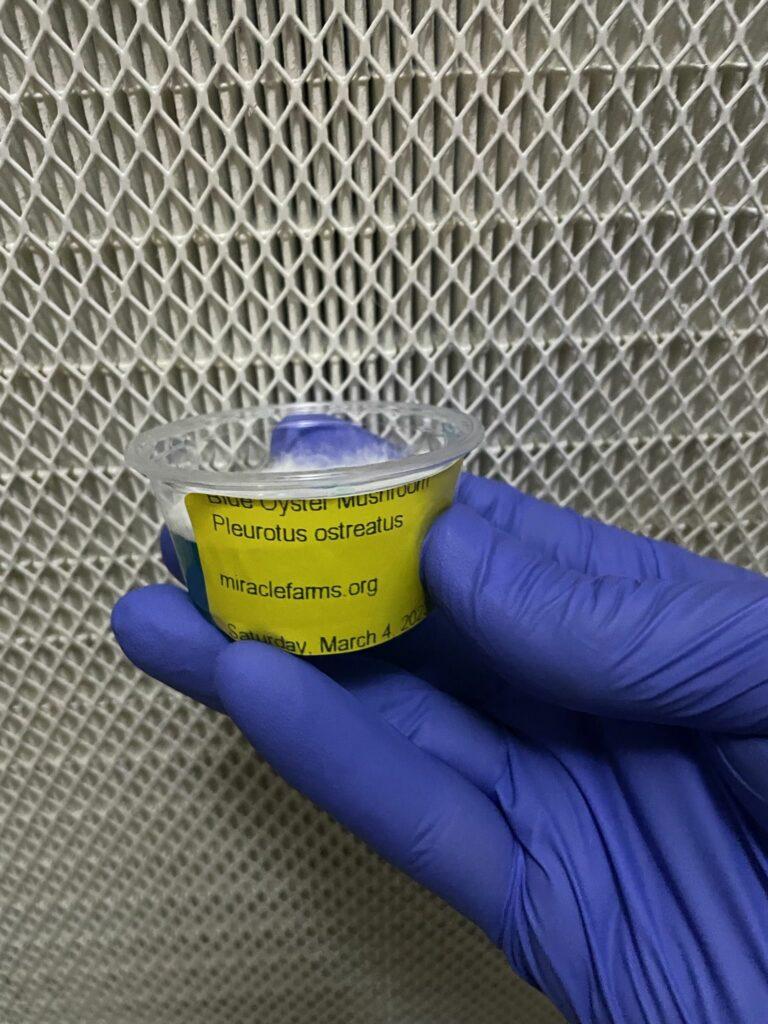
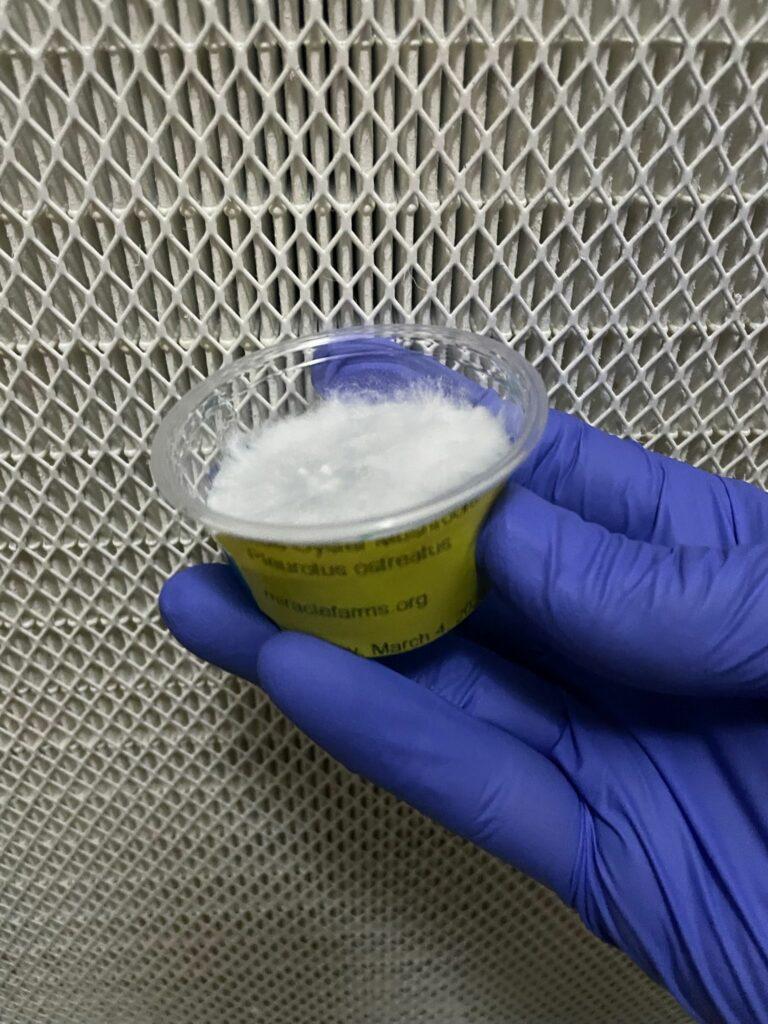
- Oyster mushroom spawn
- Growing medium (typically a combination of straw and sawdust)
- Large bags or containers for cultivation
- A sterilizing agent (such as a pressure cooker) or boiling water
- A spray bottle for water
- A knife
- Gloves and mask (optional, for those who may be sensitive to spores)
Procedure:
Step 1: Preparing the substrate
The substrate is what the mushrooms grow in. Oyster mushrooms grow best on straw but can use other materials like coffee grounds, cardboard, and more.
- Chop straw into 1-2 inch pieces.
- Sterilize straw with boiling water or use a pressure cooker if available. This kills off any competing organisms.
- Let the straw cool and drain.
Step 2: Inoculating the substrate
This is where you introduce the mushroom spawn to the substrate.
- Mix the spawn and the straw together thoroughly.
- Pack the mixture into your growing bags or containers, but not too tightly. You want air to be able to circulate.
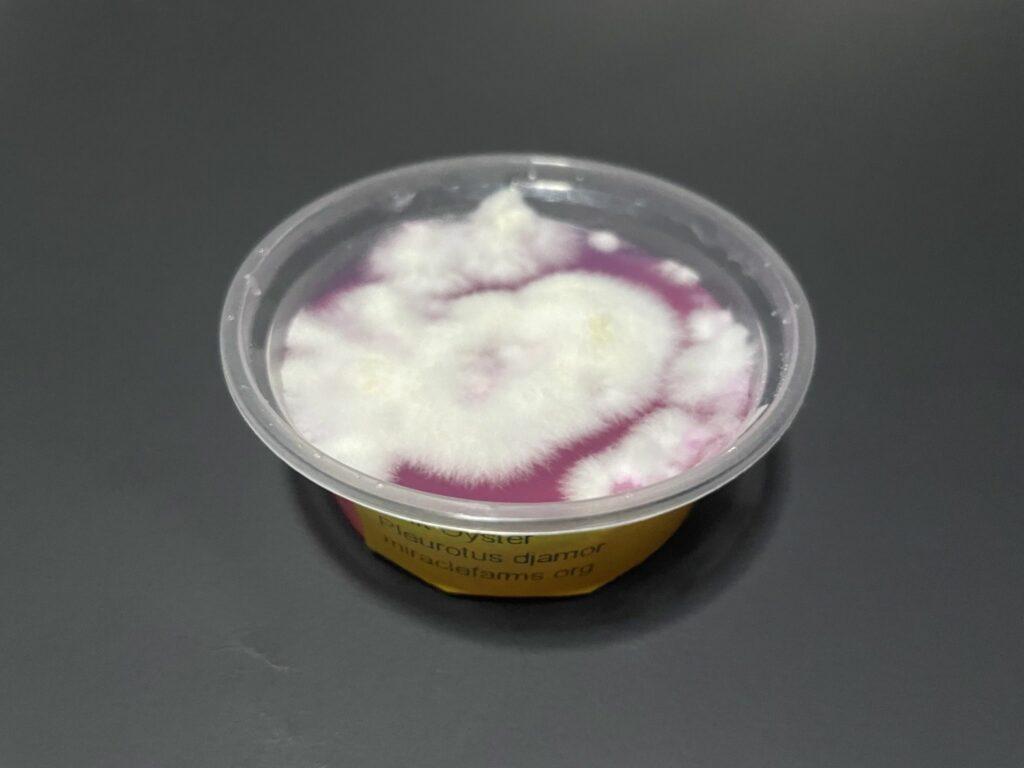
Step 3: Incubation
Now, the mushrooms need to colonize the substrate. This takes place in the dark.
- Place your bags in a dark area with a temperature around 20-24 degrees Celsius (68-75 degrees Fahrenheit).
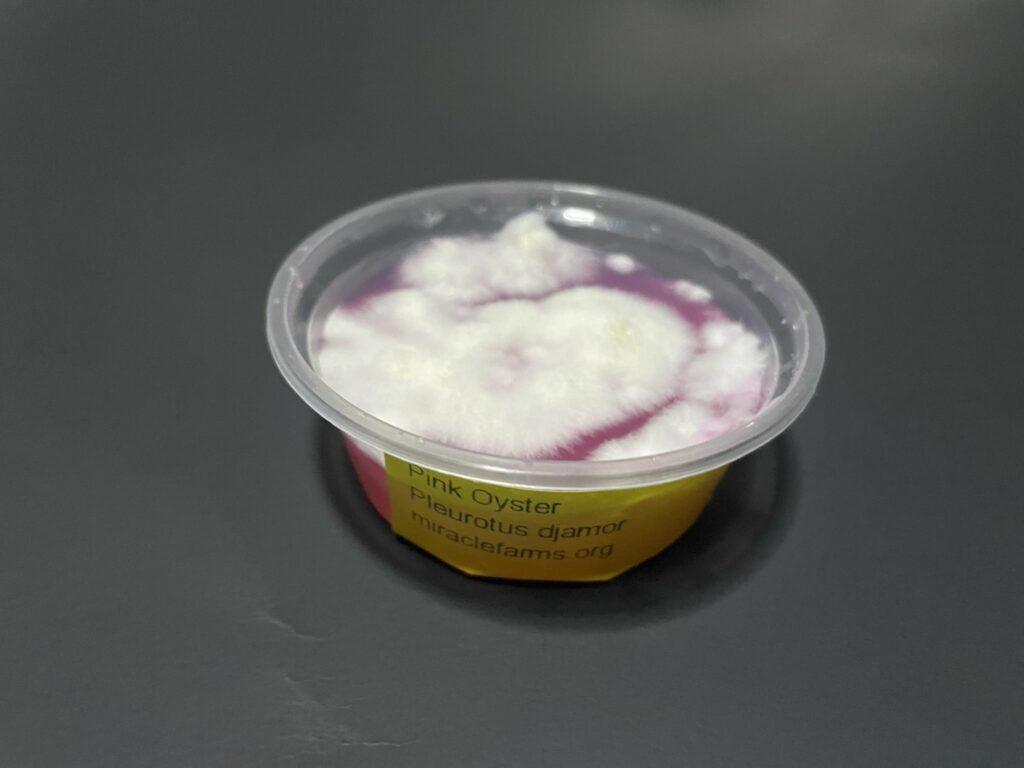
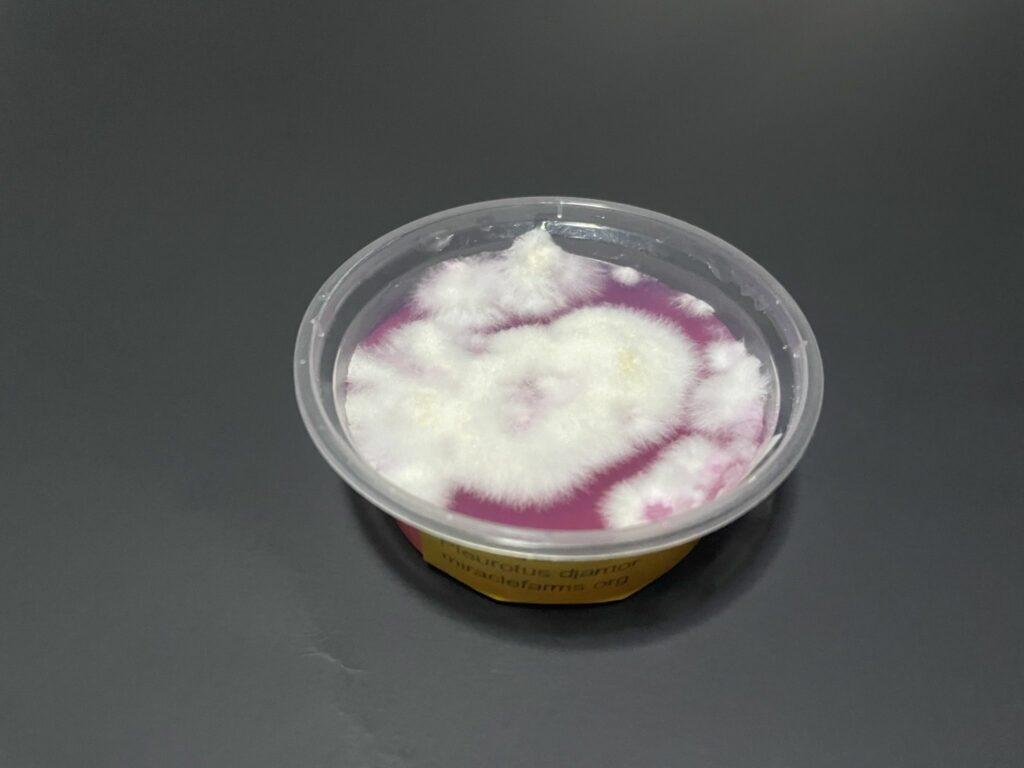
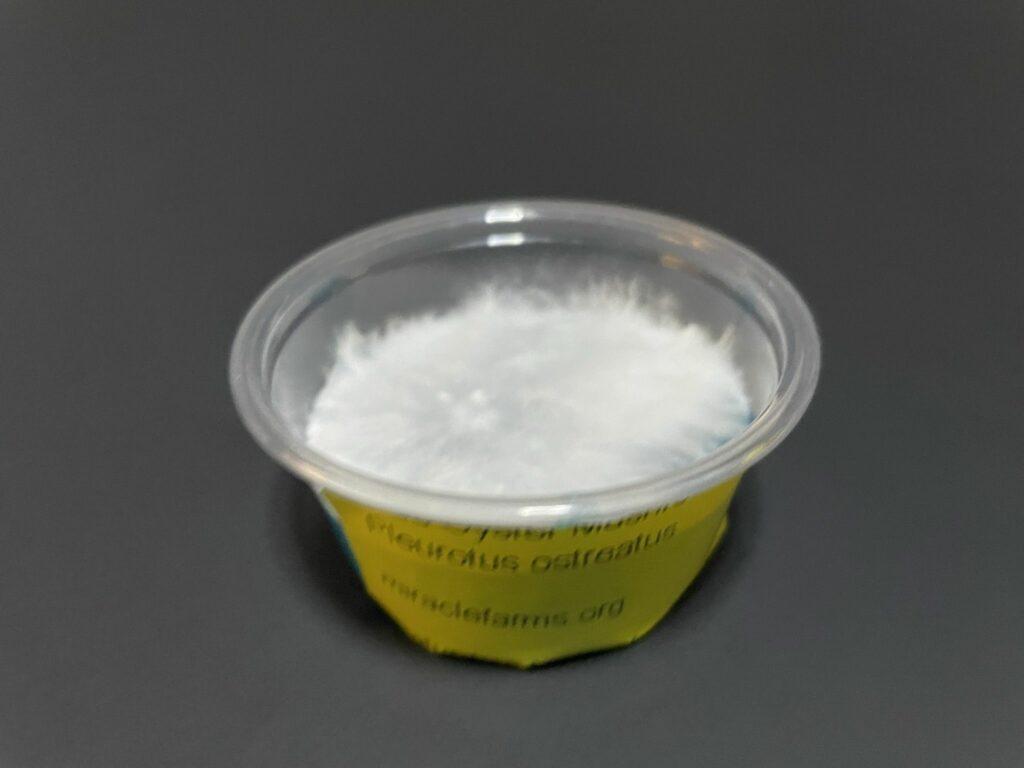
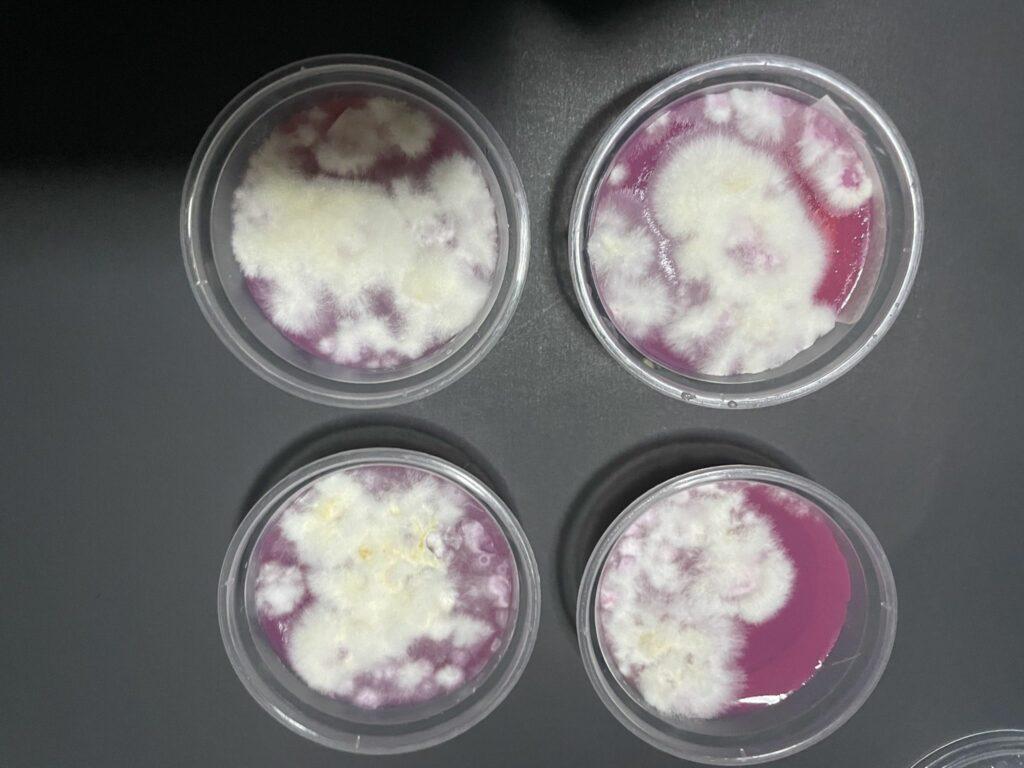
- It will take 1-3 weeks for the mycelium to colonize the substrate. The bags will turn a white color as this happens.
- Do not disturb the bags during this time.
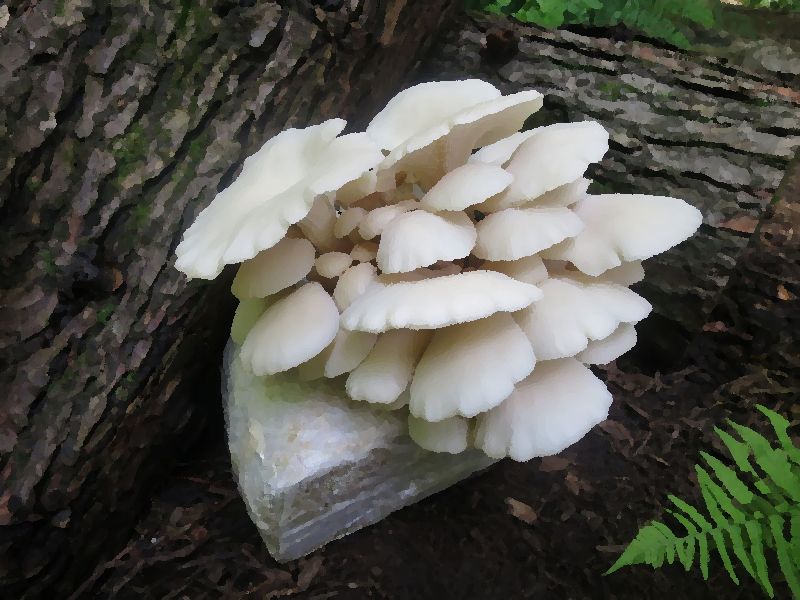
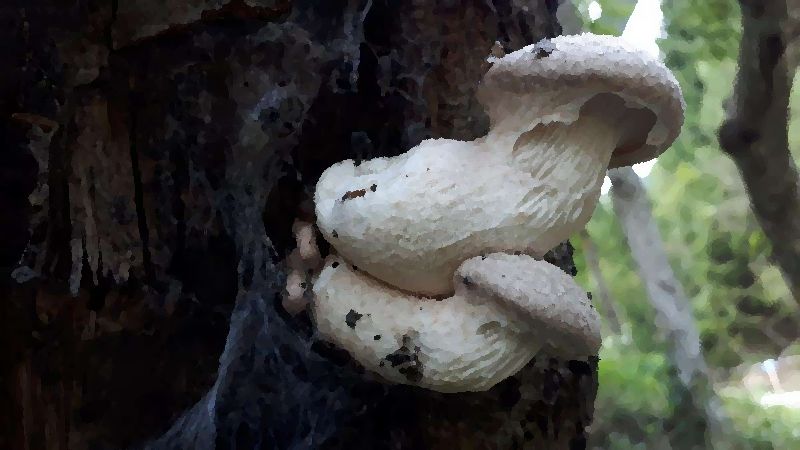
Step 4: Fruiting
Once fully colonized, the mushrooms are ready to fruit.
- Cut small slits or ‘x’s into the bag. This is where the mushrooms will grow from.
- Move your bags to an area with indirect light, fresh air, and a humidity of around 70%.
- Spray the bags lightly with water once or twice daily. The goal is to keep the area around the slits moist, not soaking wet.
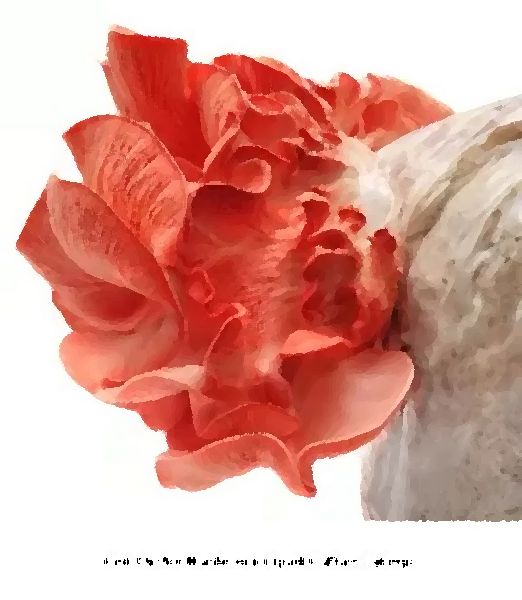
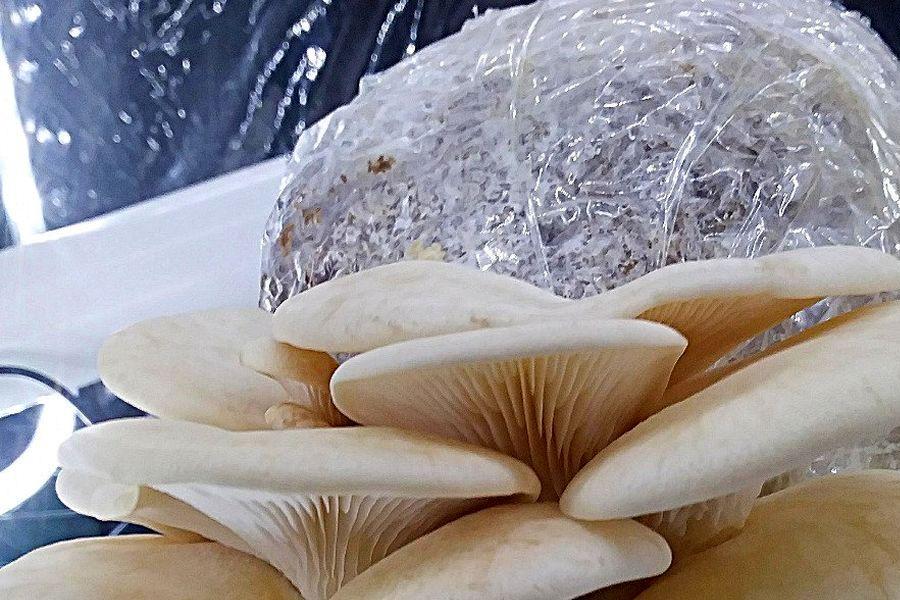
- In 1-2 weeks, you should see mushrooms begin to form.
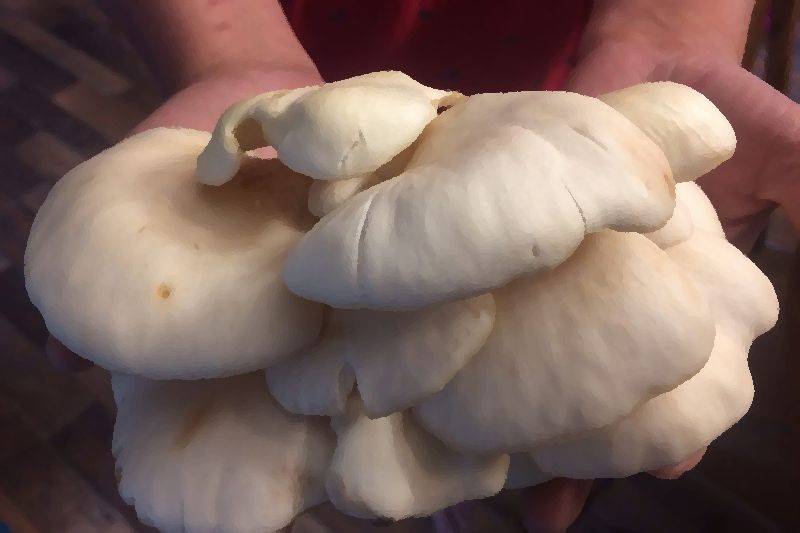
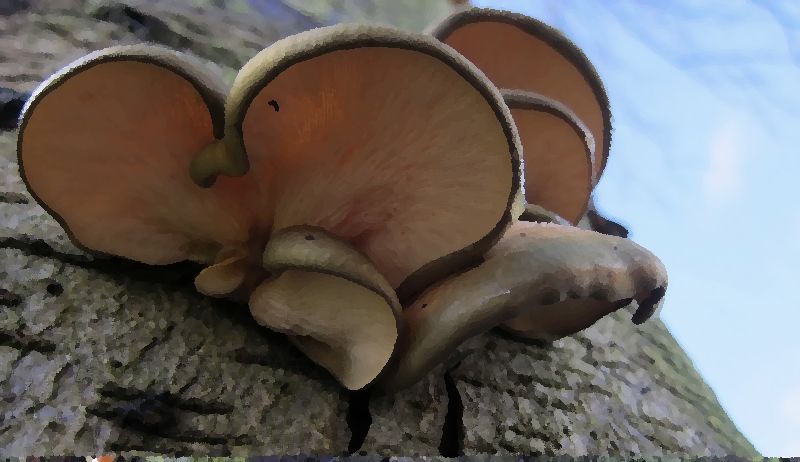
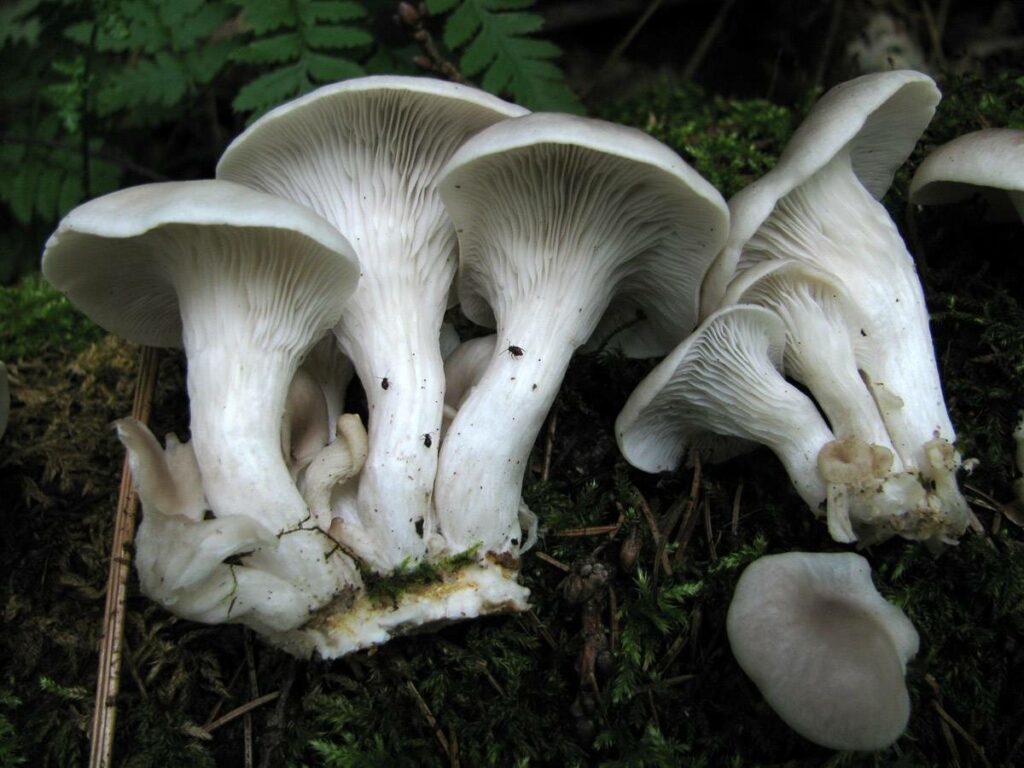
Step 5: Harvesting
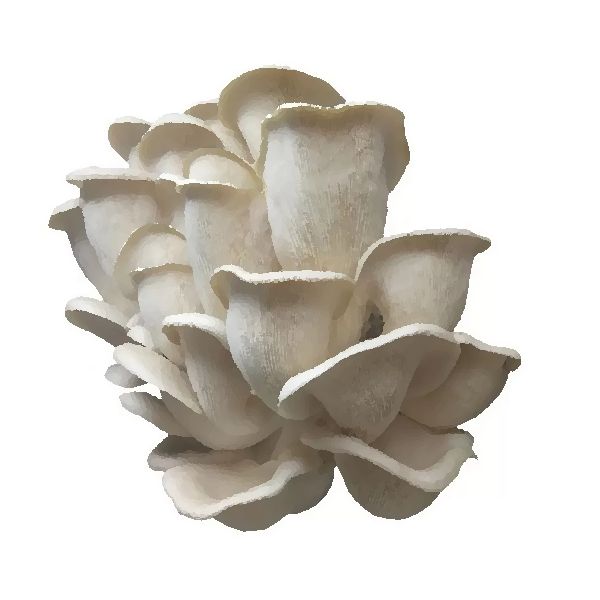
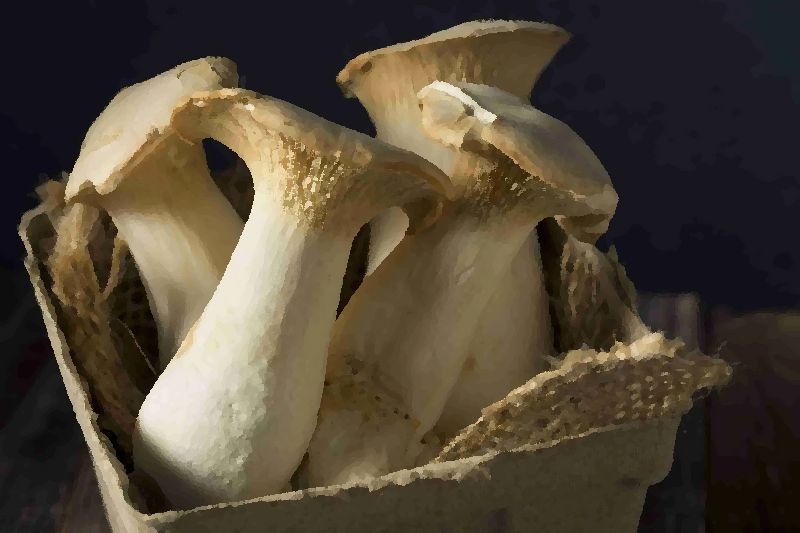
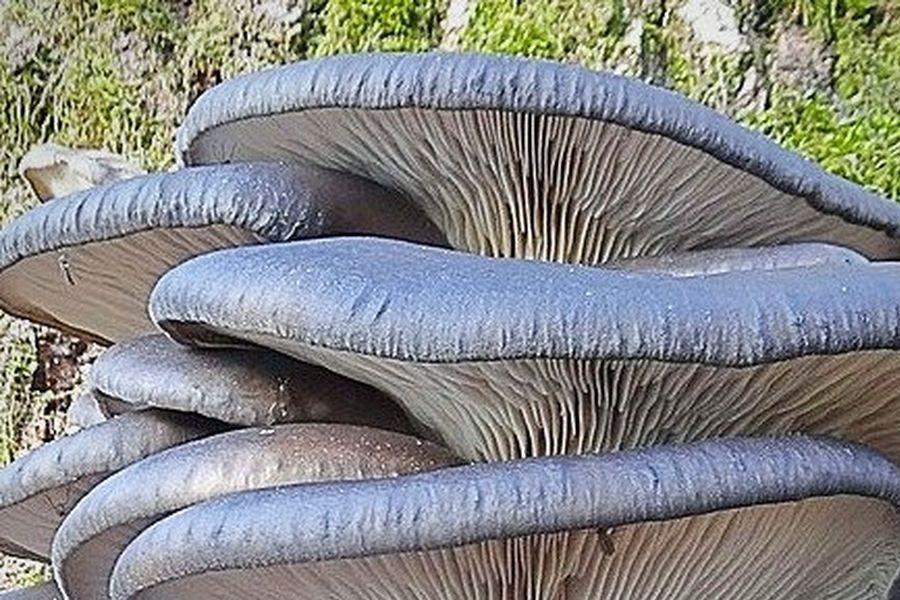
When the caps of the mushrooms have turned up and are no longer concave, they’re ready to harvest.
- Grasp the mushroom at the base of the stem.
- Twist gently to remove it.
- Immediately place it in a refrigerated environment to maintain freshness.
Step 6: Subsequent flushes
Oyster mushrooms can have several flushes (growth cycles).
- After the first harvest, let the bag rest for a week.
- Start spraying the bag again, and another flush should begin.
- Repeat this process until no more mushrooms form.
Remember, cleanliness is crucial in this entire process. Always ensure your equipment is sterile and your hands are clean while handling the spawn and substrate. This decreases the chance of contamination and increases your chances of a successful yield.
Troubleshooting:
If you see green or black mold on your substrate, this is a sign of contamination. You’ll need to discard the entire bag if this happens. Other colors, like blue or yellow, can be signs of different stages of mycelium growth and are typically not a problem.
If your mushrooms are not growing, ensure that they have the right conditions. Temperature, humidity, fresh air, and indirect light are all crucial for their growth.
Note:
This is a very basic guide to mushroom cultivation. There are many more intricate methods involving temperature and humidity